advancedSmart Home & IoT14-Mar-2025
Rooftop Parking Surveillance Camera

Anton Shagaev
Tomsk, RU
14 days
514
37
Hi there folks, today I’ll share how I built a surveillance camera setup for an unguarded parking lot and subsequently installed it on the roof of a 9-story building.
What you'll need
Materials
- 1 pc
- 1 pc
- Camera stand1 pc
- 2 pcs
- 3 pcs
- M6 Nut3 pcs
- M6 Fender washer (wide)6 pcs
- 4 pcs
- M5 Nut4 pcs
- M5 Fender washer (wide)8 pcs
- 1 pc
- 2 pcs
- Router enclosure/box1 pc
- 1 sheet
- Expanding foam1 can
- 1 pack
- 1 l
- 1 pc
- 1 pc
- 1 pc
- 1 pc
- 9 pcs
- 1 pc
- 20 m
- 4-core winter-grade LAN cable20 m
- Two-core rubber-insulated electrical cable20 m
- 4 pcs
- M10 Fender washer4 pcs
- Liquid rubber1 tube
- Silica gel packets6 pcs
- 20 pcs
- 2 pcs
- 2 pcs
- Steel wire rope 3 mm5 m
- 1 pc
Steps
1
Fabricating the camera stand
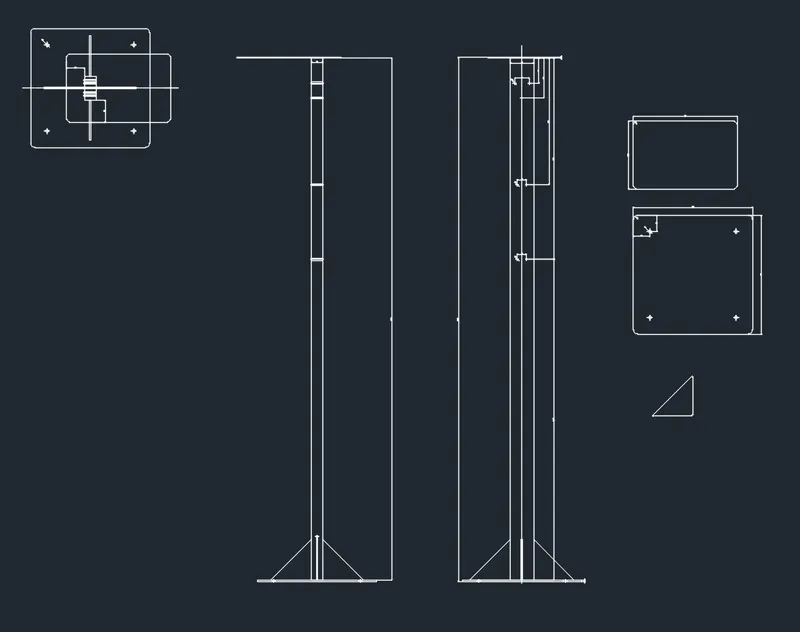
To make the camera stand, I bought a 2-meter length of 80×40 mm rectangular profile pipe. I then designed a blueprint for the stand in AutoCAD to ensure all parts were precise and fit together perfectly. I sent the drawing to a company specializing in plasma metal cutting. The guys there cut the parts on a CNC plasma cutter, welded them, sandblasted the finished structure, and powder-coated it. You can download the drawing for the stand here.
2
Making the insulated router box
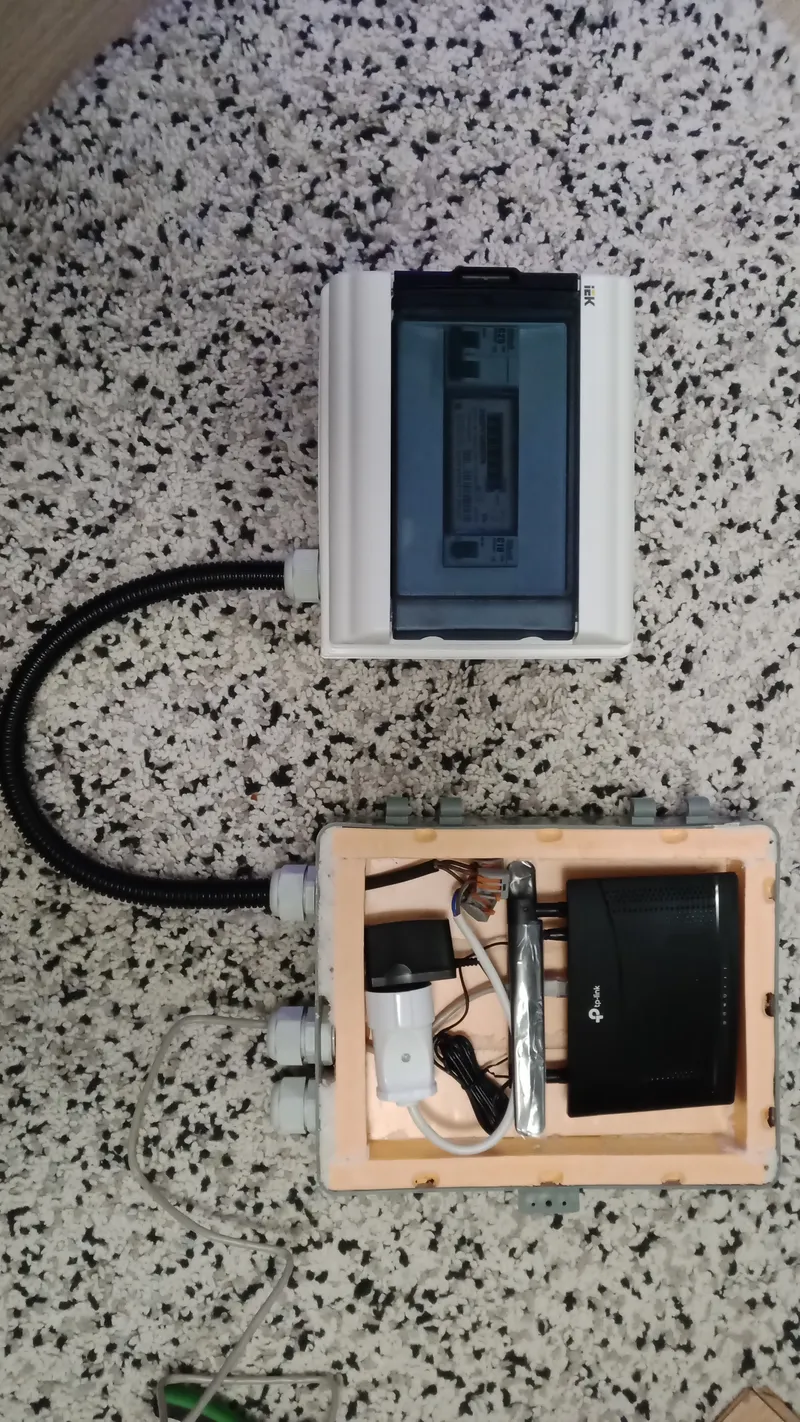
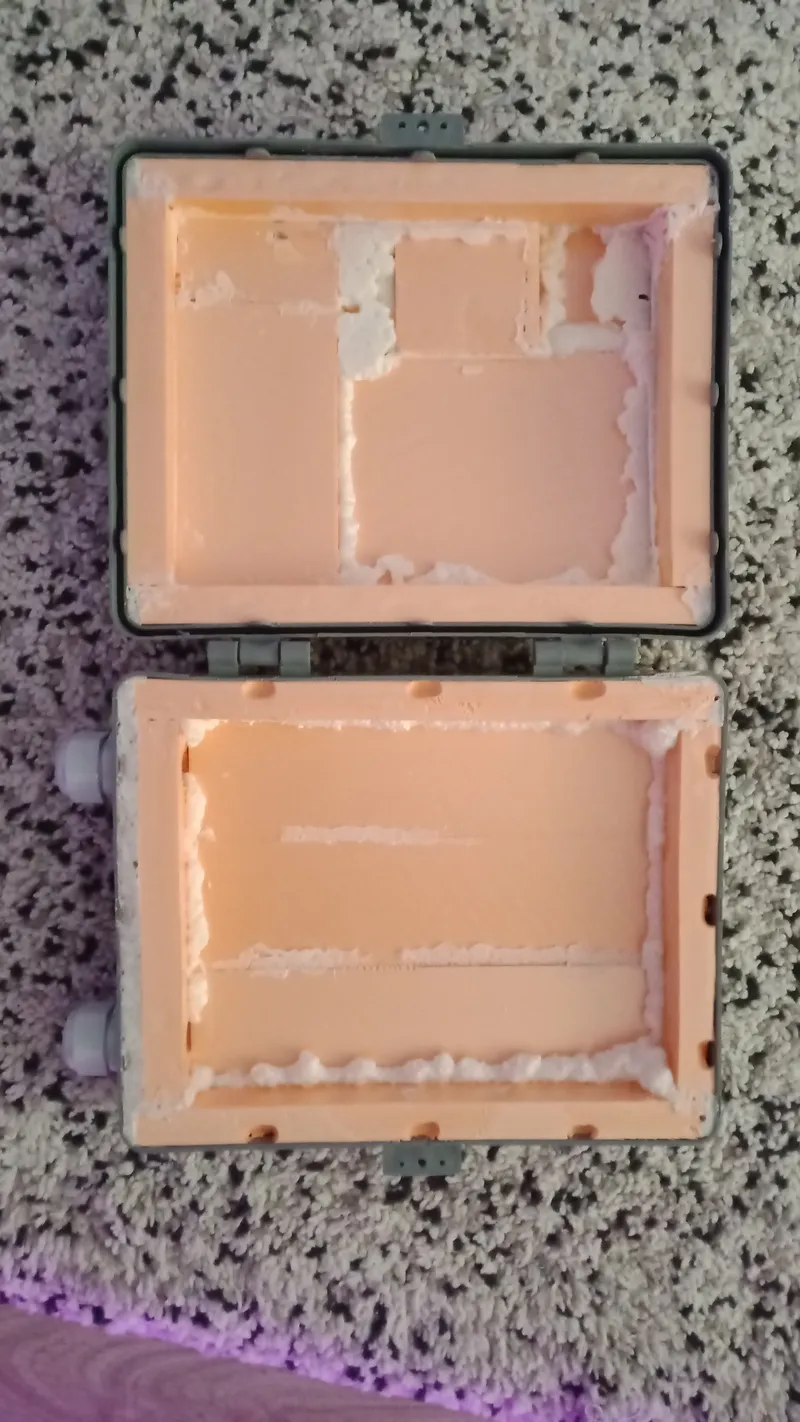
Insulated router box
I decided to use mobile internet for the camera, so I bought a router with SIM card support. The router box was planned for installation on the technical floor (attic level) of the 9-story apartment building. It isn’t very warm there in winter, so I decided to make an insulated, airtight box based on a standard electrical enclosure.
I used extruded polystyrene foam (Penoplex) as insulation, cutting it to size and lining the interior of the box using expanding foam. I also sealed all joints with foam. To make the interior fire-resistant, I coated it with gypsum putty, which I later reinforced with Ceresit primer. I also installed 3 PG21 cable glands in this box. Later, I attached the router itself to the inner wall of the box using hot glue.
3
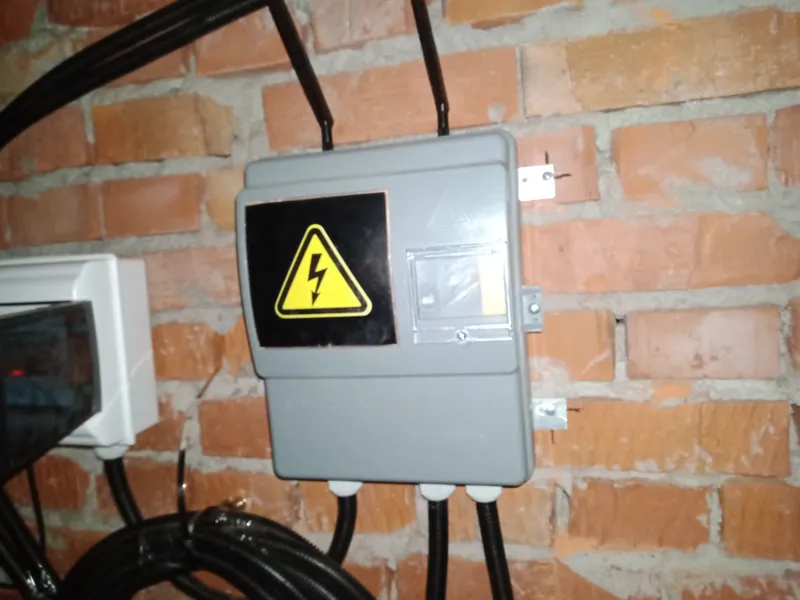
Assembling the electrical panel
Assembling the panel is extremely simple but a very important part of the project. All you need to do is install a double-pole circuit breaker on the DIN rail before the meter, then the meter itself, and finally a single-pole breaker after the meter. This ensures safety and control over power consumption. I also installed two cable glands in the panel: one PG21 and one PG7.
4
Wiring the stand
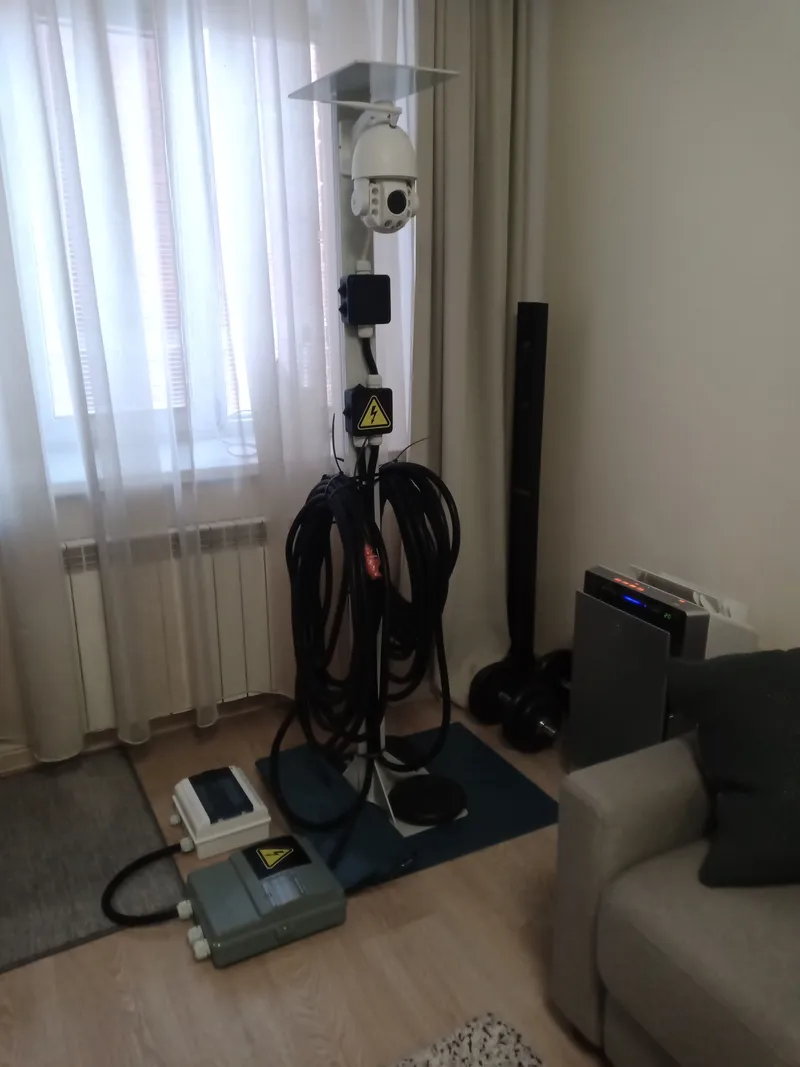
I mounted the camera itself and two junction boxes onto the stand. The top box houses the waterproof connection for the LAN cable and the 12V power input, while the bottom box contains the 12V power supply unit.
In the top junction box, I also created a cable seal for the camera cable, which I printed on a 3D printer using rubber-like Bflex plastic. All boxes are fitted with PG21 cable glands. Next, I placed the LAN cable and electrical cable inside the winter-grade corrugated conduits, which I then connected to the stand. I made the junction boxes completely airtight using liquid rubber and placed 3 silica gel packets in each one. I also installed the winter-grade SD card into the camera.
5
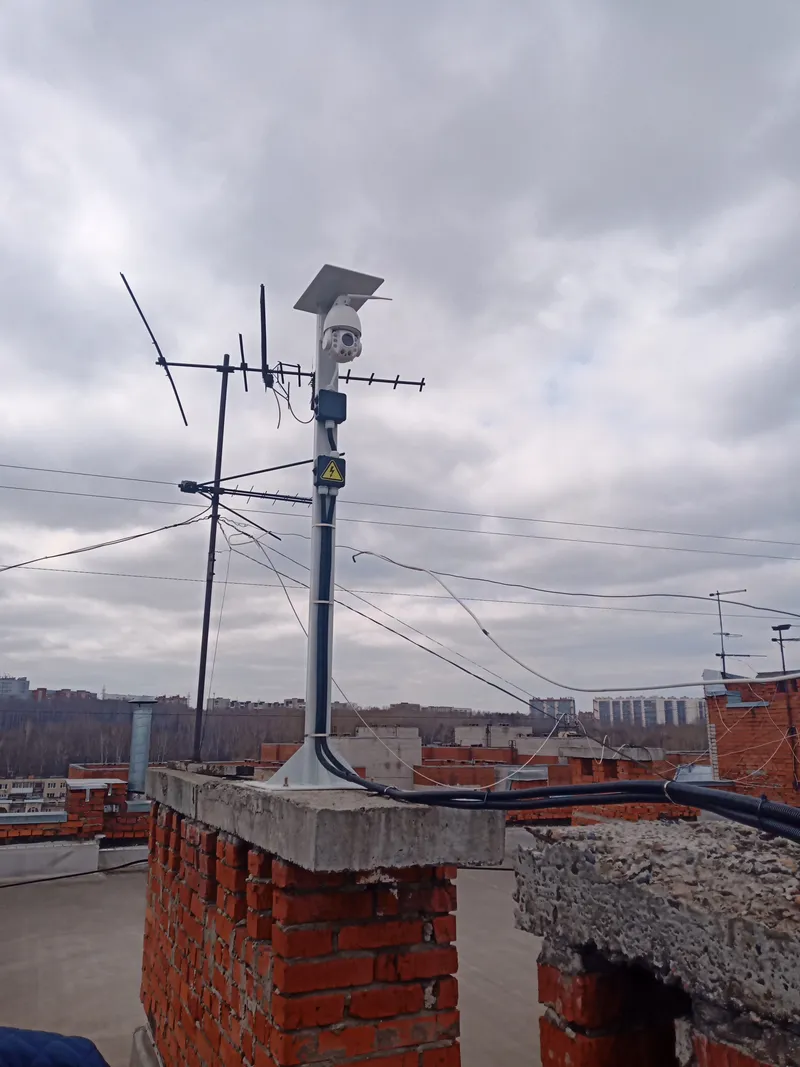
Mounting the camera on the roof
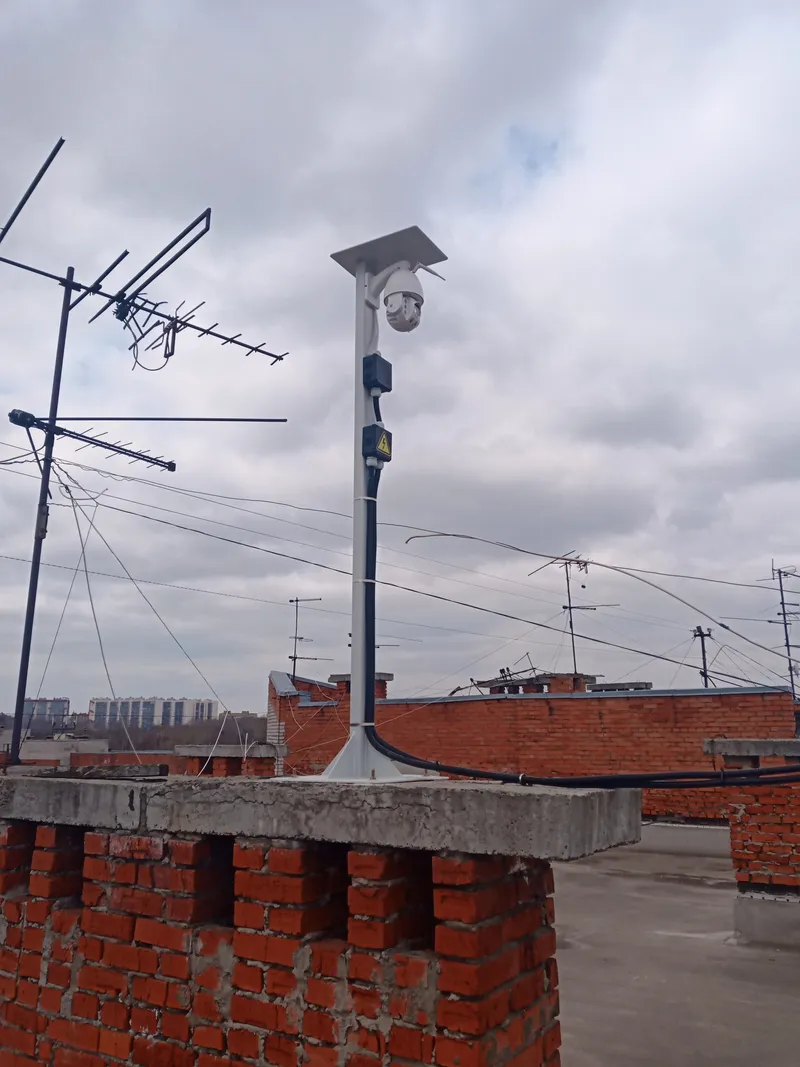
I installed the stand itself on the roof of one of the ventilation shafts using four wedge anchors. This ensures maximum stability even in strong winds.
Next, I tensioned the 3mm steel wire rope using two anchor rings (eye bolts), two wire rope clips, and the turnbuckle. The cable was strung from the camera stand to the edge of the roof. Using steel cable ties, I secured the two corrugated conduits to the wire rope, and passed the remaining length of the conduits through the ventilation window onto the technical floor, where there was access to electricity.
Then, on the technical floor, I mounted the electrical panel and the router box, connecting them to the conduits, the LAN cable, and the power cable. Finally, the panel was connected to the mains, and the camera powered up.
6
Installing the camera app
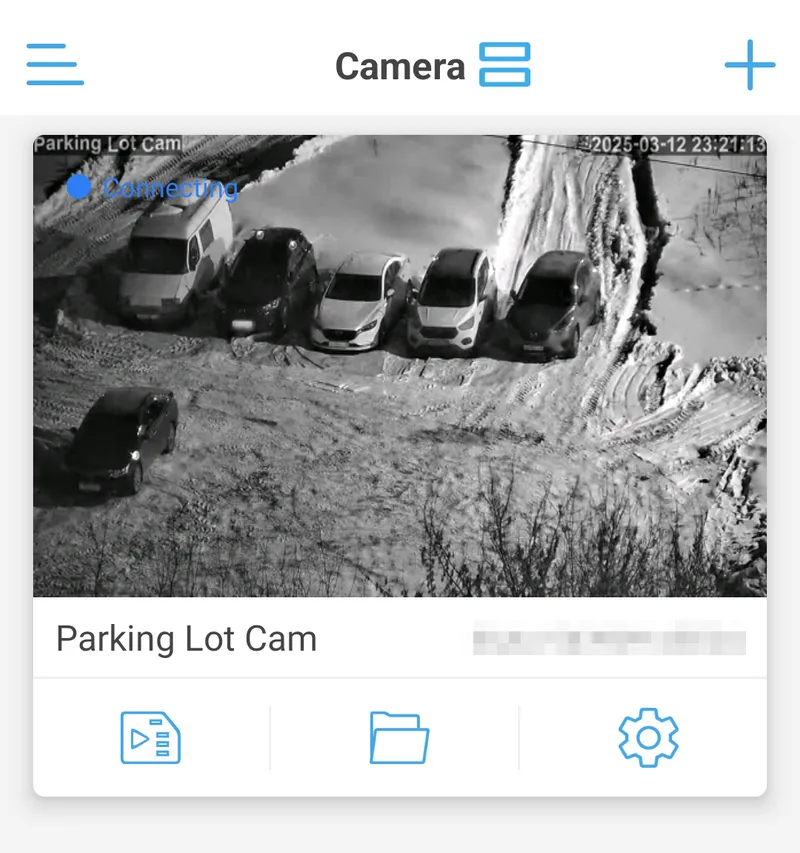
Download the CamHipro app and enter the login details found on the side of the camera. You can change the password in the app later. In this app, you can control the camera, adjust motion detection sensitivity, send camera photos to email, and set various presets. This makes controlling the camera simple and convenient, even if you are far from home.
Conclusion
Huge thanks to the Building Chairwoman, Valentina Yurievna, for providing the space to install this camera!
Now your parking lot is always under control!
Profit :)
Discussion (0)
No comments yet. Be the first!
Maker
Anton Shagaev
Tomsk, RU
Anton is the Founding Engineer at Tinkster. He translates industrial reliability into software architecture, ensuring the platform's core is built to last. Anton studied oil and gas engineering in the United States and also holds two honors degrees from Tomsk Polytechnic University.
Related Projects


AI Project Assistant
Tinkster Neural Core
Hi! I am the AI assistant for this project. Ask me any questions about the assembly, code, or components.