Original Project by TimG1967 from Instructables.
Hi all! After being a long-time browser of this site I decided it was time to publish my first Instructable. I'm very much into all things retro-gaming. I've built a full-size virtual pinball running Hyperspin which may well be my next Instructable. I'm also in the process of upgrading an early 90's Final Lap driving cabinet to be a multi-game machine.
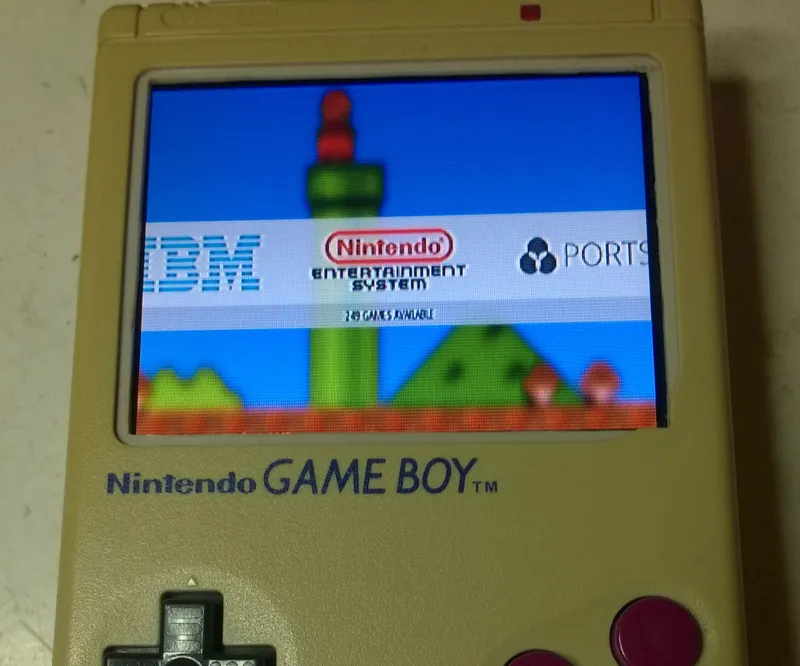
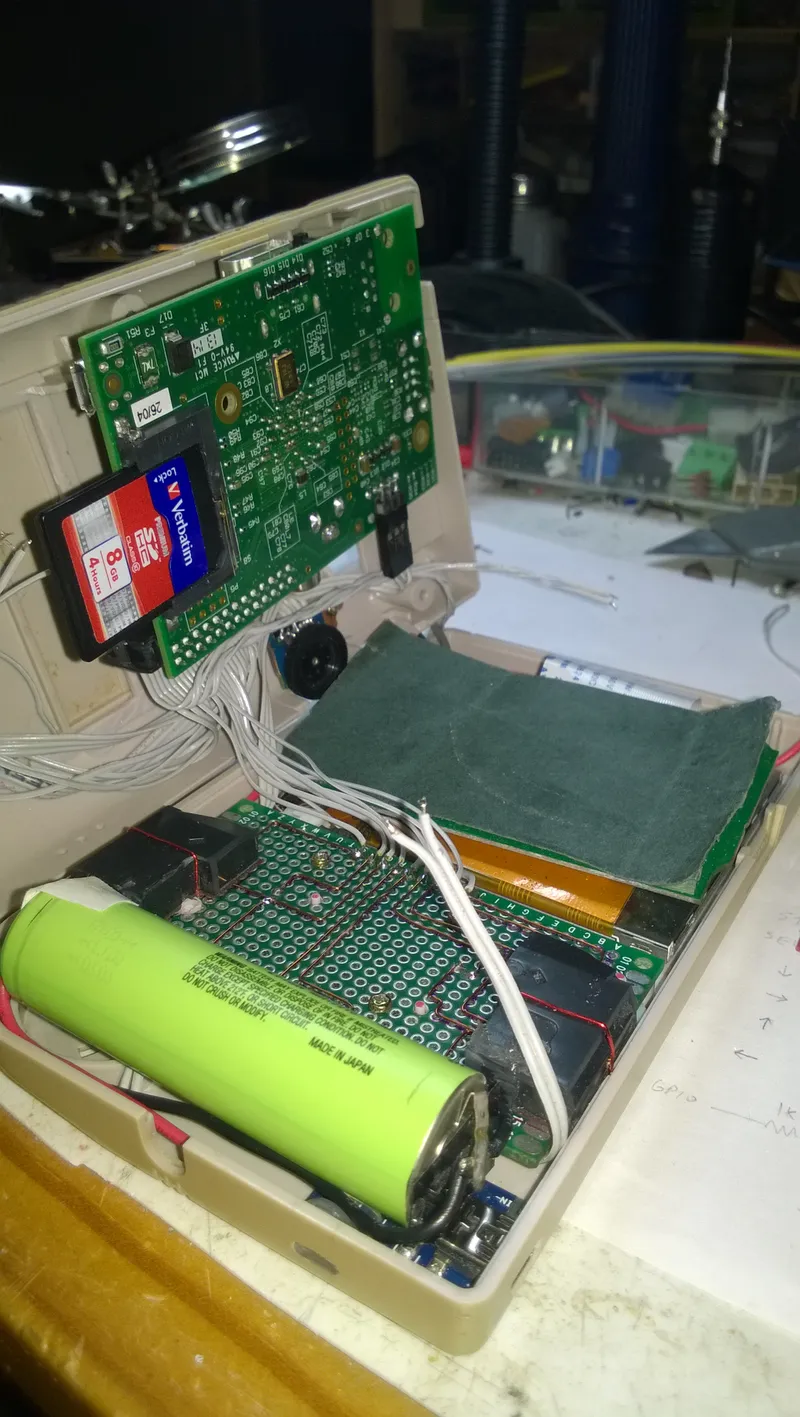
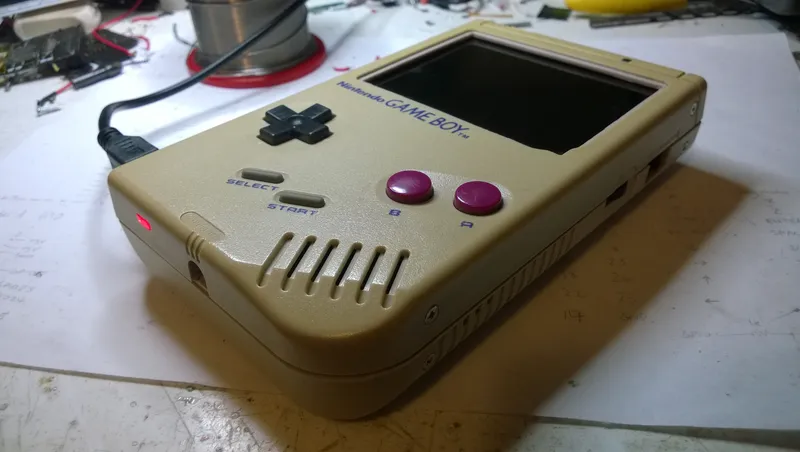
Here I will show how I gutted an old non-working Nintendo Gameboy original, and fitted these parts instead:
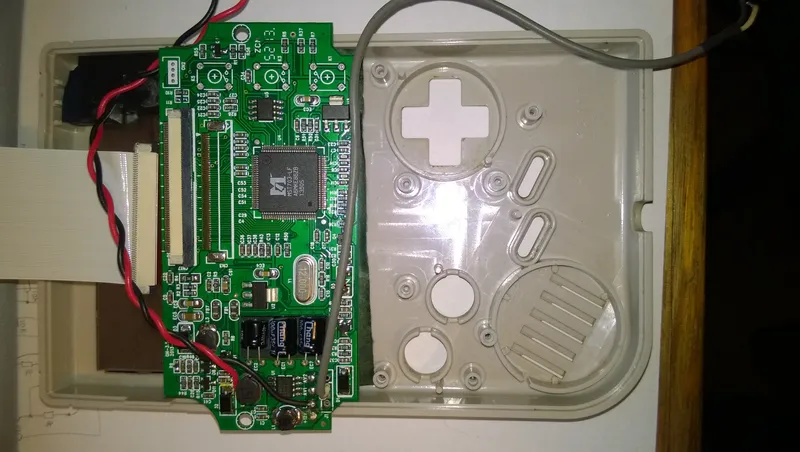
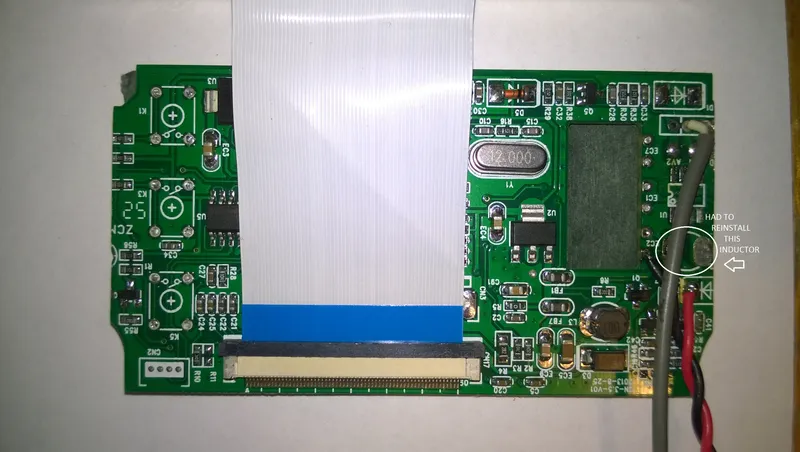
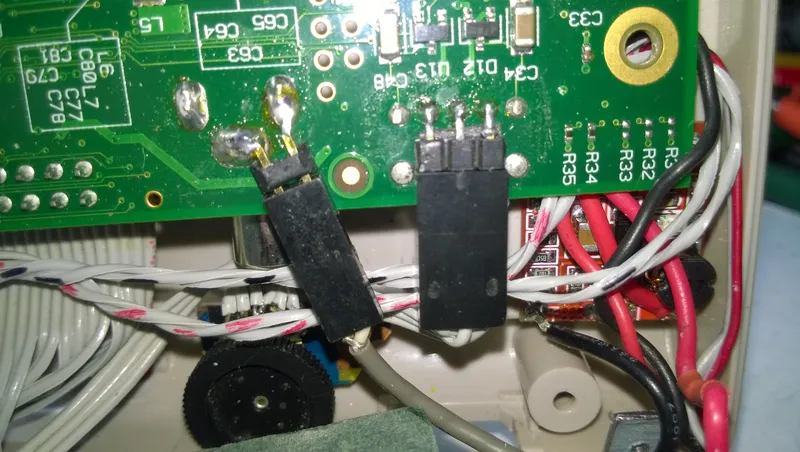
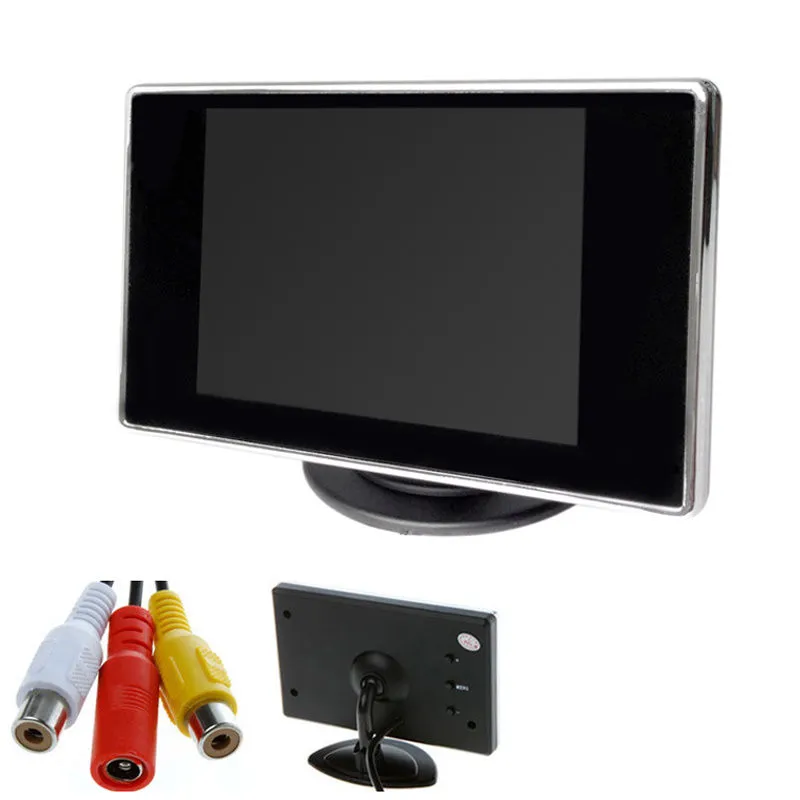
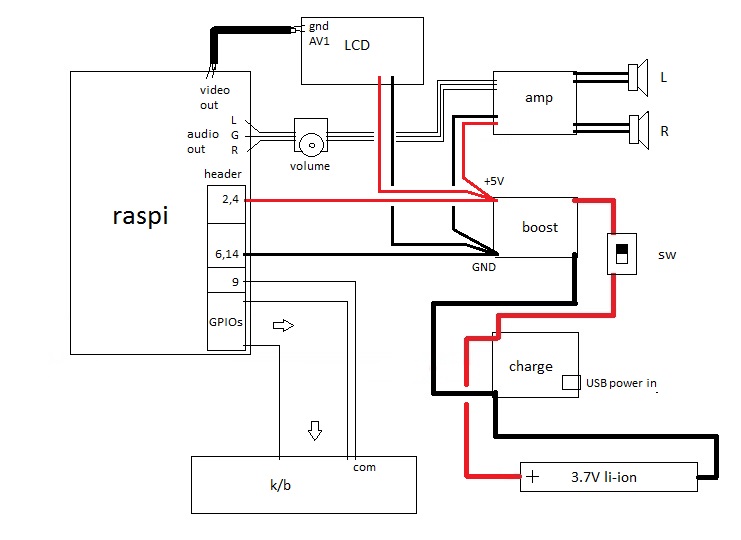
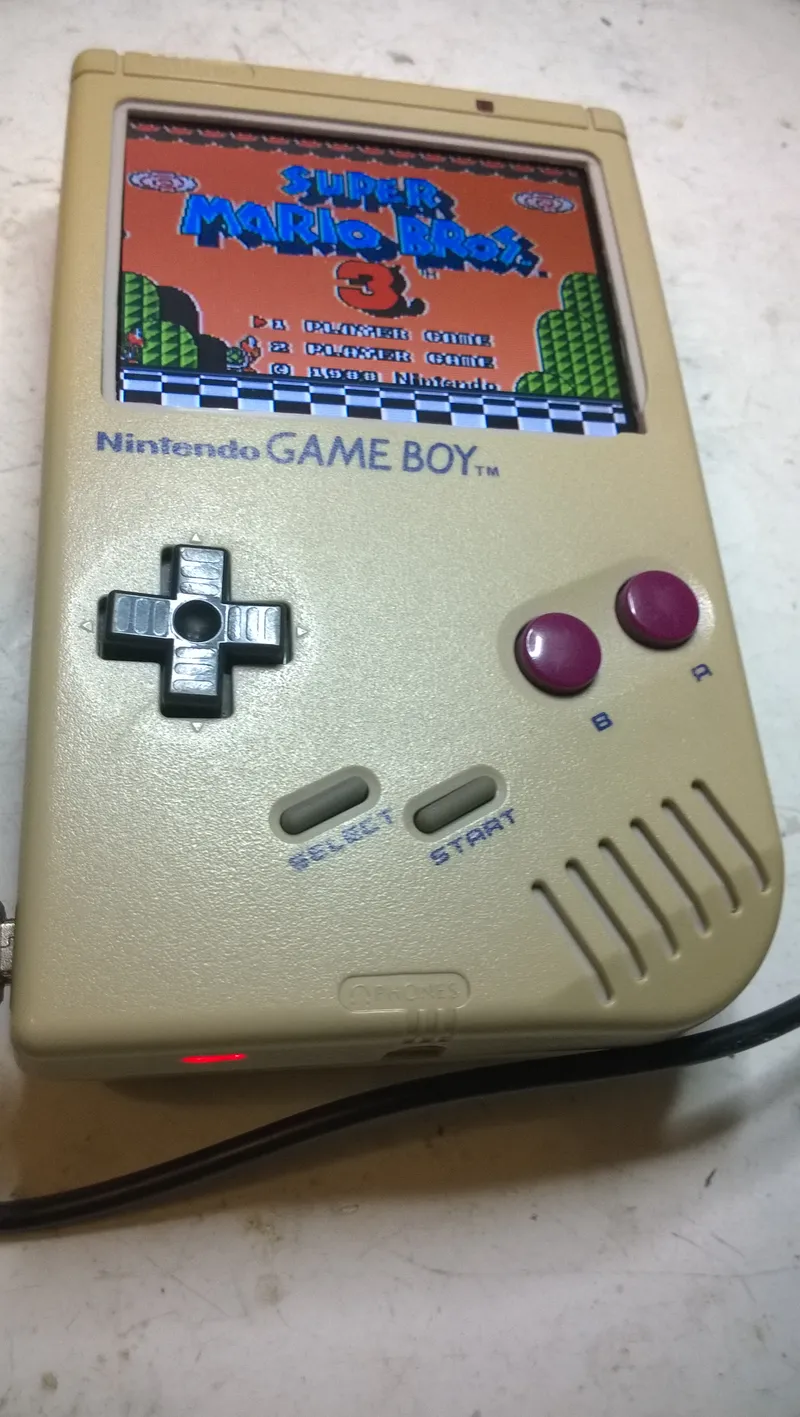
- 3.5" 320x240 LCD with driver PCB
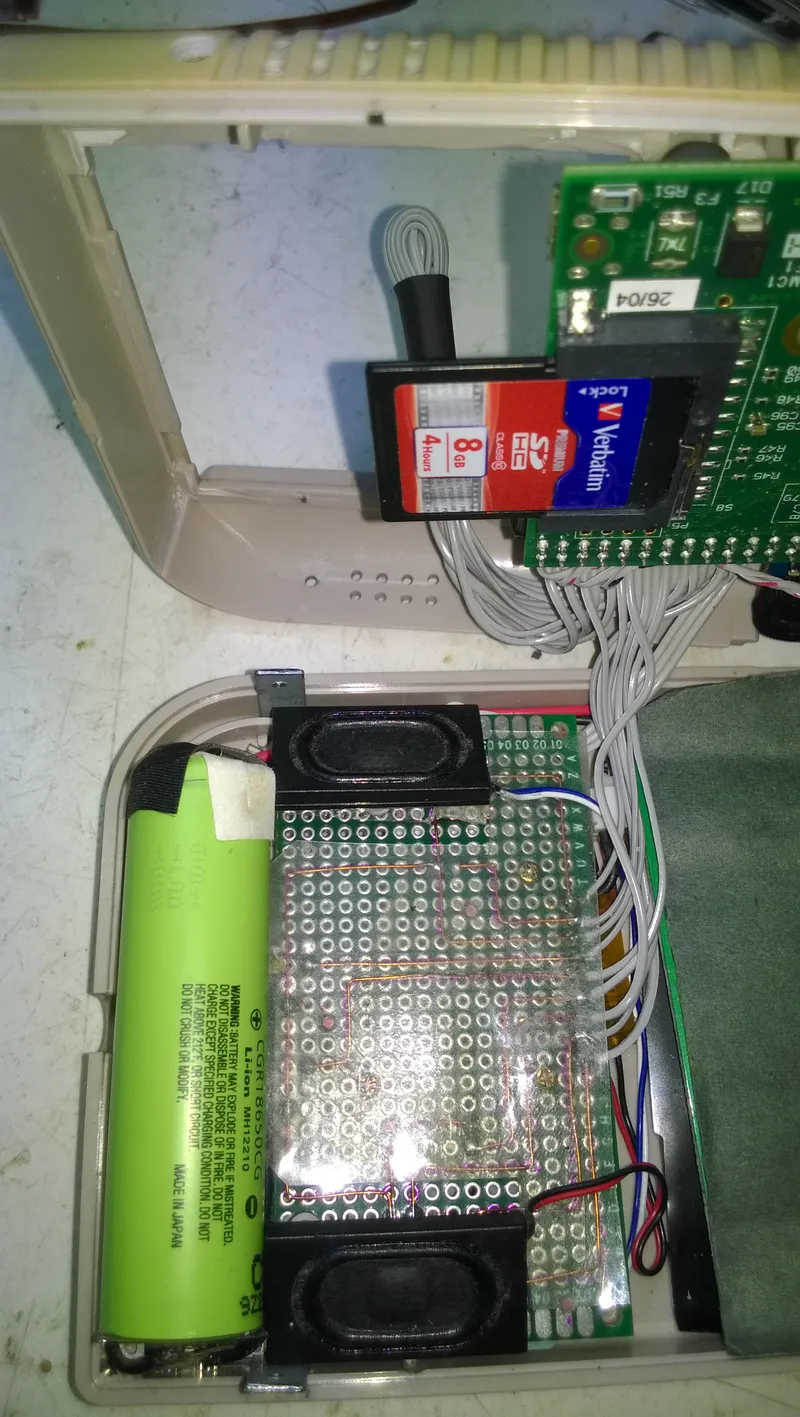
- Raspberry Pi (Model A)
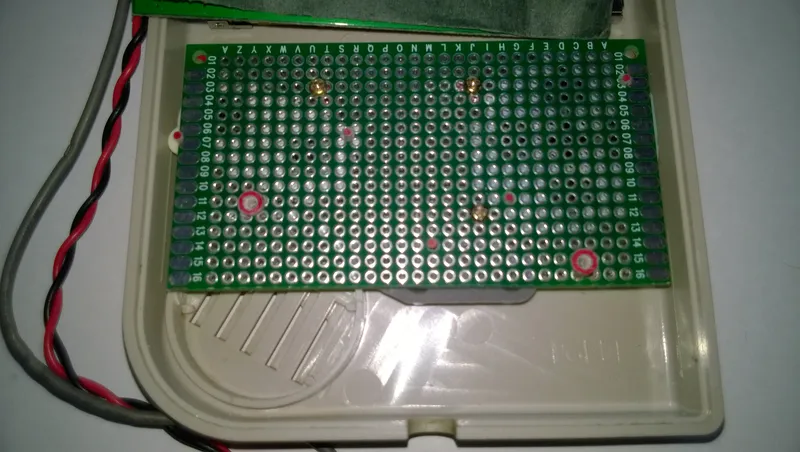
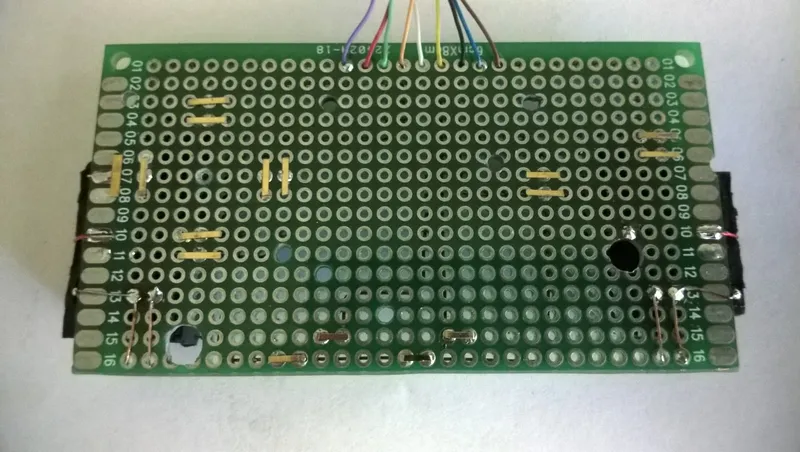
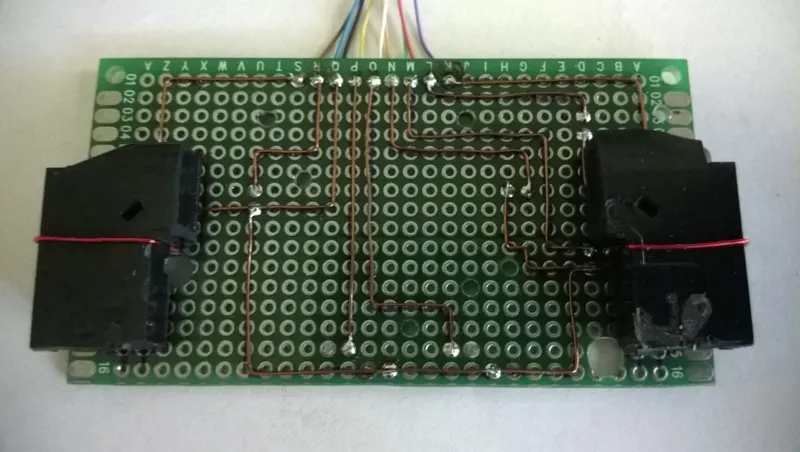
- custom built button PCB
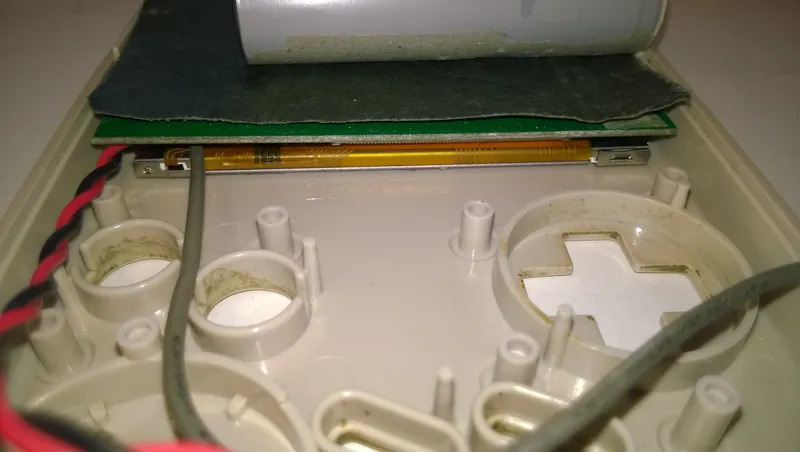
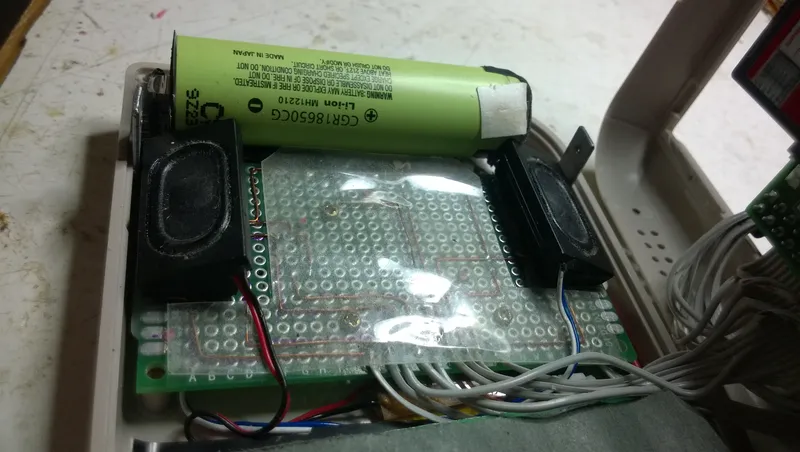
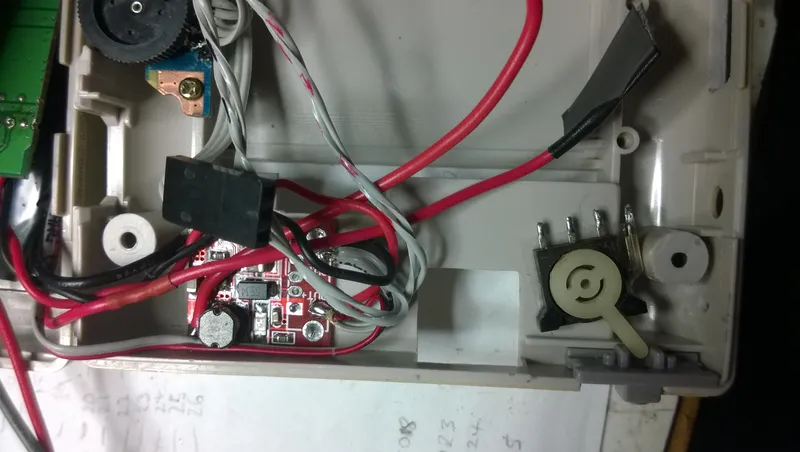
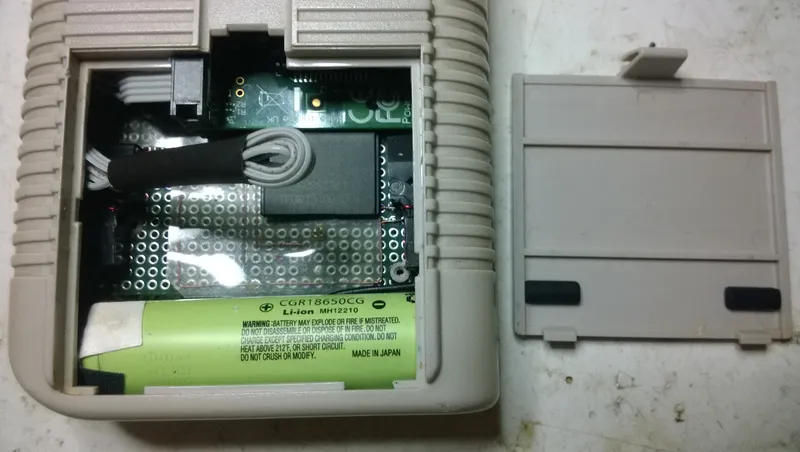
- 1x 18650 Li-Ion cell
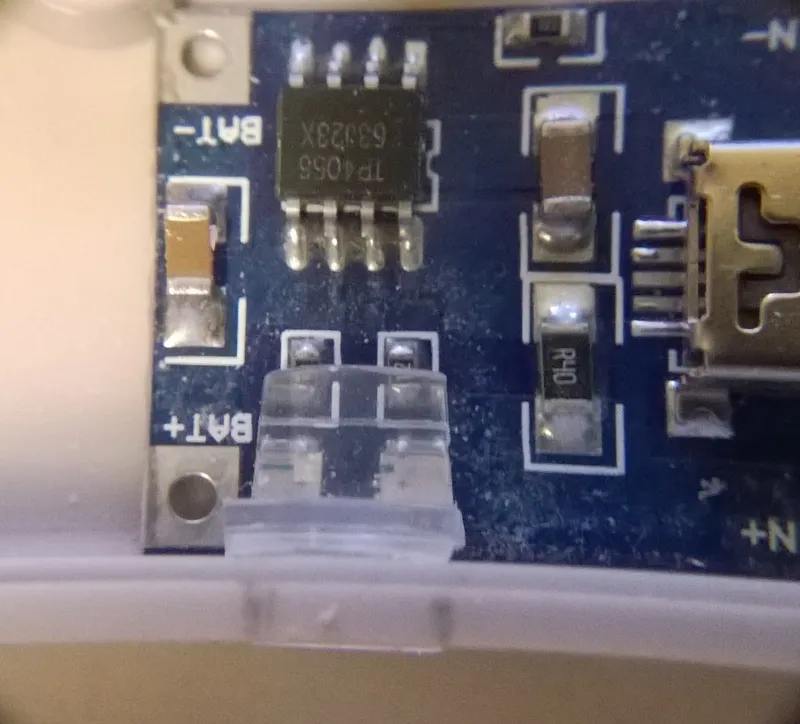
- USB Li-Ion charger board
- 3.7V to 5V DC-DC converter board
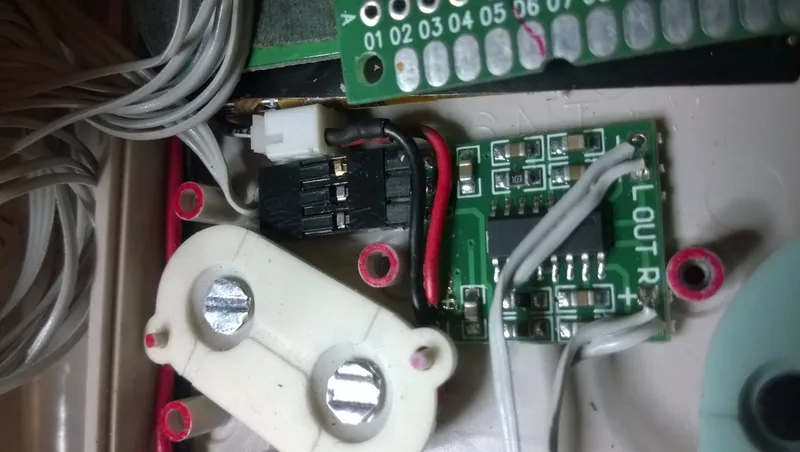
- stereo audio amp board
- stereo speakers
I've seen other Instructables doing a similar thing, but I set myself a few challenges and desired features of my build which include:
- Fitting the Pi with little or (ideally) no modification
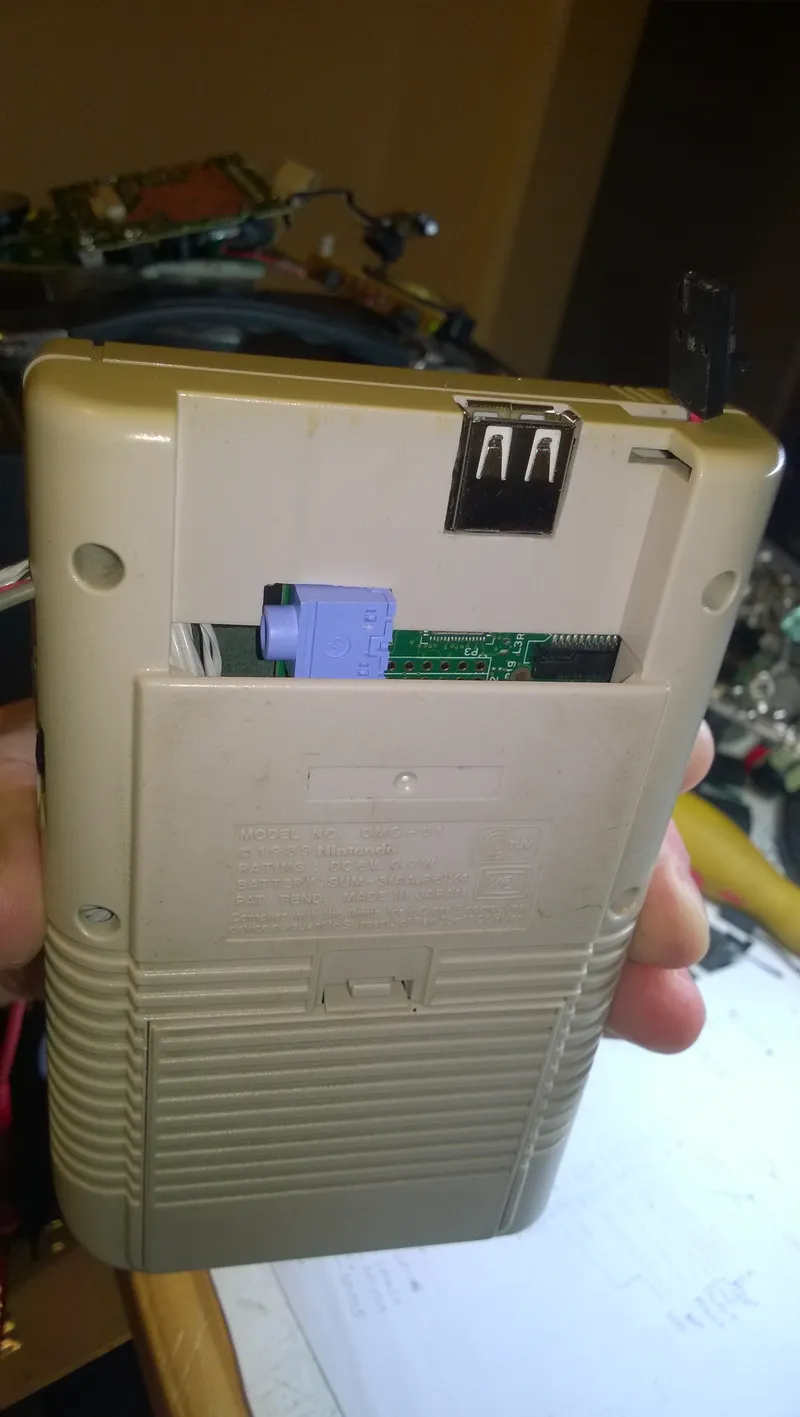
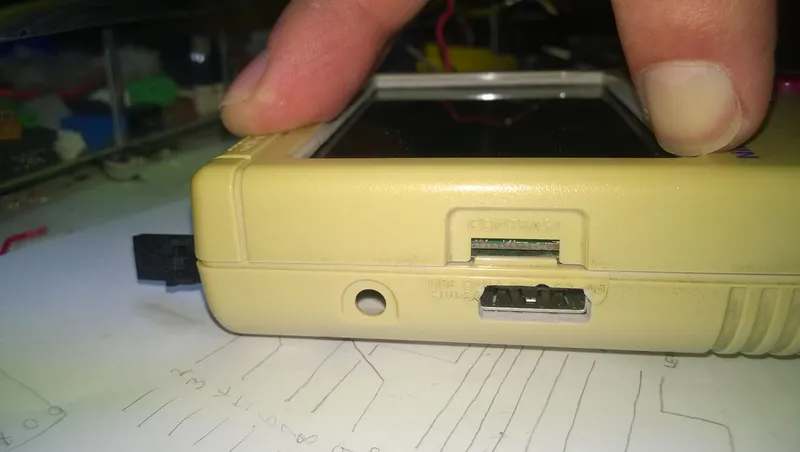
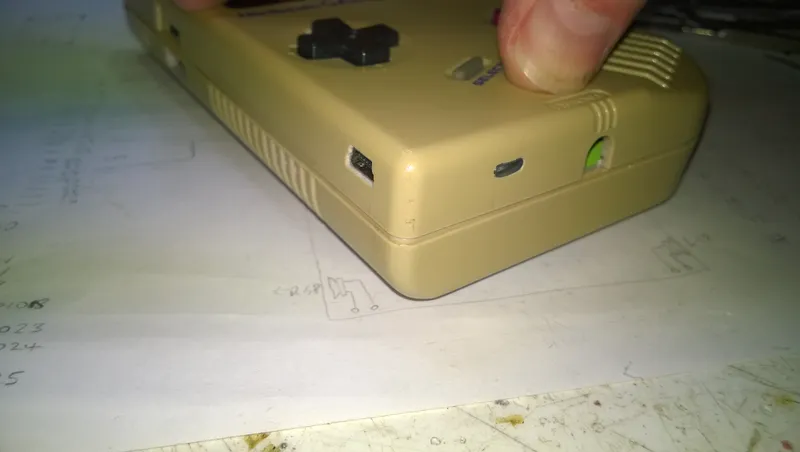
- Have the Pi's USB port and HDMI port remain accessible
- Have the SD card hidden away but also easily accessible
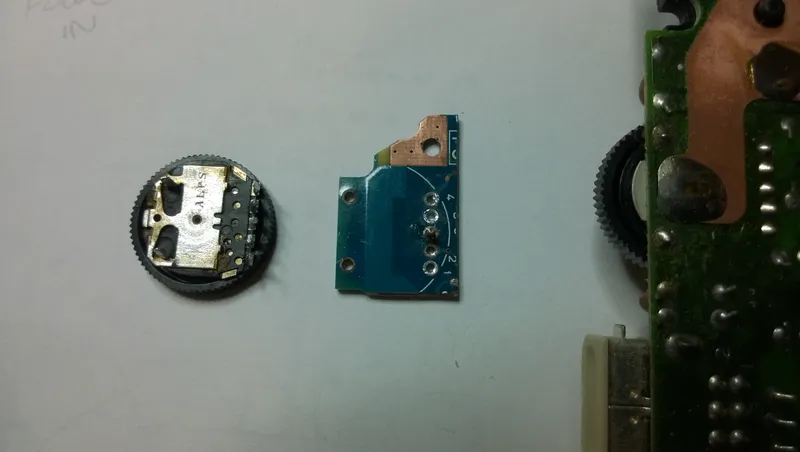
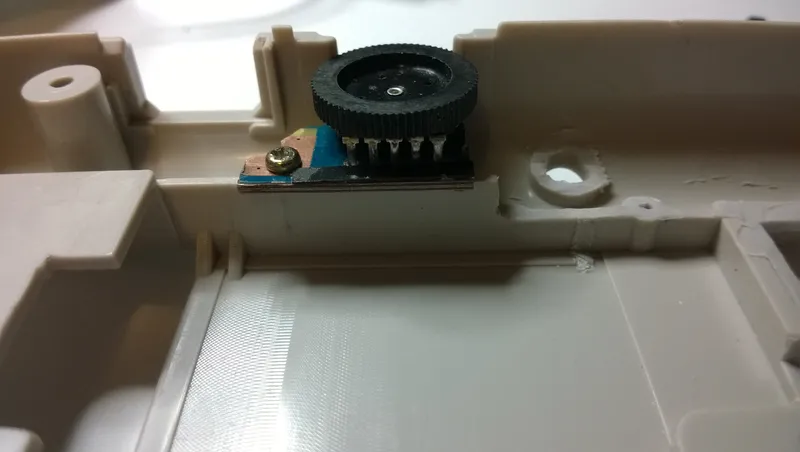
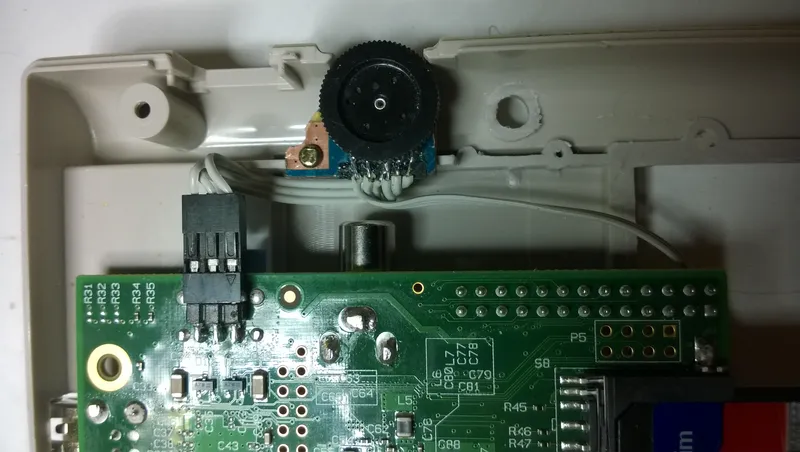
- Retain analogue control of volume
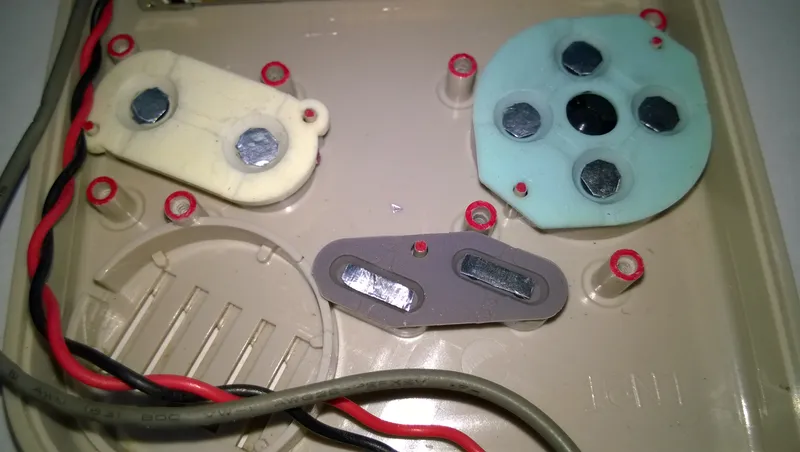
- Retain normal functions of all front buttons, also make it easy to add buttons if the need arises
- Upgrade sound with internal stereo speakers
- Have major components unpluggable (ie. not have all things hard-wired to each other)
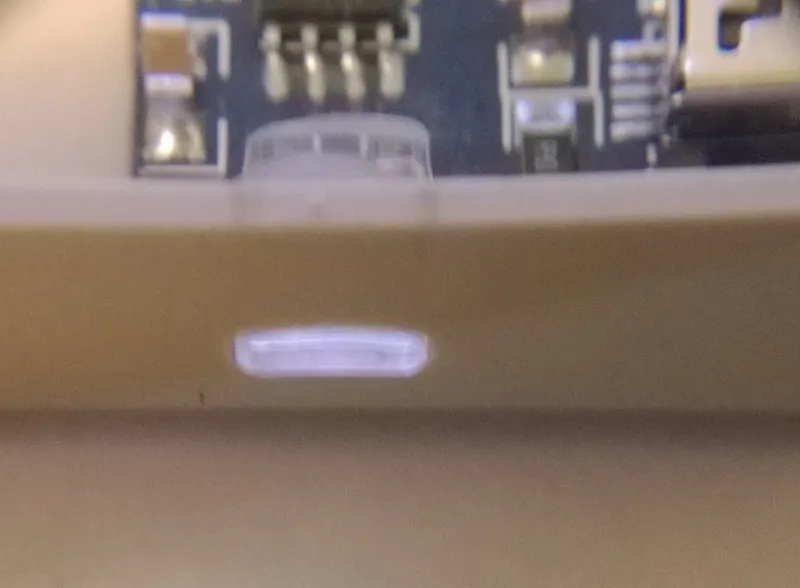
- Retain some kind of visible power LED and charge status LEDs
- Have the Gameboy case fit back together cleanly but very securely
- Achieve a good run-time per charge, around 2hrs+
In the end I think I achieved all these goals. Initially I wanted to fit 2x Li-Ion cells but there just wasn't enough room for that 2nd cell.
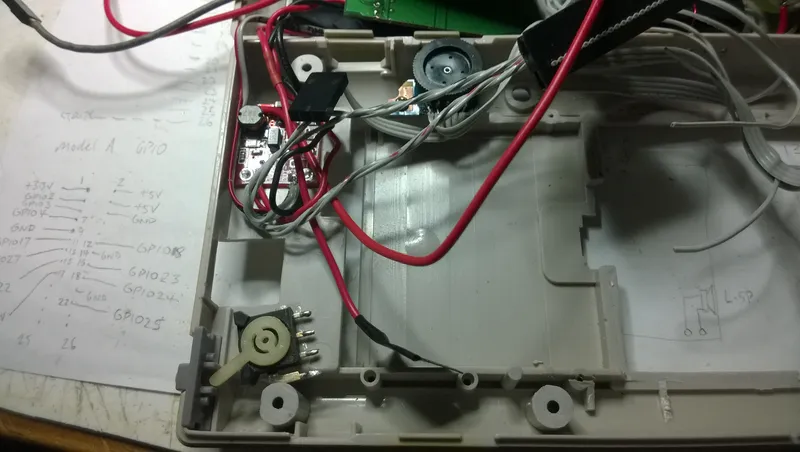
I had enough experience with Raspian/Raspbmc to know how to get the Pi up and running with RetroPie. I was new to EmulationStation though. I also had not previously dealt with the GPIO pins on a Pi. But I soon discovered how useful these pins are and that it would be possible to control not only the games but also navigate EmulationStation menus as well. Each button grounds a certain GPIO pin, then software makes that action produce a keystroke, as defined in a config file.
Anyway, on with the mod!
Regrets and things still to be done:
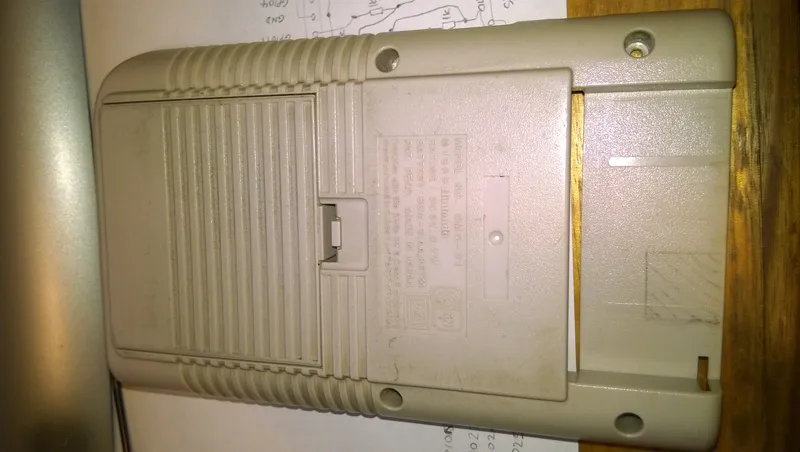
1. I would love to have got hold of a Gameboy that had not yellowed! When I was searching online for a Gameboy to mod, this one was quite cheap as it was faulty and yellowed and very grubby. It cleaned up OK but a paint job is the only way to get rid of the yellow. Still, this was my first attempt and if it failed, then better to have destroyed a yellowed Gameboy rather than one in as-new condition.
2. I did not bother adding a headphone socket as there seemed no easy way since the battery is now in the way at the bottom. I should fill in the hole, as well as the old link port and charge port holes.
3. The speakers did not sound as great once in the case and all closed up. I suspect the 3 small holes I drilled to let the sound out are way too small but I didn't want to cut big ugly speaker holes. I may try turning the holes into a long slot roughly the same size as the openings of each speaker to see if that gets more sound out.
Update: This problem has been fixed.
4. I've not added any cover or surround to the LCD yet. If I can find a thin piece of acrylic or glass cut to the size of the opening, with some kind of thin black border I think that would improve the look a lot and provide protection for the LCD.
5. Need to add protection board to Li-Ion cell. This will disconnect power from the cell if a short occurs or it the voltage gets too low. At the moment the only way I can tell that the voltage is low is the boost board LED goes out and the LCD starts to flicker on and off. Then it's time to switch off and recharge!
But overall, this was a very challenging project and it turned out every bit as good as I'd hoped! Now it's time to enjoy some hand-held retro gaming!
Note: Not long after finishing this up I discovered another small USB Li-Ion charging board online, one that has micro USB input and also incorporates battery protection circuitry. It's not much bigger than the one I used and would have been the ideal choice.