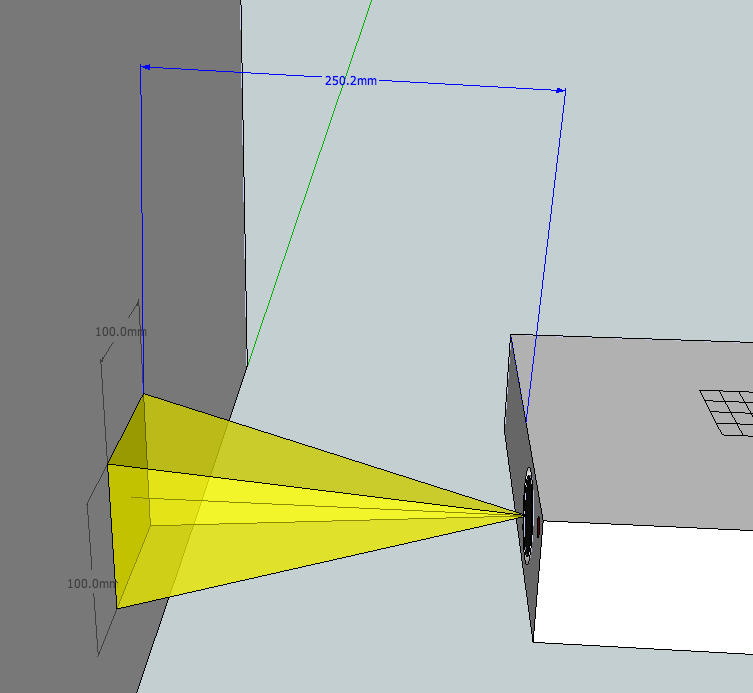
The resin basin is basically a tank that holds your resin. Since we build bottom up, the bottom of the build tank needs some special attention. The light will pass through the bottom of the tank and the anti sticking layer before it gets to the cure the resin. Unfortunately most materials absorb our precious UV light. So when selecting the material for the bottom we must take in to account that it must be as UV transparent as possible.
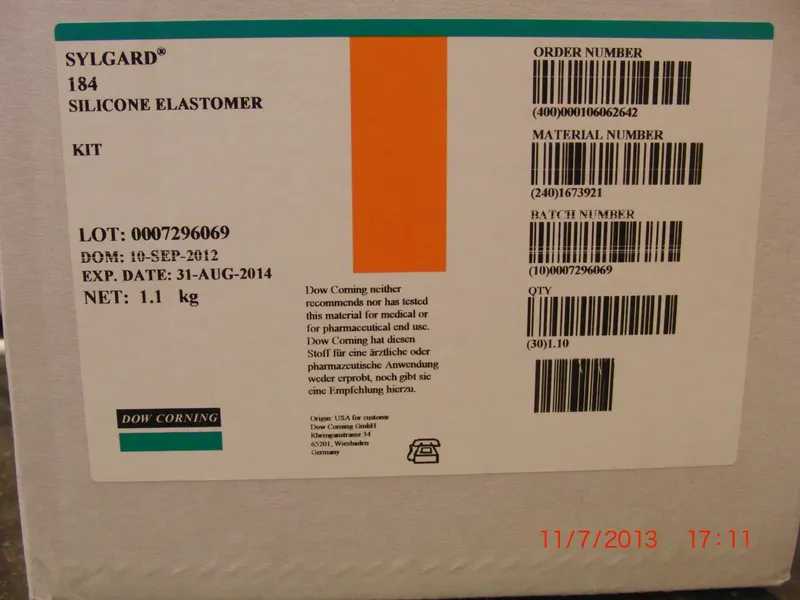
After some googling we found that the best and most UV transparent anti sticking coating is sylgard 184. This can simply be bought from eBay or amazon. Just take care you buy the real stuff from Dow Corning and not some Chinese ripoff. Being a chemist I am always a bit cautious with bringing plastics in to contact with solvents. I am of course referring to using Plexiglass to build the basin out off as I observe many people do online. Yes it looks great but please take the following in to account. Plastics may contain plasticizers and other solvents and chemistry that may leach out off the plastic when brought in to contact with organic solvents. Your 3D resin might just be a very good organic solvent. This means you change the composition of your resin which might give the cured product very different properties than the resin should have. It can even happen that it will not cure at all, becomes waxy, get rubbery etc etc.
So we will build our basin out of mostly inert materials.
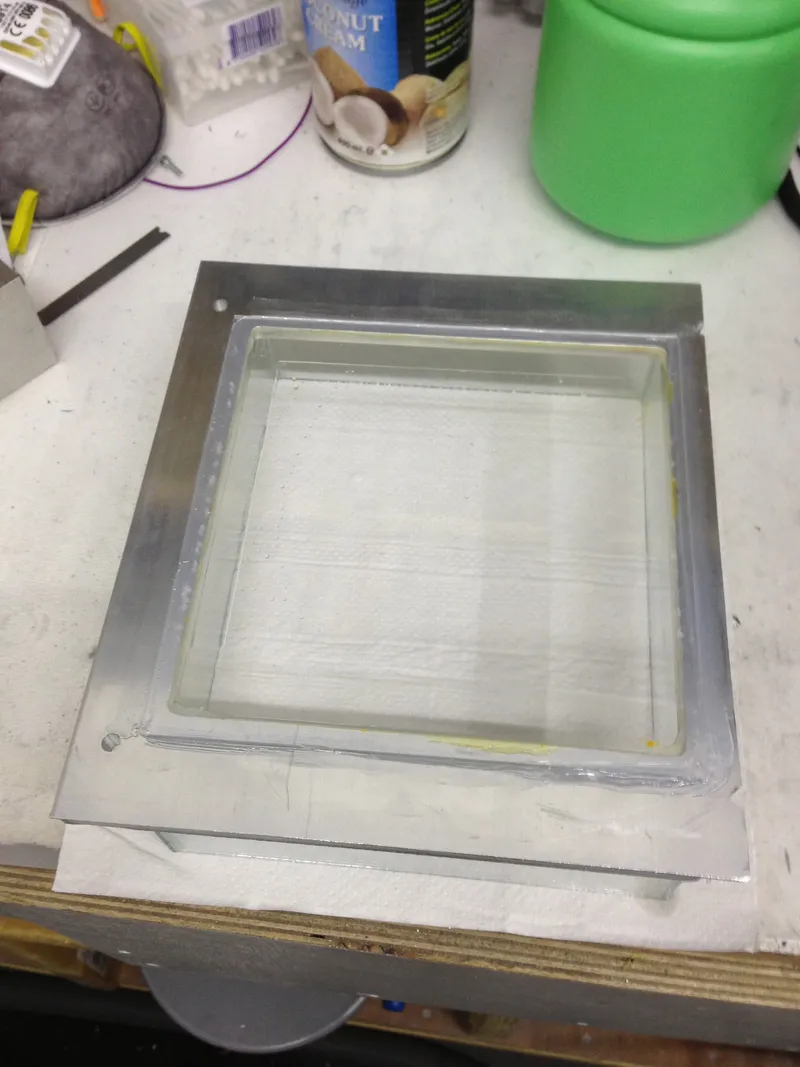
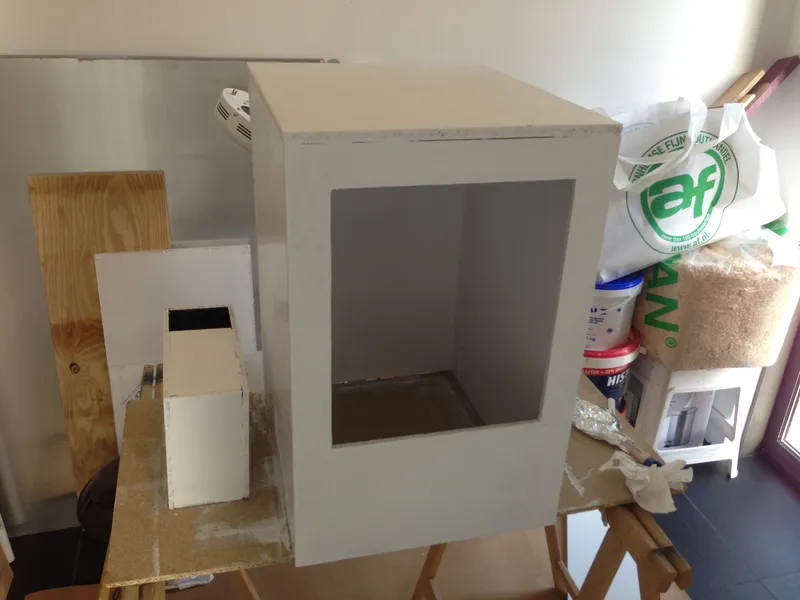
We also wanted to build the basin in such a way that it is modular. Which led if I may say so to our very elegant basin design.
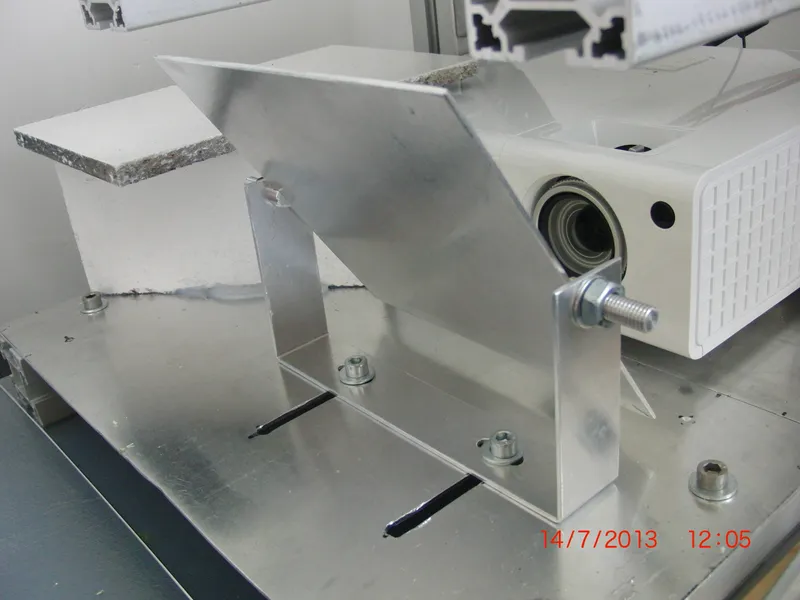
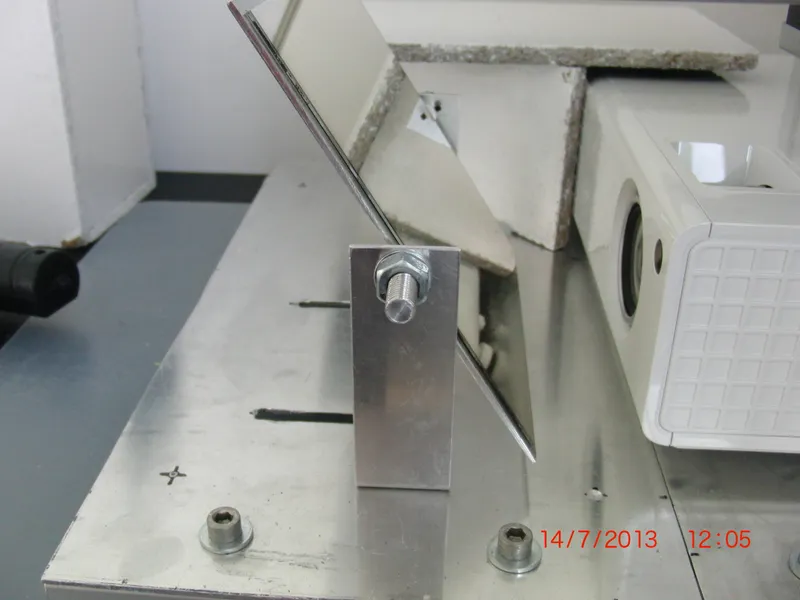
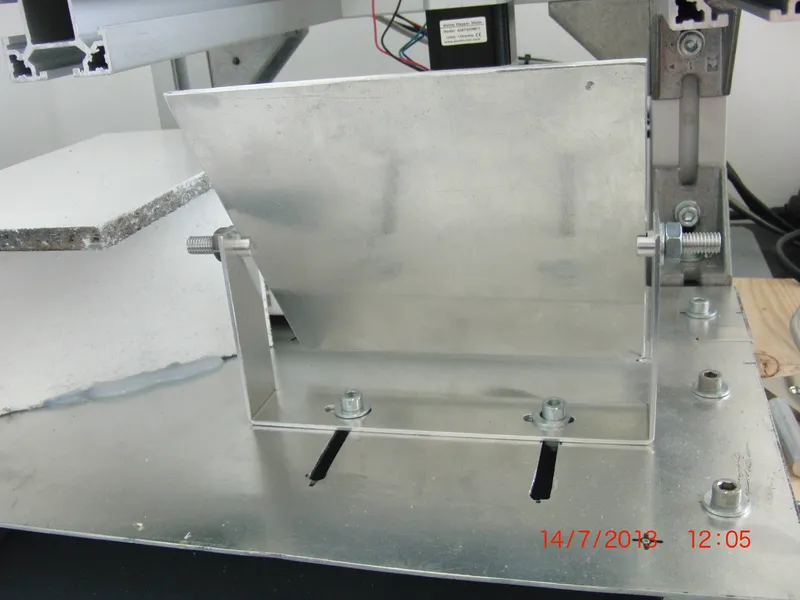
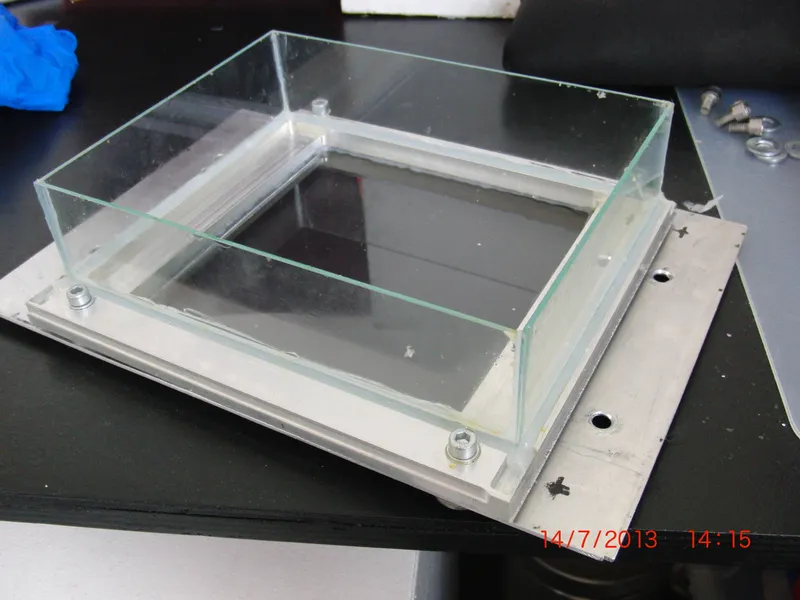
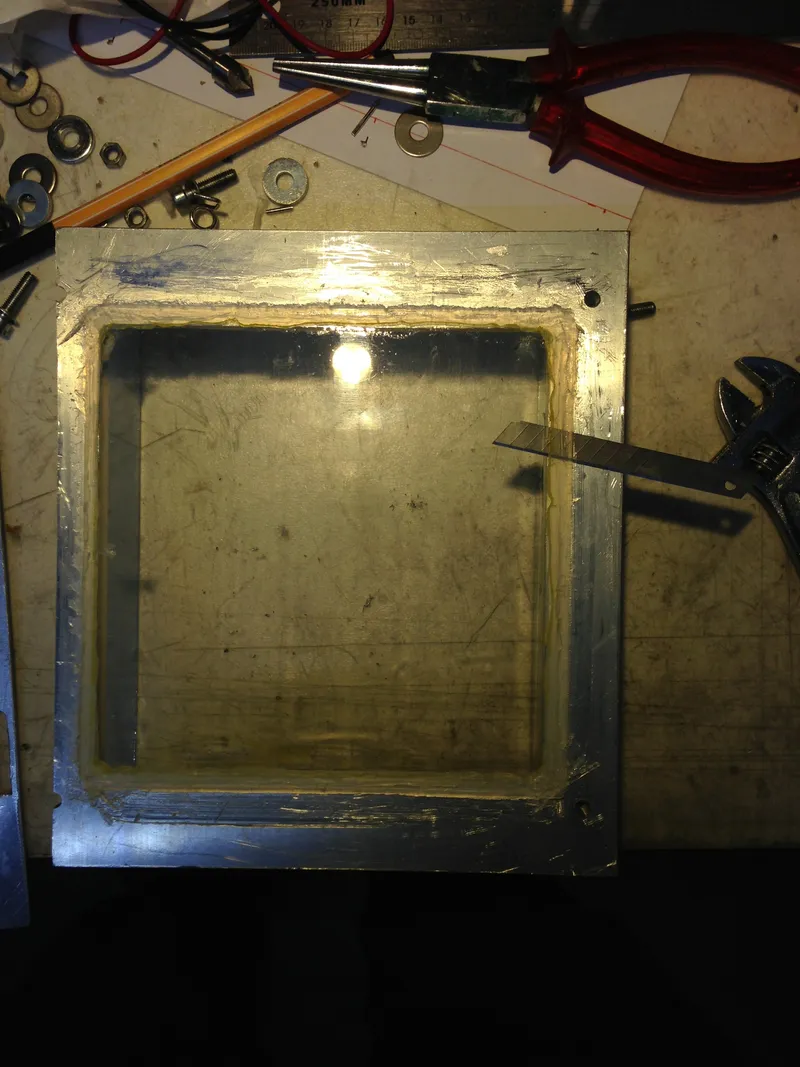
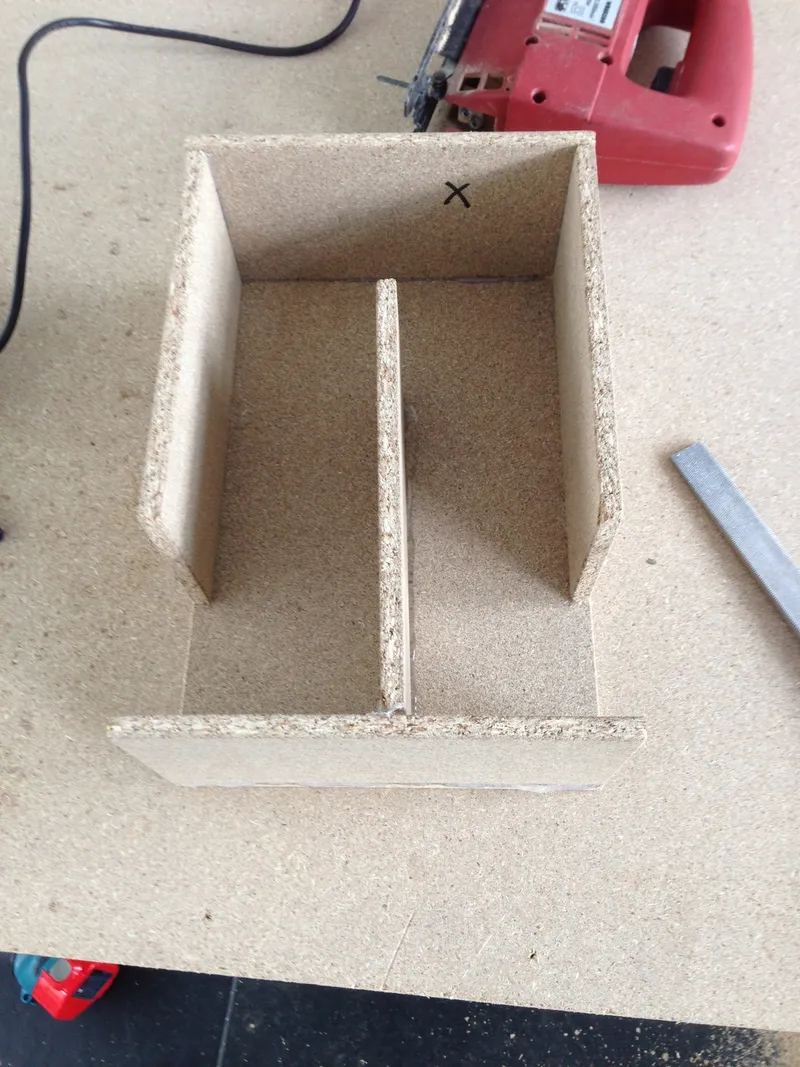
The basin consists out of a base plate made in our case out of aluminum. This is what holds the entire basin together and needs to be a stiff structure. I milled some slots in to the base plate to fit in the walls of the basin. I recommend you use glass for the walls of the basin, 2mm ordinary window glass will do. I sacrificed a large picture frame with a 2mm glass window for this purpose.
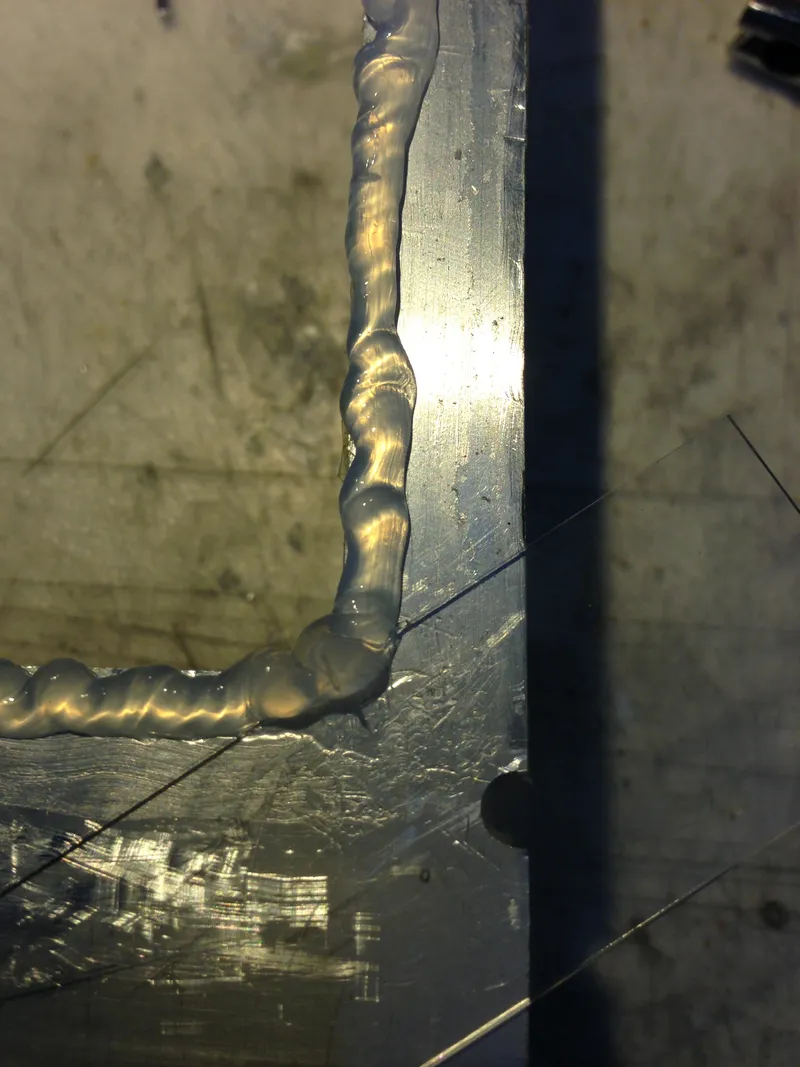
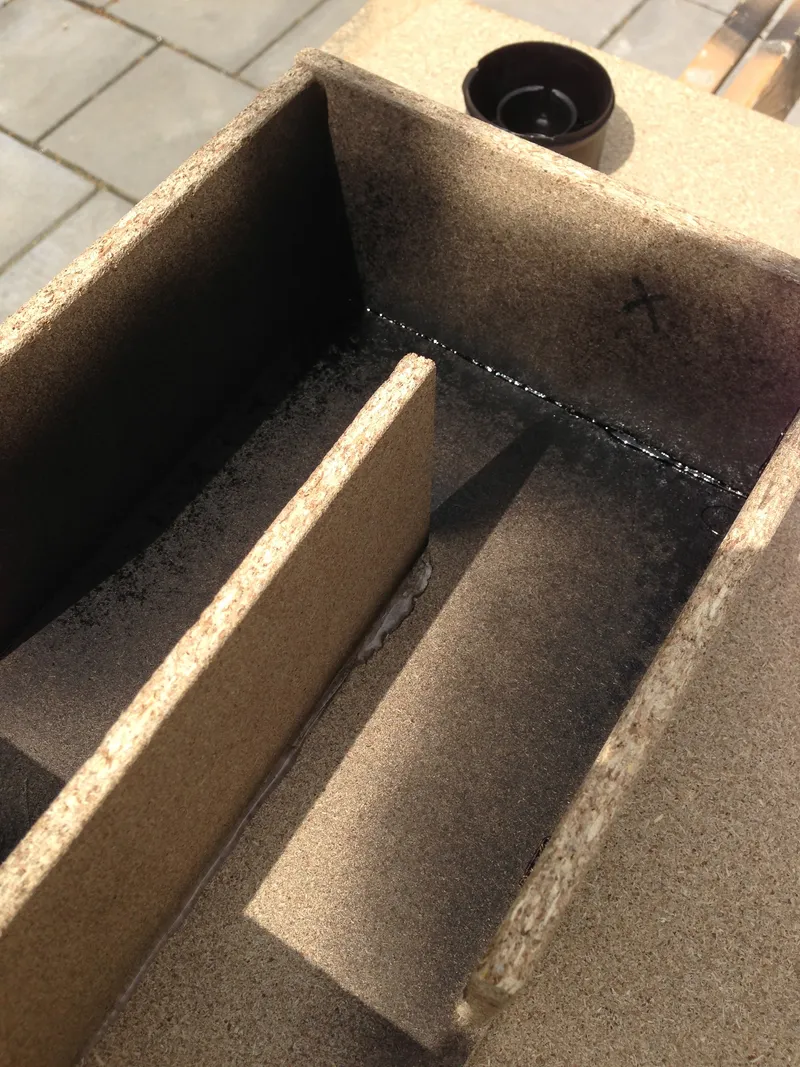
Glue the walls of your basin on to the base plate with some silicone sealent.
It is important that you use the right type of sealent here, the one that is clear, colorless and used to build aquaria. Over the past few months we have tried a few different types, silicone = silicone right? Wrong! Different types of silicone have different compositions and we found that over time most silicones give under our abuse. They for some reason can not handle the mechanical stress. Or do not adhere to the aluminum properly, or the glass when exposed to our 3D resin.
Leave your walls and base plate dry for at least a day before you glue on the bottom.
The bottom is a bit of my special baby. I am not 100% happy with its performance yet but I'll dive in to that in the review of our machine.
For the bottom plate you will need a 0.7mm borosilicate window of 150x150mm. This is a very special item and I have no idea where you could get yours from. I have some friends at Phillips Pins, that is The Phillips research facility on the High Tech Campus in The Netherlands. So in the spirit of DIY I consider this a bit of a cheat, but these guys are awesome! They do O-LEDs, coffee machines, TVs and all sorts. If there is a large interest I maybe able to poke them for a stack of them but I expect these windows to be like at least 150€ each.
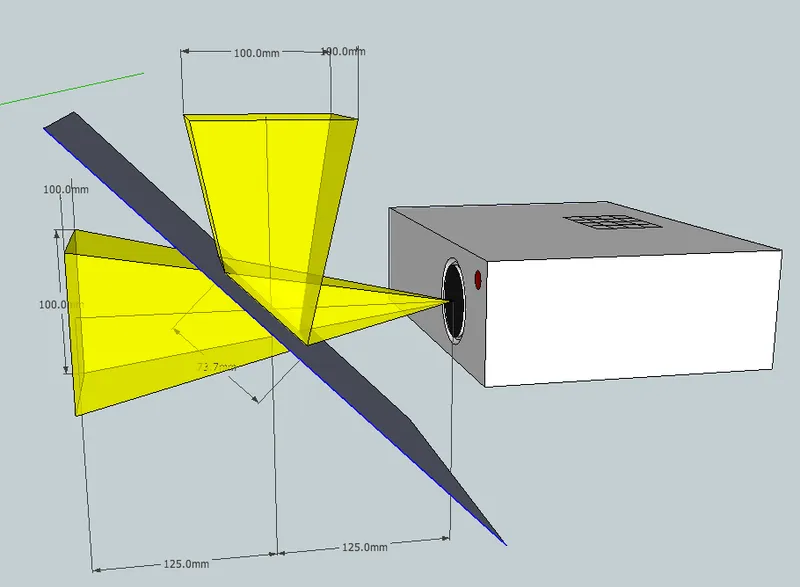
Why borosilicate? Well that's because it is highly UV transparent I believe all the way down to wavelengths of 200nm. So this really helps preserve our precious far blue and UV part of the emitted light of our Beamer.
Also borosilicate is a lot stronger than normal glass. This leads me to the second option normal glass, you could use normal glass of about 1 or 2 mm thick. Please don't use transparent plastics, they are filled with UV blockers or not UV stable. That means that your cure time will be much longer then necessary or that your basin will become brittle over time.
Your bottom window need a anti stick coating, known as a conformal coating in some industries. Most of the DLP folks out there use sylgard 184 by Dow Corning.
I have found that it is suggested that you build a basin and pour in some thing like 250 grams of PDMS (you know the silicone elastomer sylgard 184). That is a little expensive for my taste, 500 grams of PDMS go's for about 80€. And I read that this coating is to be considered a disposable. Meaning that you will have to apply a new coating every few builds or your object will stick to the bottom. So we will apply a better coating with 5mm of PDMS and make my jar of sylgard 184 last 50 times longer.
We will use a method known as tape casting or doctor blading. It works a bit like squeegeeing your windows.
Materials:
Silicone kit/chalk the aquarium transparent type
2mm glass
Borosilicate 150x150 window or a normal glass window.
Scotch tape
Piece of aluminum 200x200x10mm will do
Disposable cups
Disposable stirrers
Kitchen paper rolls and rolls of it
Soap
Water
Ethanol
Tools:
Glass cutter
Drill press (or CNC mill)
Jig saw (or CNC mill)
Silicone sealent gun
File
Carbide sanding paper 240 grit
4 microscope slides
Digital scale that reads single grams or smaller
Pasteur pipet
Scalpel
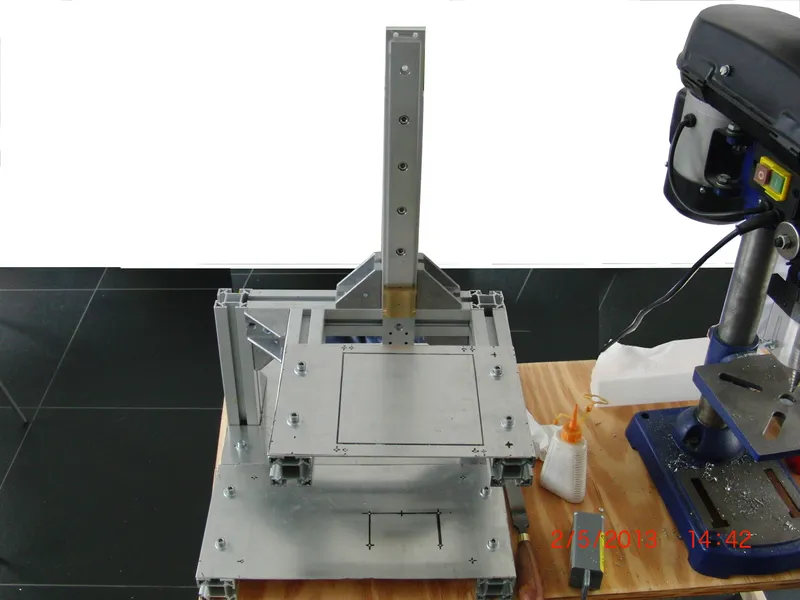
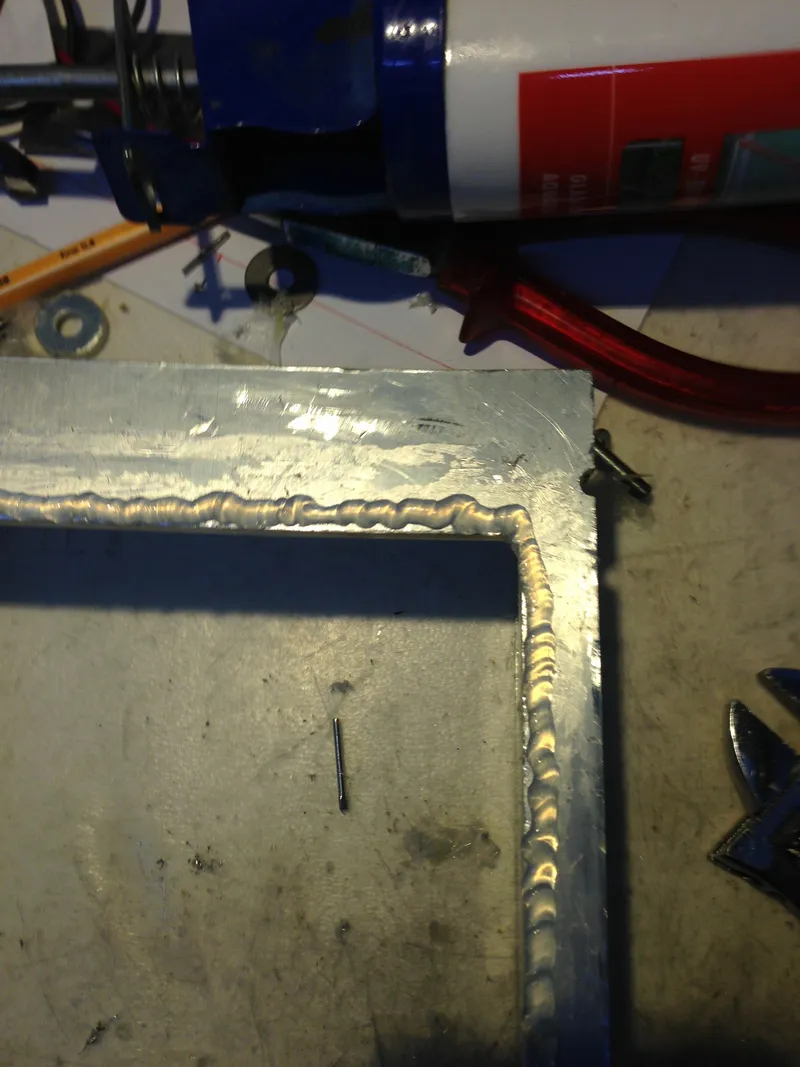
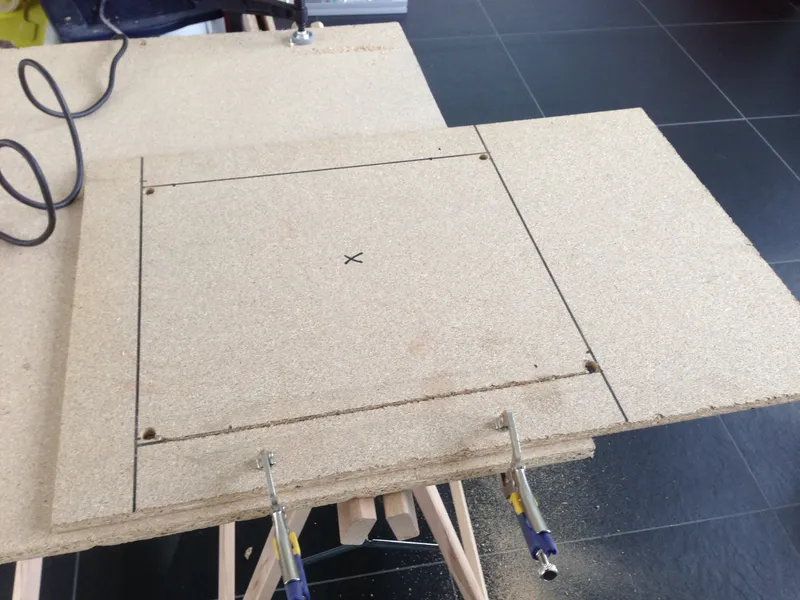
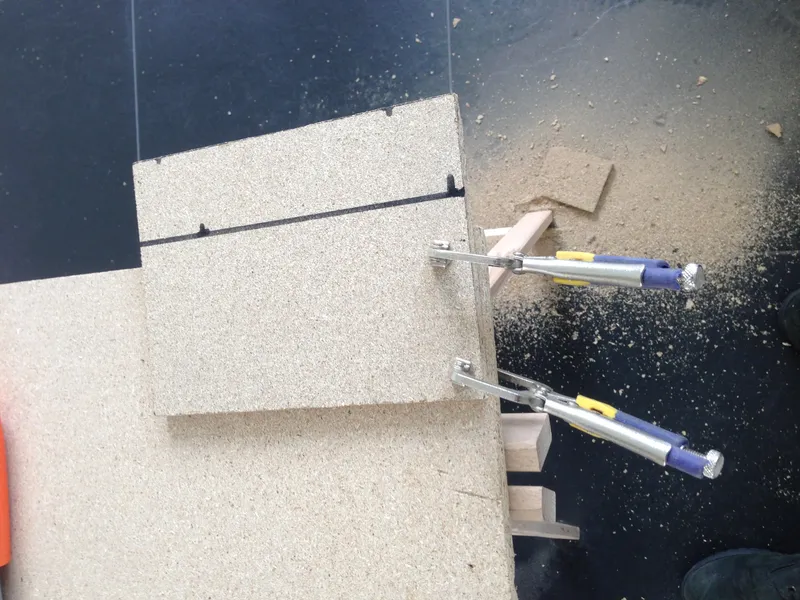
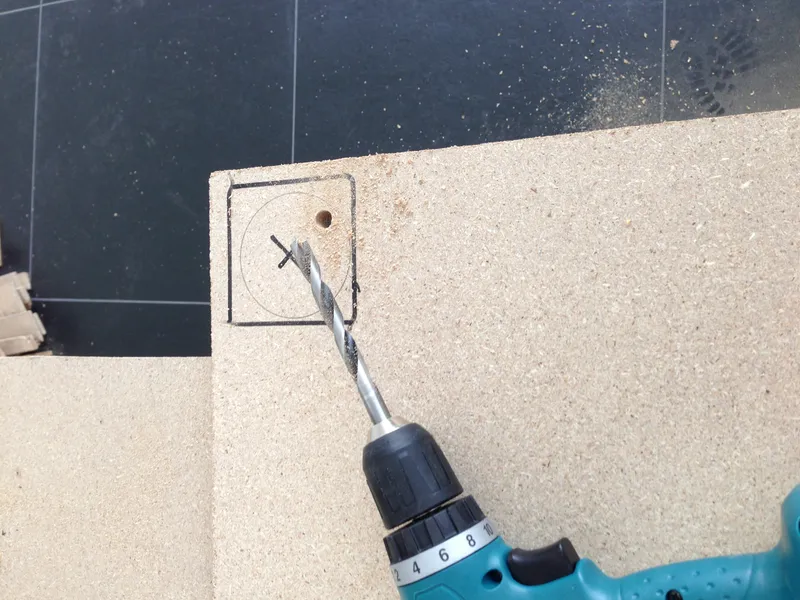
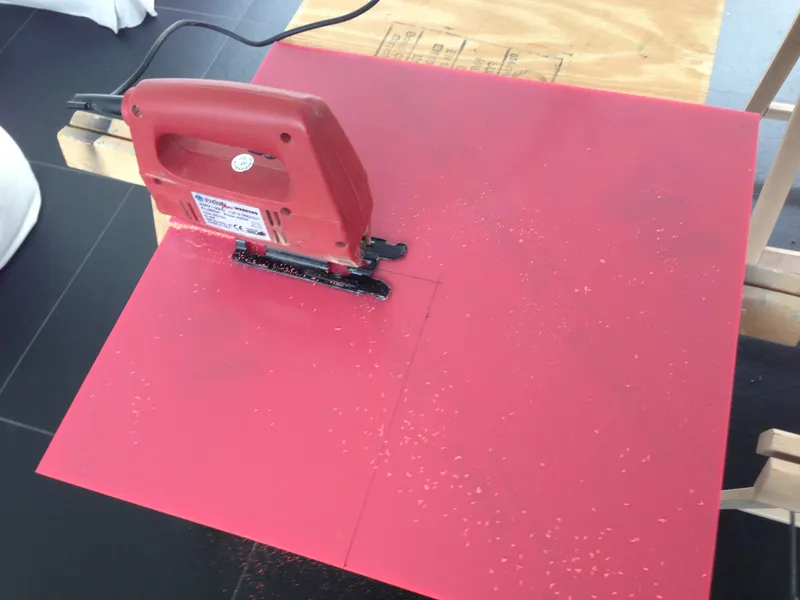
First use our designs to make the base plate. If your doing this by hand use your drill press to drill all the holes and drill our the four corners of the middle square. Next use the jigsaw to cut out the window in the aluminium assuming you have drilled your holes on the corners of this window large enough for your saw blade to fit through. Make sure all your cutting and drilling stays within the outlines of the window. There is not much room for an oops. When your window hole is done cut the aluminium to size with your jigsaw. Again if you are doing this by hand you might get away with using thinner aluminium say 5mm but 10mm is what we used. Don't forget to facet all the edges with your file to remove any sharp burs.
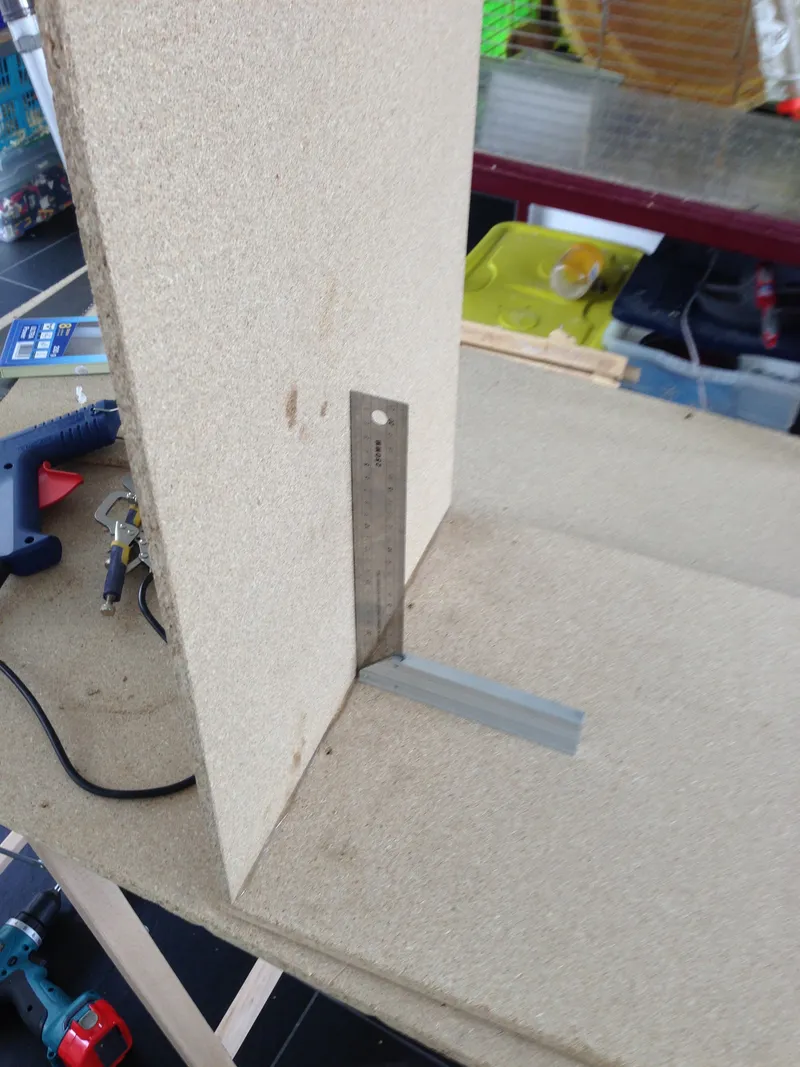
Cut your glass to size with your glass cutter the proper dimensions. We used glass walls that are 50mm high. Use some carbide sanding paper to sand the edges of your glass to remove the razor sharp edges. Best use a bit of water as lubricant here.
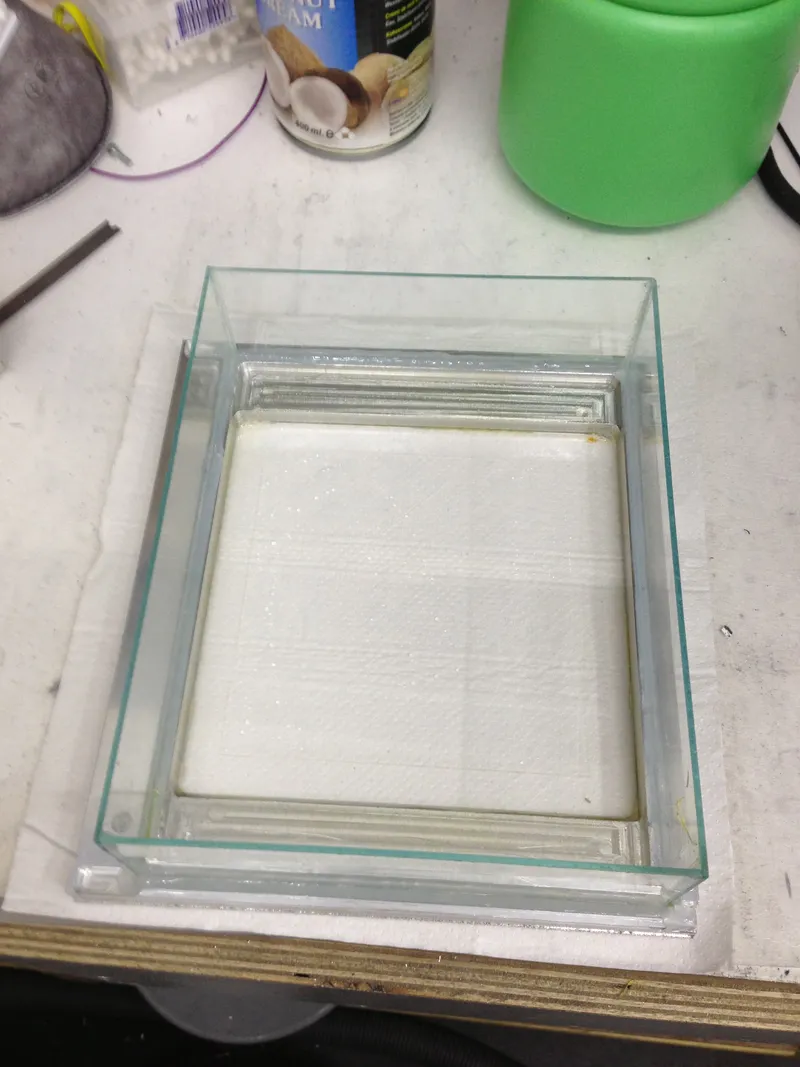
Glue the glass in place on top of the four spacers (see picture) with the silicone chauk and leave dry for at least a day.
Prepare the bottom window.
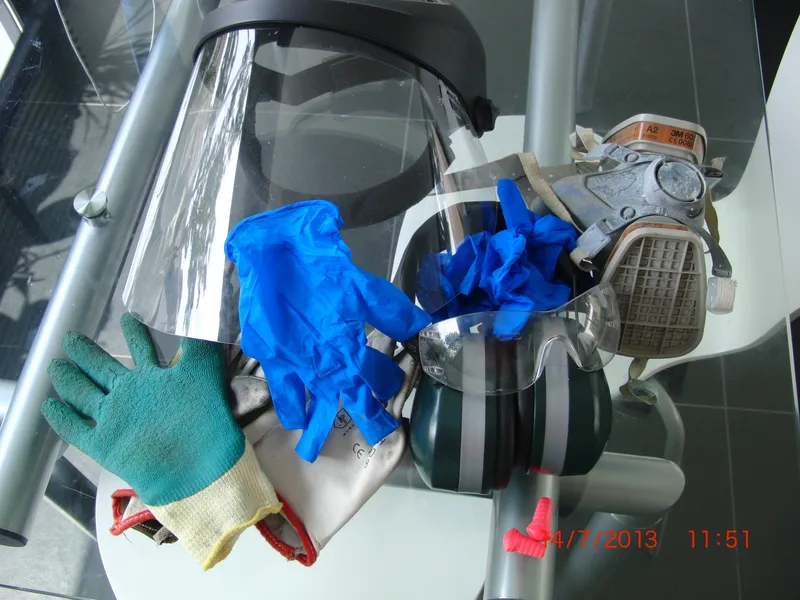
Ok here we go, it is really necessary to walk on your toes here as your future build quality depends on it. Wear gloves!
Wash the 150x150 window under the tap using your fingers (with your gloves on) to gently rub ever square mm of the glass. Next put some dish soap on your glass and again use your fingers to rub every square mm. Rinse and rub your window under running water at least three times to remove every last bit of soap residue. Rinse off your glass window three times with clean ethanol. And place your window in a standing position some where dust free and dry to dry. It is clean now, it should have no spots speckles and look absolutely clean. If you see any spots, speckles repeat the cleaning process from the beginning. Since it is so clean now it is of the at most importance that you do not touch it with your bare skin or bring it in to contact with anything that is less clean than your window. This for me means I only touch it with fresh clean gloves and maybe kitchen paper. But kitchen paper produces a lot of dust.
Prepare a squeegee:
cut a length strip of glass of about 20cm long. Make sure that it has one edge that has been cut by a professional that means absolutely straight. Wash this strip like you did with the bottom window.
Prepare your PDMS
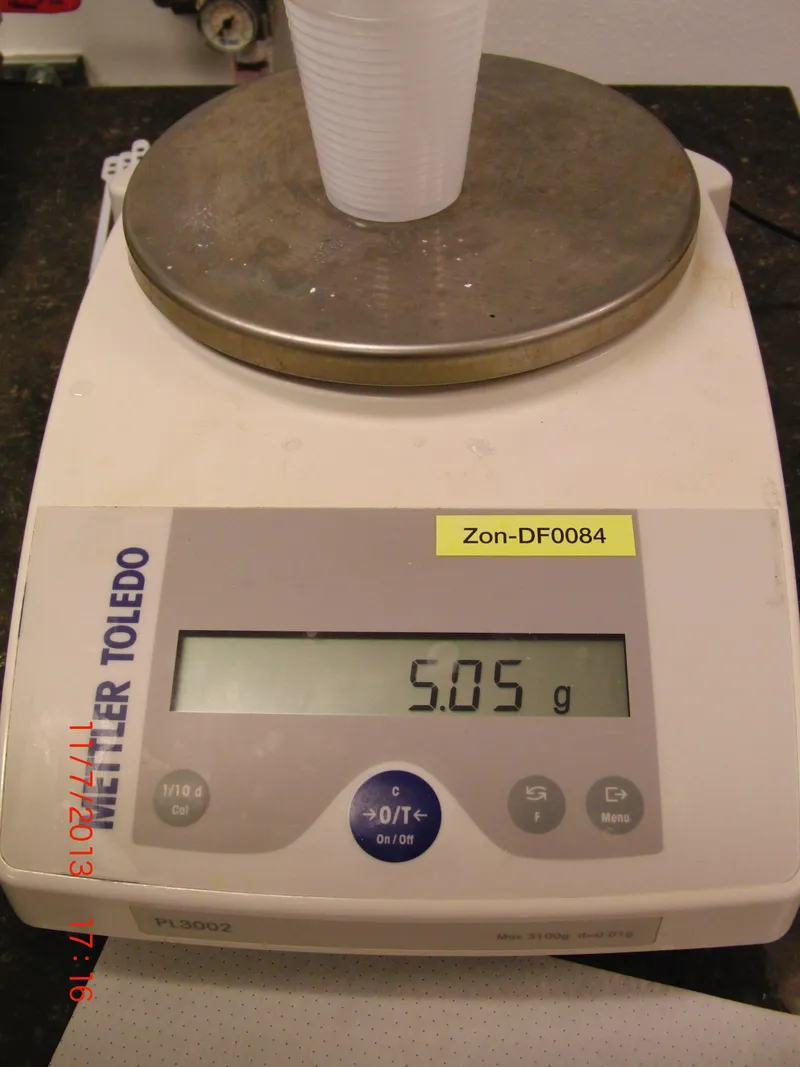
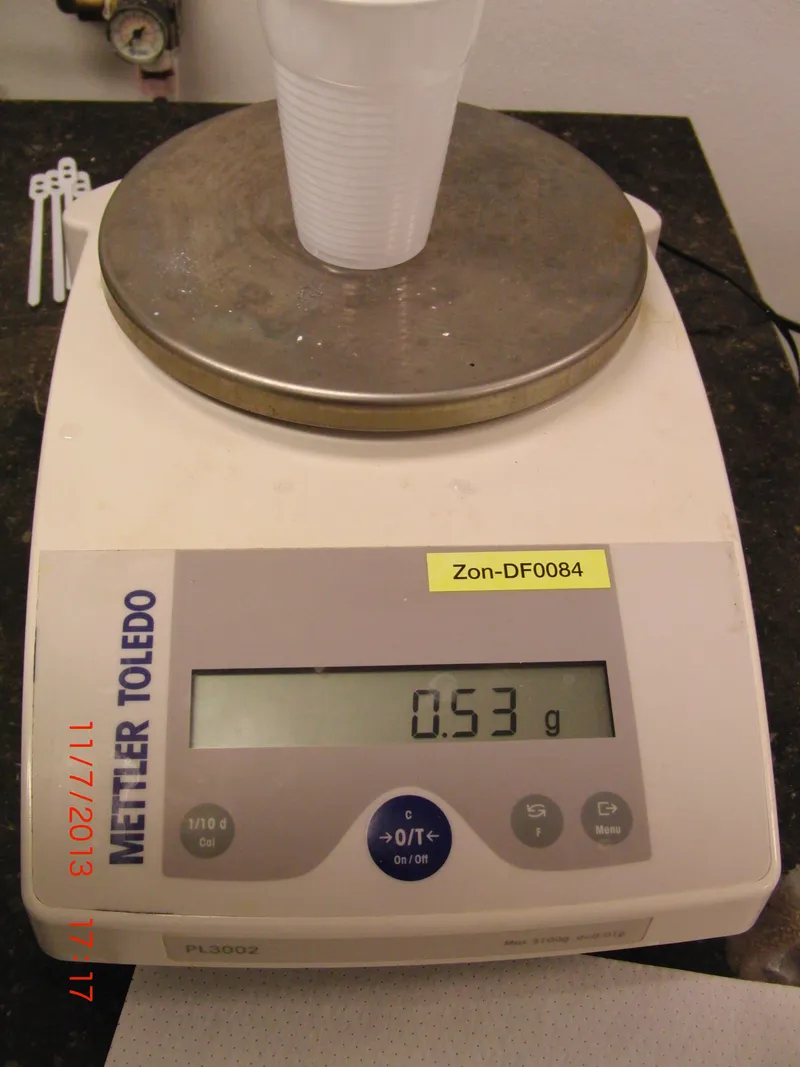
Use a disposable cup. Put the cup on your scale and tare. Measure an appropriate amount of resin. If your scale only reeds grams measure 10 grams if it measures 0.1grams or smaller measure half that. You will really only need 5ml of resin, but it is very important to get the ratios right or the end product will not cure properly. Use your pipet to ad 1gram of catalyst, again use half that if you can measure sub gram units. Homogenize thoroughly (means put in great effort of stirring). Stir for 5 minutes be sure to mix all the materials from the walls and bottom of the cup.
Optional; place the mixture in an dessicator for 15mins at 20mBar. This will remove all air and micro air bubbles form the mixture.
If you do not have a dessicator at your disposal just leave it sit for 30min.
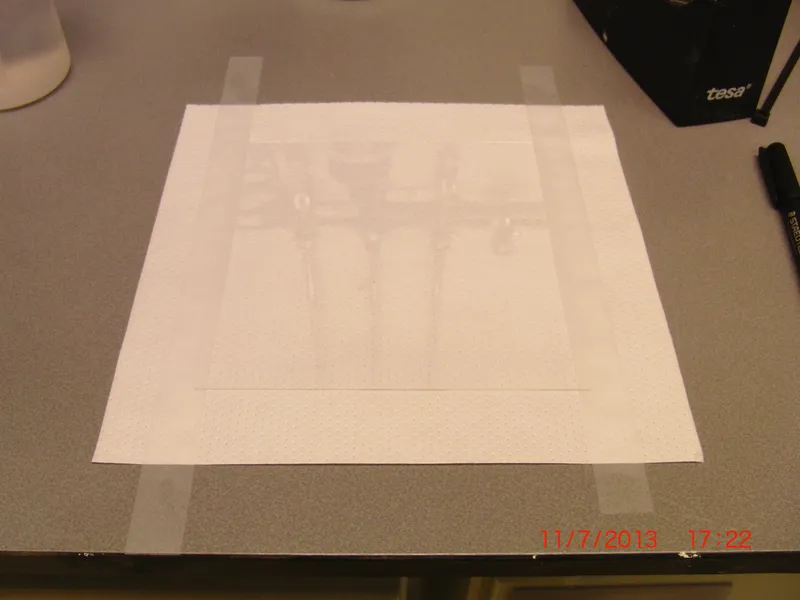
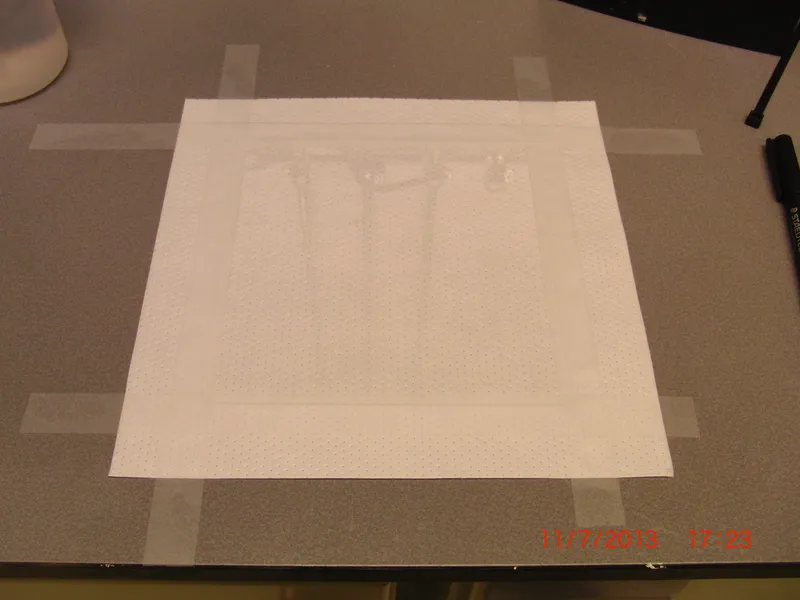
Continue preparing your bottom window:
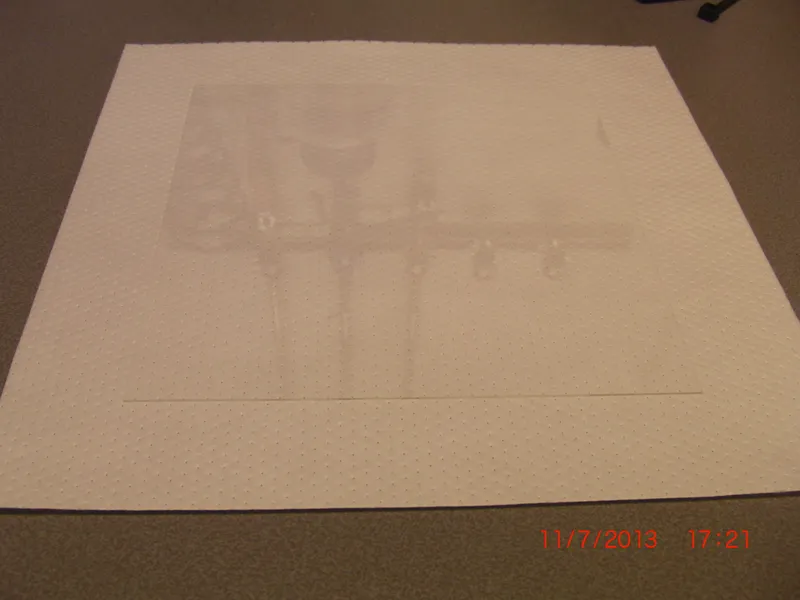
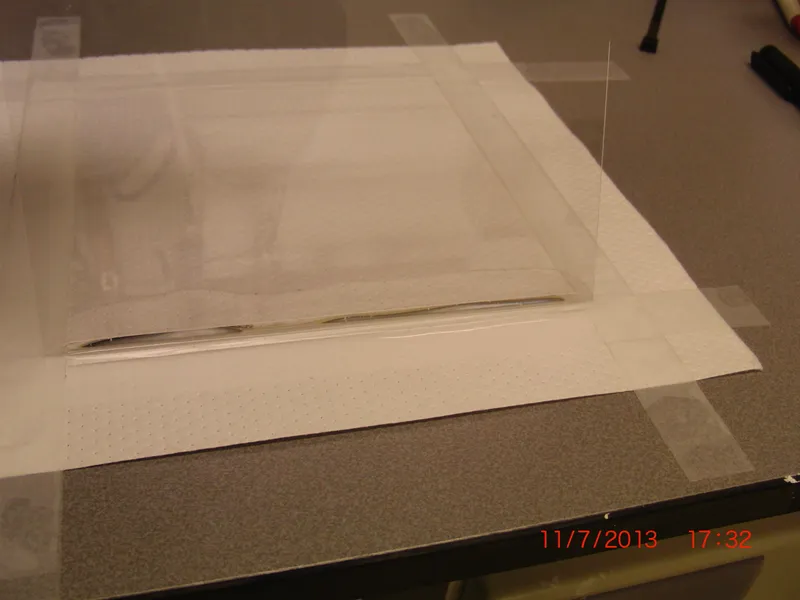
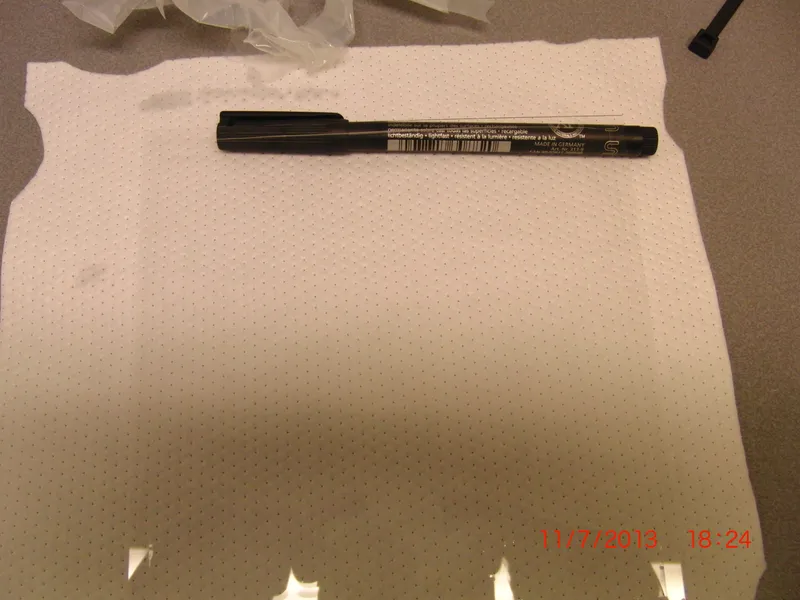
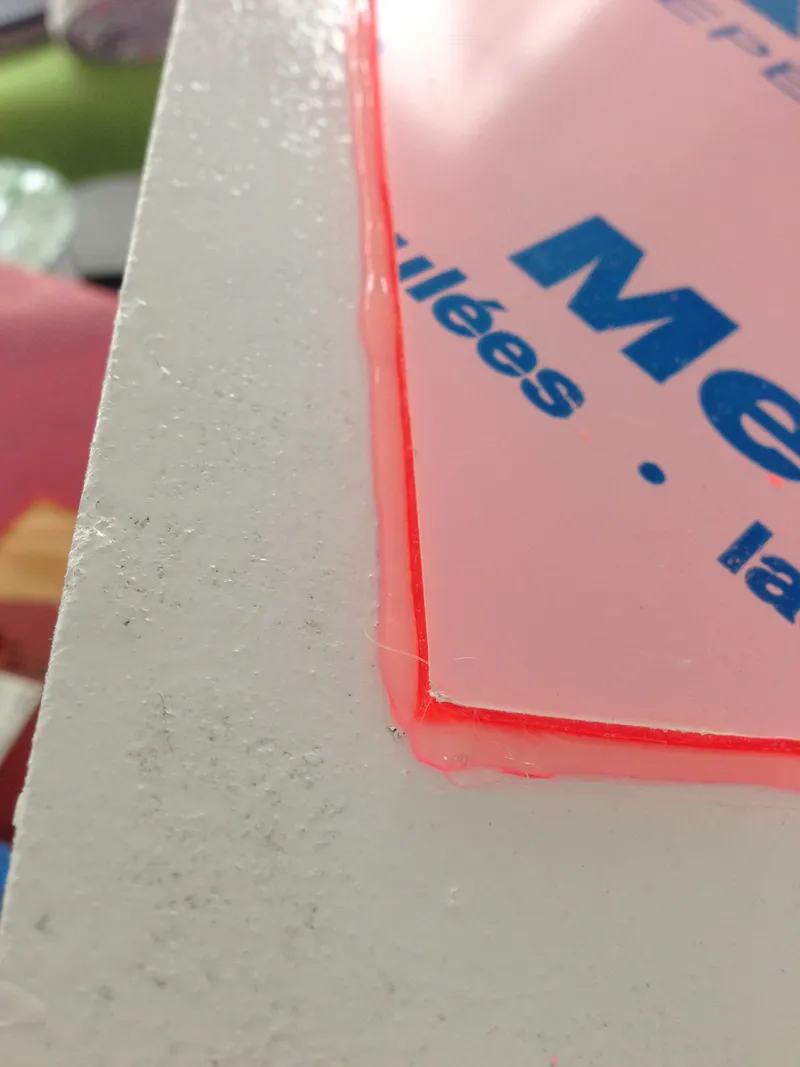
Place your window in the center of a square of kitchen paper (lint free paper is much better). Apply a single layer of scotch tape on the entire outer 5mm edge of your bottom window. Put one extra layer of tape on the left and right edge.
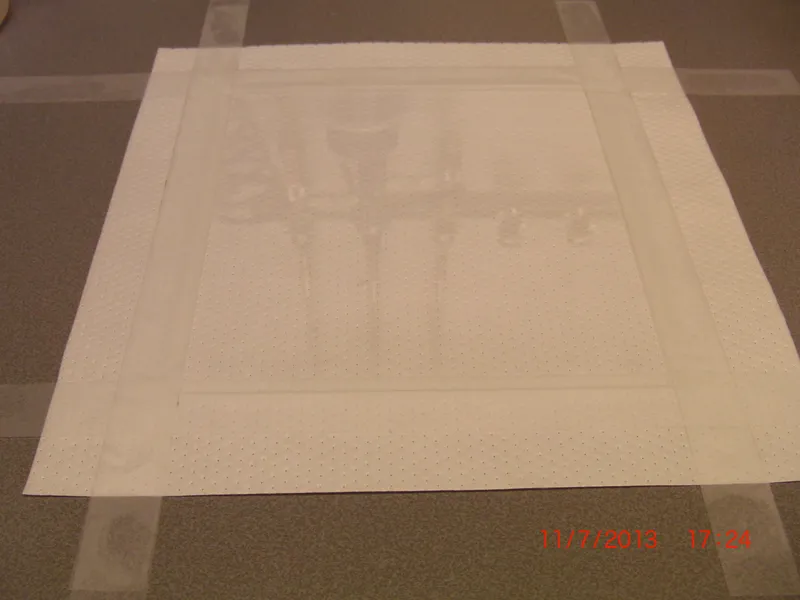
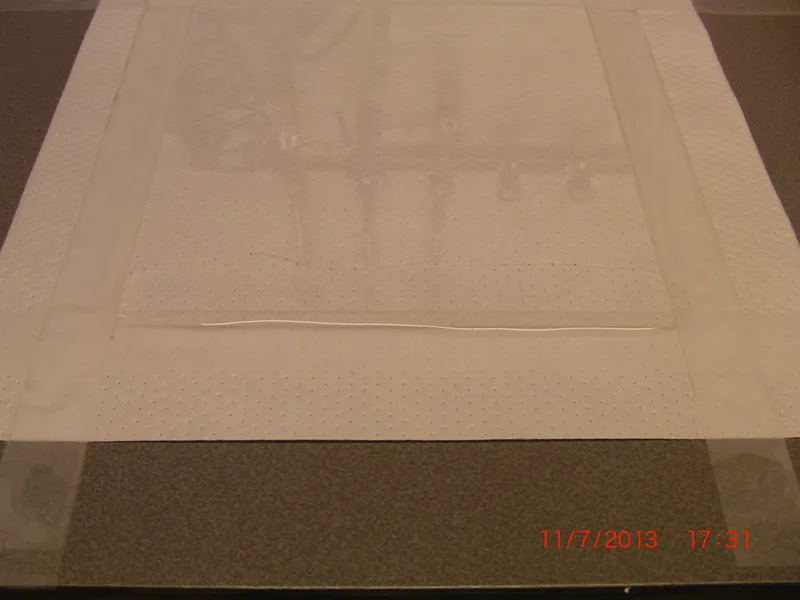
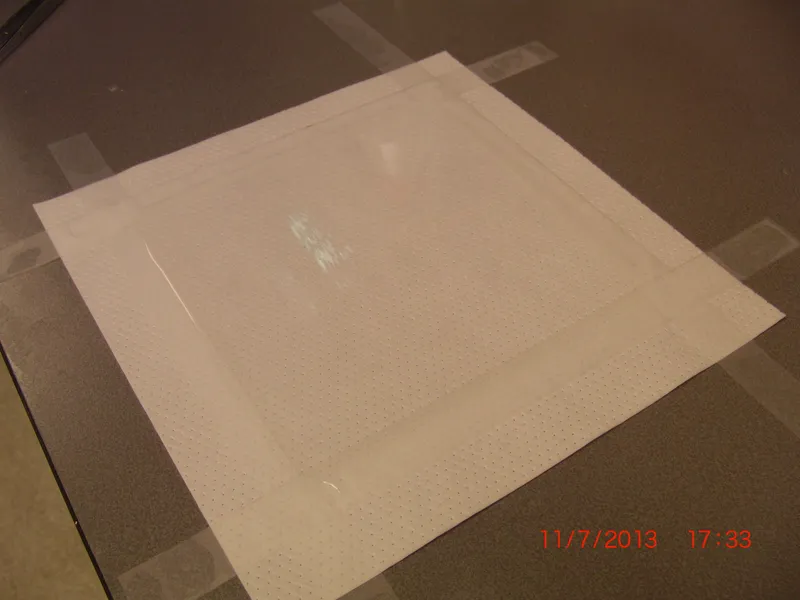
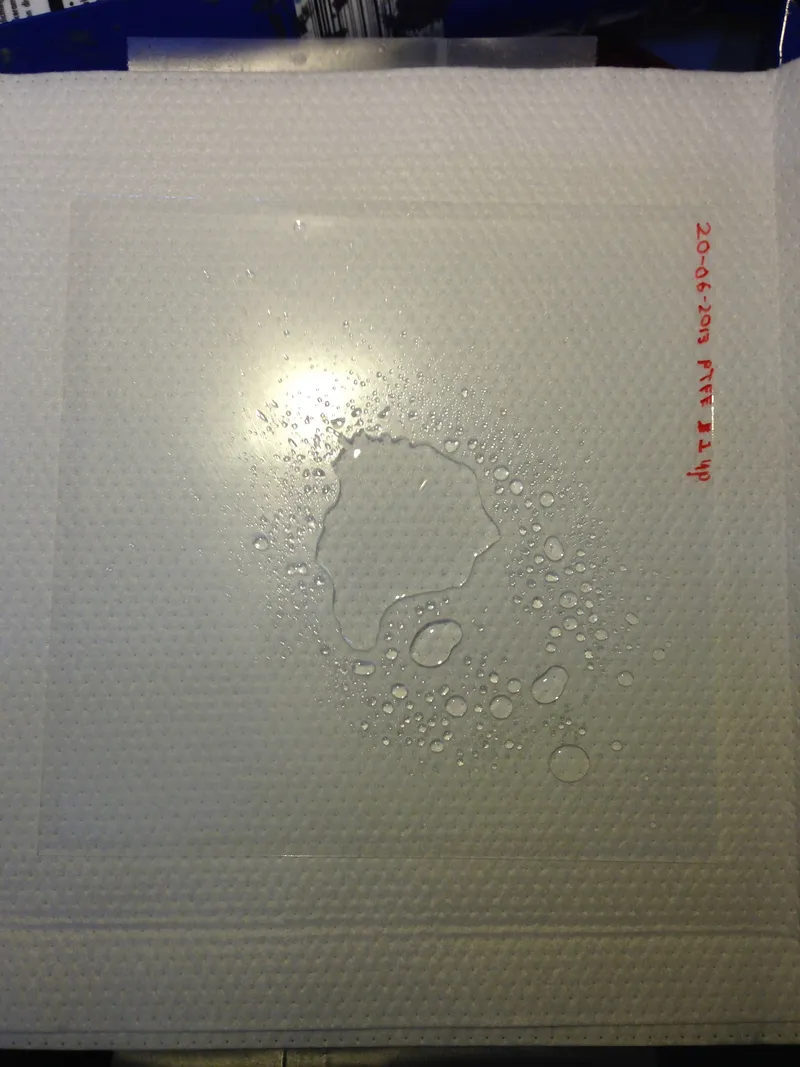
Get your PDMS and pour it in a single bead just against your front edge of the window on the glass. Just against the tape is fine. Now use your squeegee to squeegee the bead of PDMS over the glass. Because the tape provides an even spacer between your squeegee and glass you should now have a homogenous layer of PDMS on your glass which has the thickness of two layers of tape.
Set this aside and leave cure overnight.
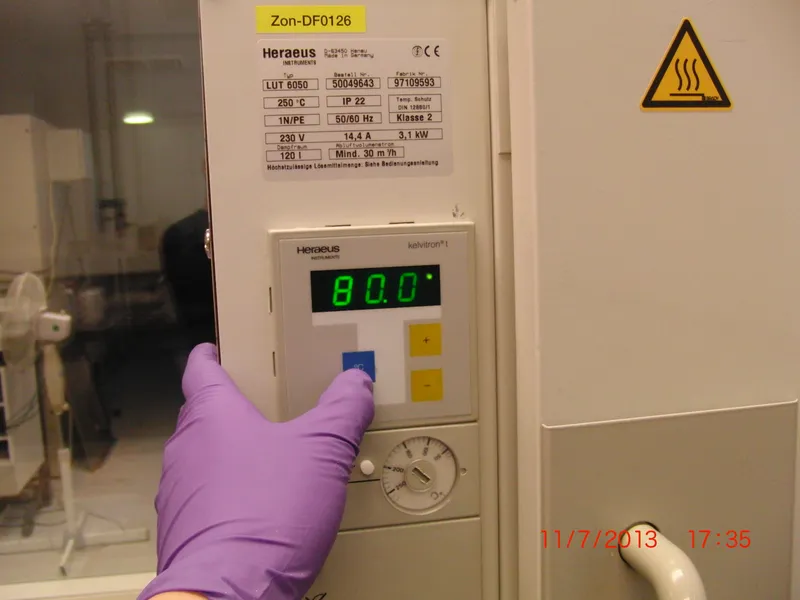
If you want to cure it quicker place it in the oven at 80 deg C for about an hour.
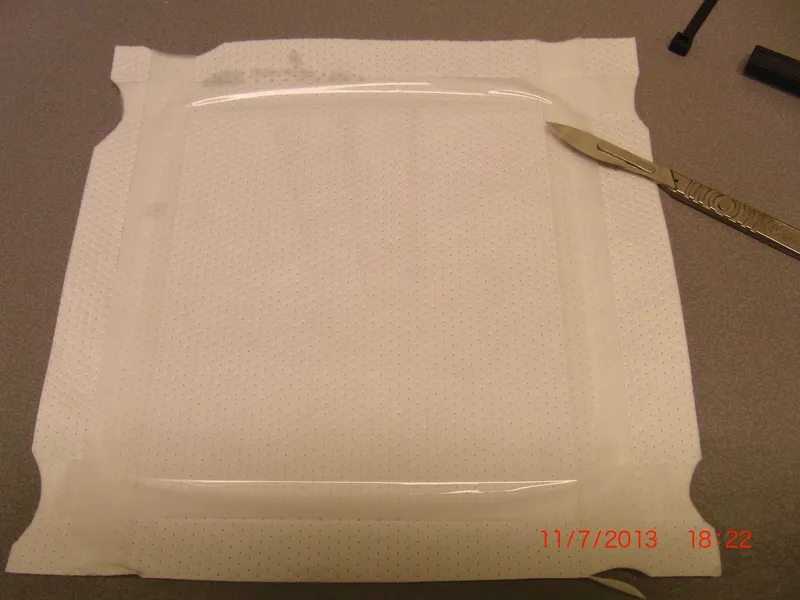
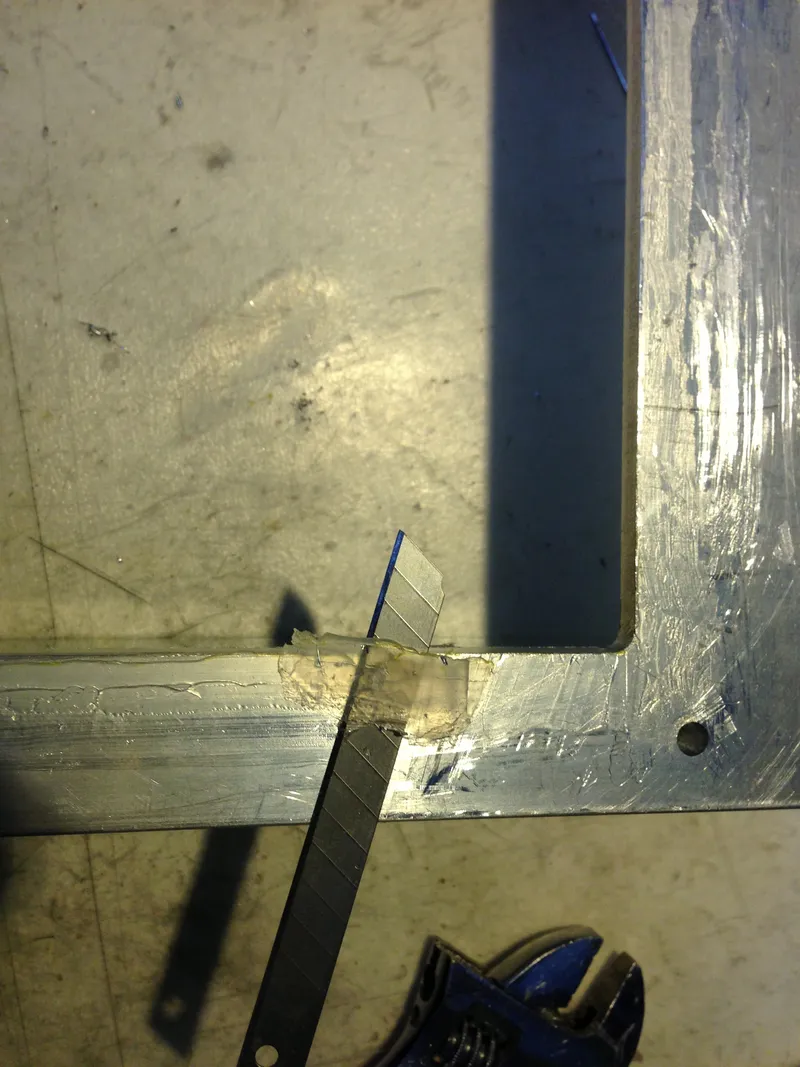
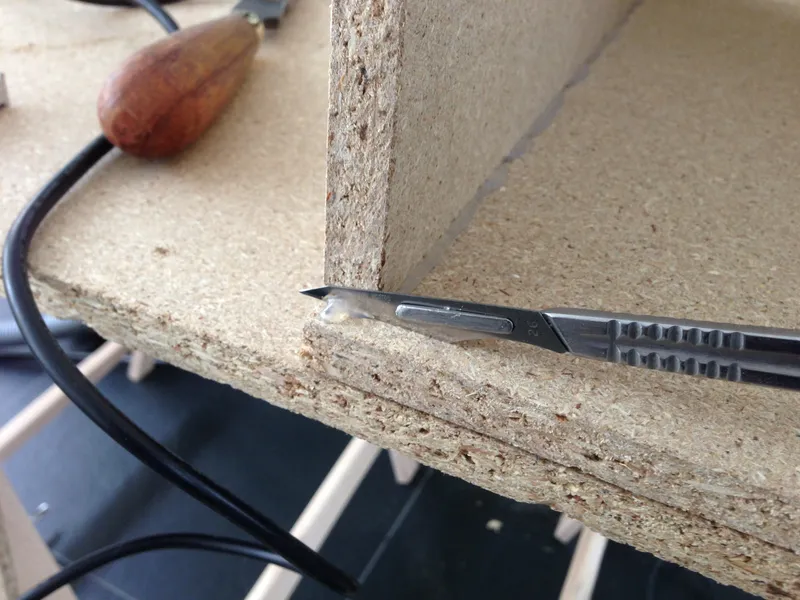
Use a scalpel to trace the edges of the tape in the silicone coating. Now peal of the tape and your bottom window is done.
Note that the PDMS is not glued to your glass and if you remove the tape without tracing it with your scalpel you will also peal of your coating.
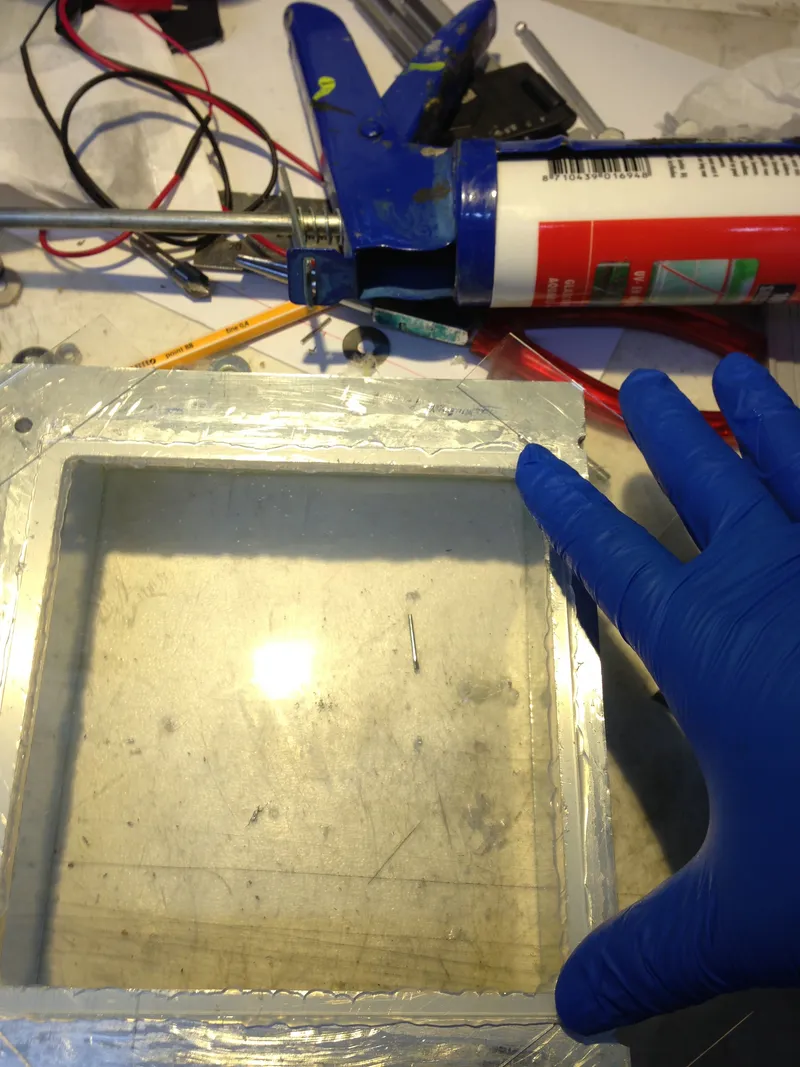
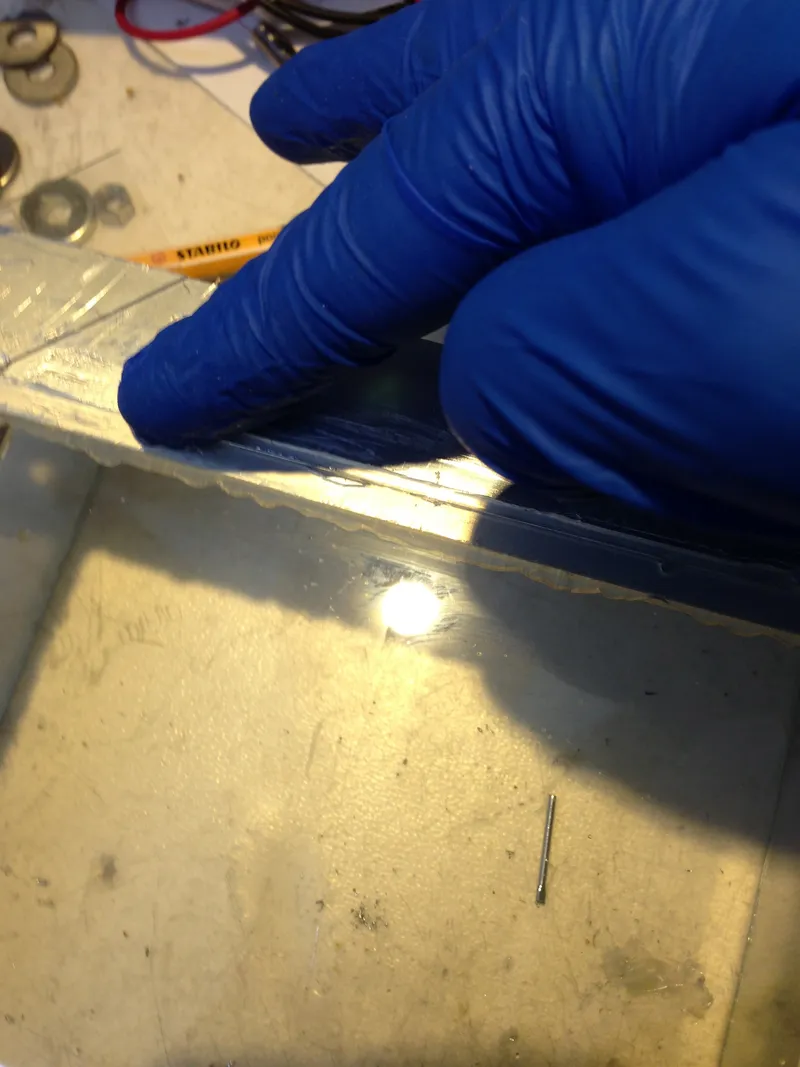
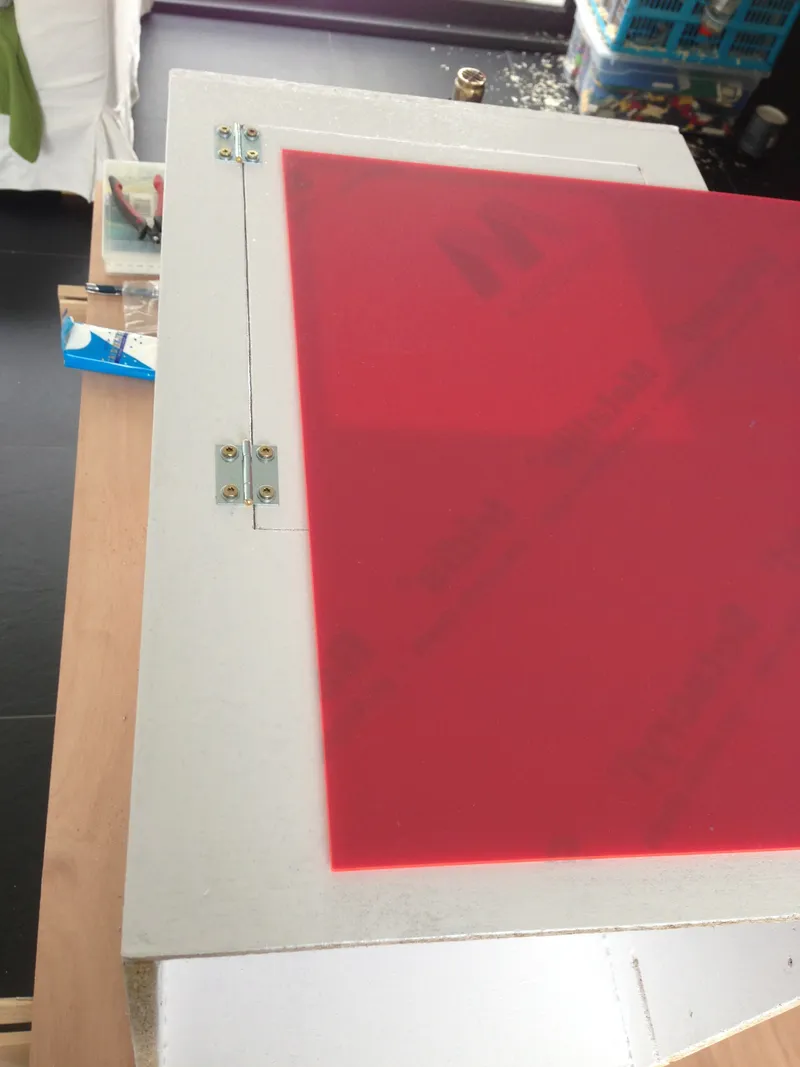
Now take your base and walls which have been fully cured and apply a thick bead of silicone glue around the edge on the bottom of base plate. Note you're sticking your window under the base plate (see pictures if unclear). Place your window on the bead of glue in the right orientation. Make sure that if your base and walls are bottom up on your table the window goes on with the coating facing the table.
Slide your microscope slides between the corners of your window and the base plate. We use these as spacers. Make sure they are just at the corners and are not in the actual future build area. Now gently press on the window untill it touches the spacers. Leave it dry for about two hours then pull out the microscope slides and fill up any gaps with silicone kit as needed.
As I told you the basin is modular, because the window is kitted to the bottom with spacers you can always cut it loose and stick on a new window. Or get the old window, clean it, apply a new coating and kit it back on the base. All without starting all over.
We expect this will help us greatly once we start trying out different coatings, but that's a next instructable.