Materials
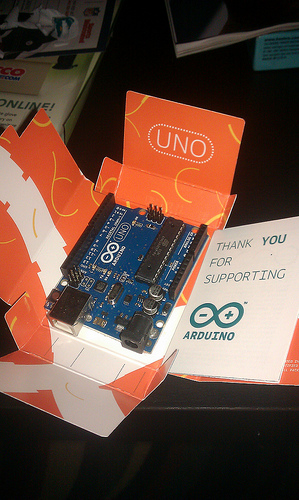
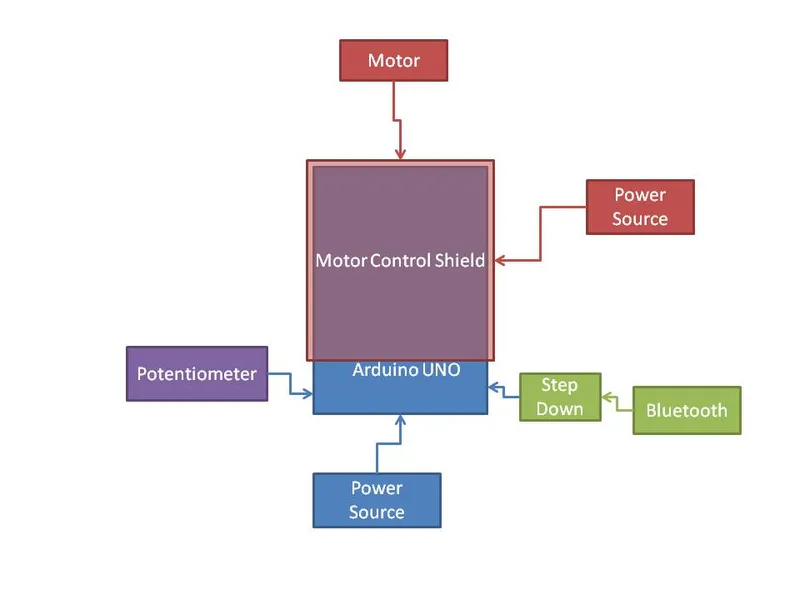
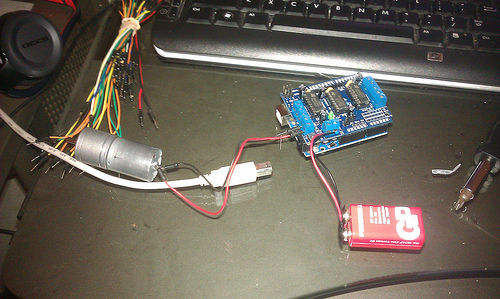
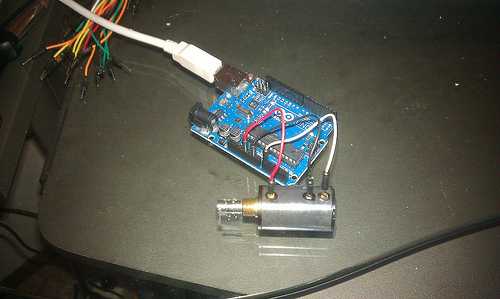
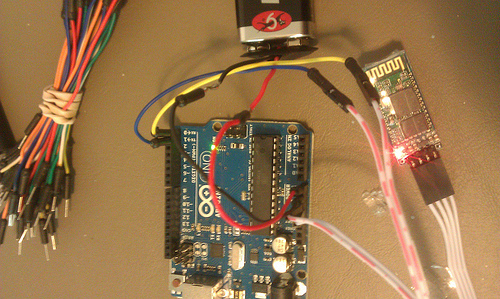
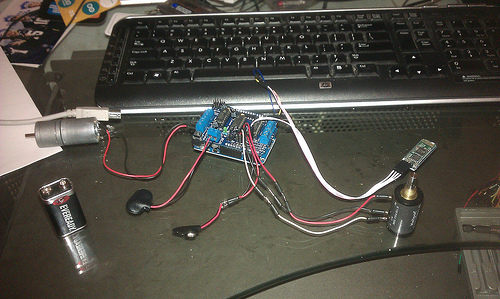
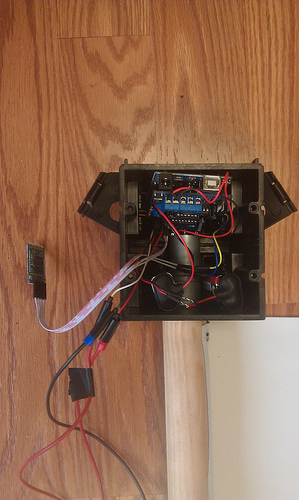
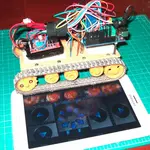
Arduino UNO- $27, Amazon - I used an UNO because this is my first Arduino project and figured it would be best to start with the base model. You probably can use other microcontrollers, feel free to use your favorite.
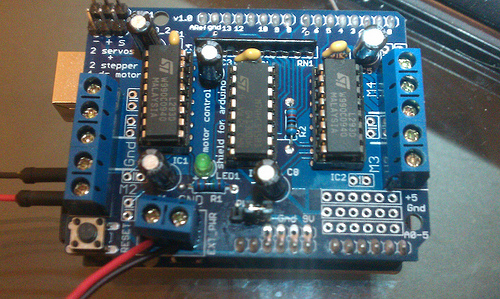
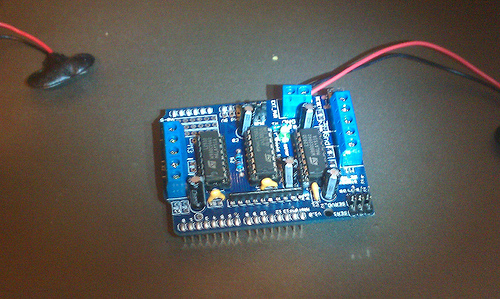
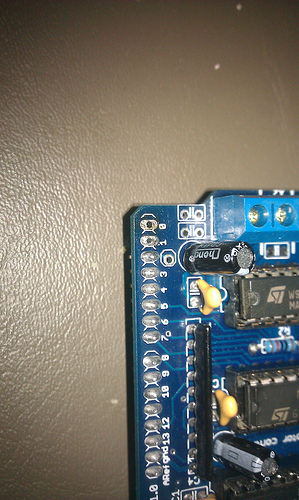
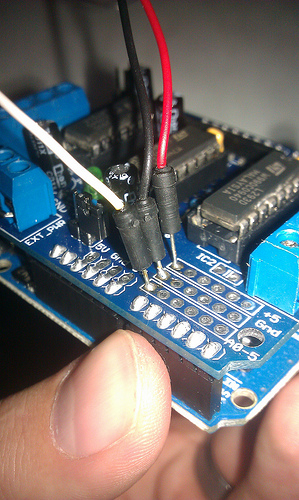
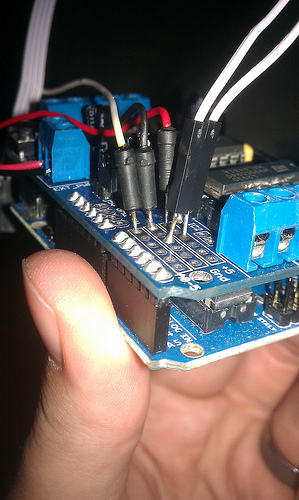
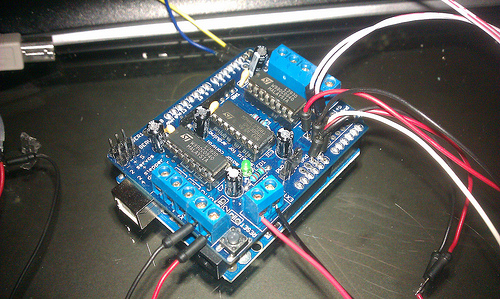
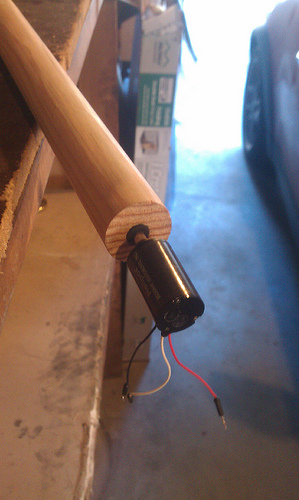
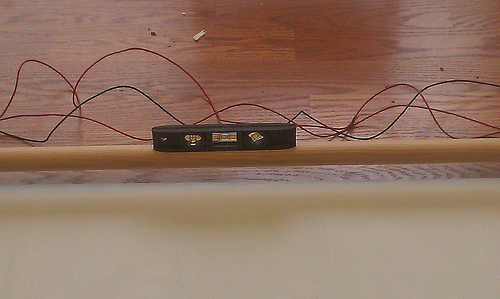
Arduino Motor Control Shield - $10, eBay - I went for simplicity over cost and just bought a pre-built, albeit off-brand, motor controller. Mine is based around the L293D chip.
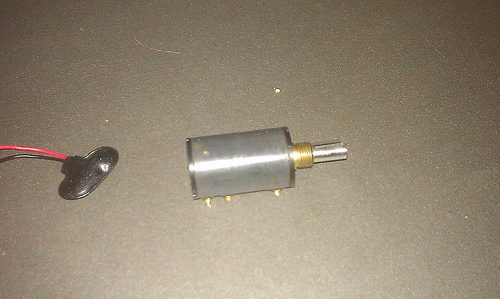
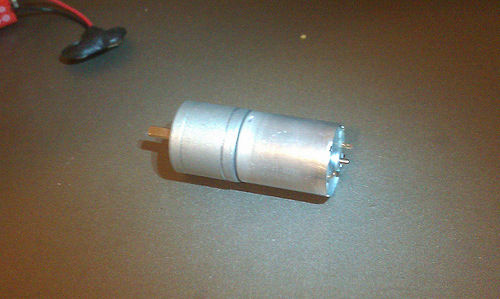
High Torque Gearbox DC Motor - $10, eBay - You can calculate an approximate torque requirement, formulas and calculation walkthroughs on the next page. Make sure voltage and current requirements don't exceed what your motor controller can provide.
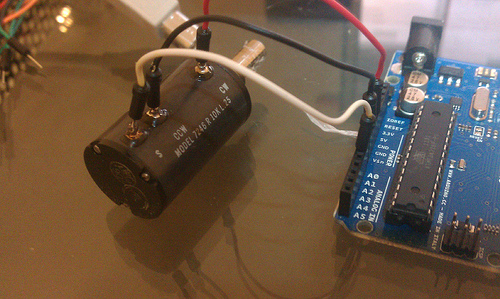
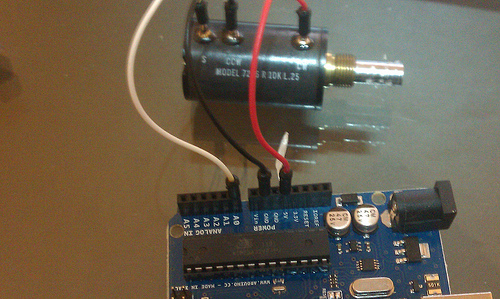
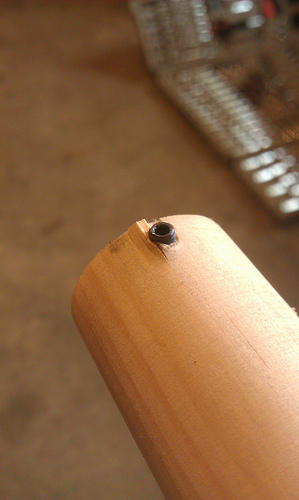
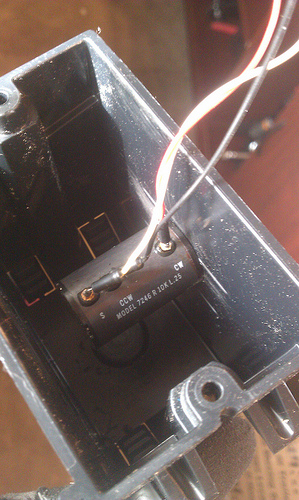
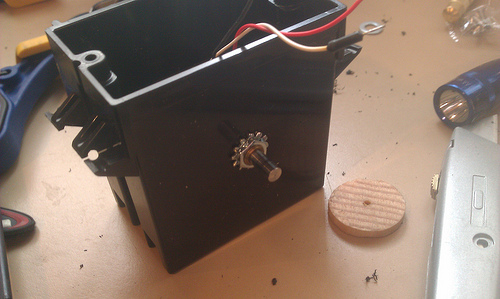
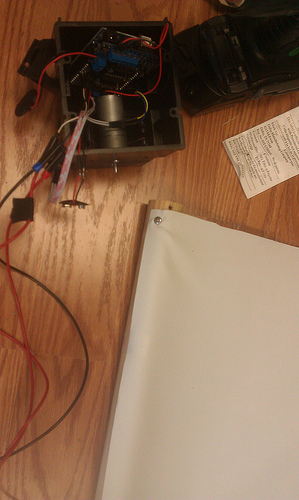
10kOhm, 10 Turn Potentiometer - $10, eBay - Used as a limiting sensor. The pot needs to have more turns than it takes to wrap the screen around the rod. If you are going with a huge screen, or a long drop, you can use a gearbox to reduce the turns on the pot.
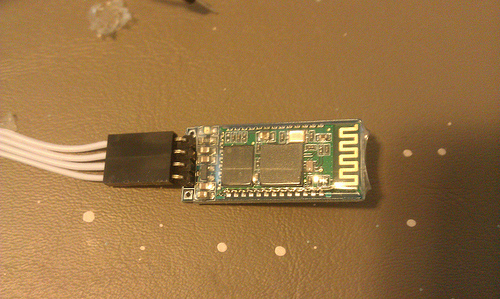
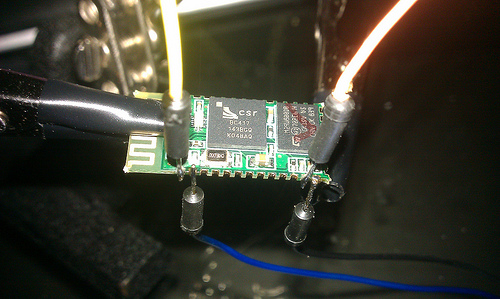
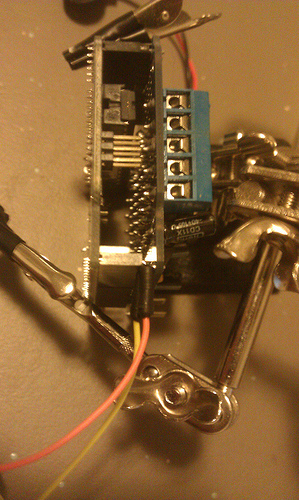
Bluetooth Serial Adapter - $9, eBay - You can use a Sparkfun BlueSMiRF which is easier to use but much more expensive. The off brand ones are also very small which is great for space requirements but can be harder to solder depending on which unit you get. If you can find one with pins and a cable I would recommend it.
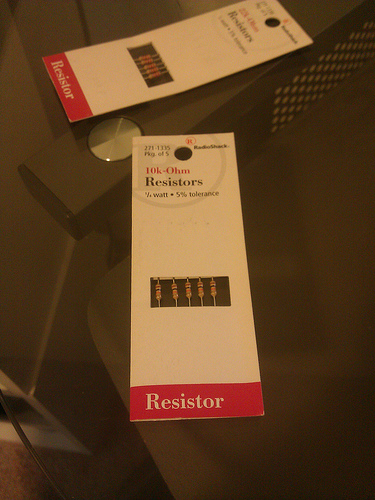
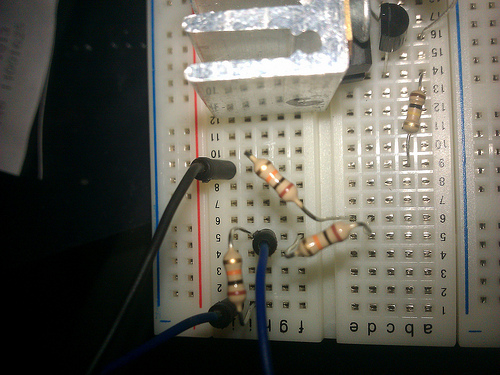
10 kOhm Resistor - Not needed if you use a BlueSMiRF or other 5 V Bluetooth module.
20 kOhm Resistor - Not needed if you use a BlueSMiRF or other 5 V Bluetooth module.
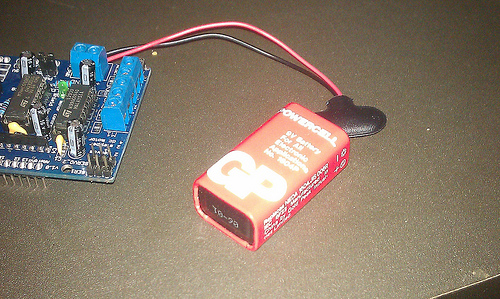
2x 9 V Battery - Powers the Arduino and motor. You may need more or less voltage for you motor, scale appropriately or use AC adapters if you have a socket available.
2x 9 V Battery Clip/Holder - See above.
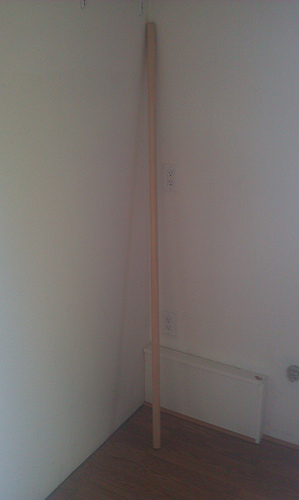
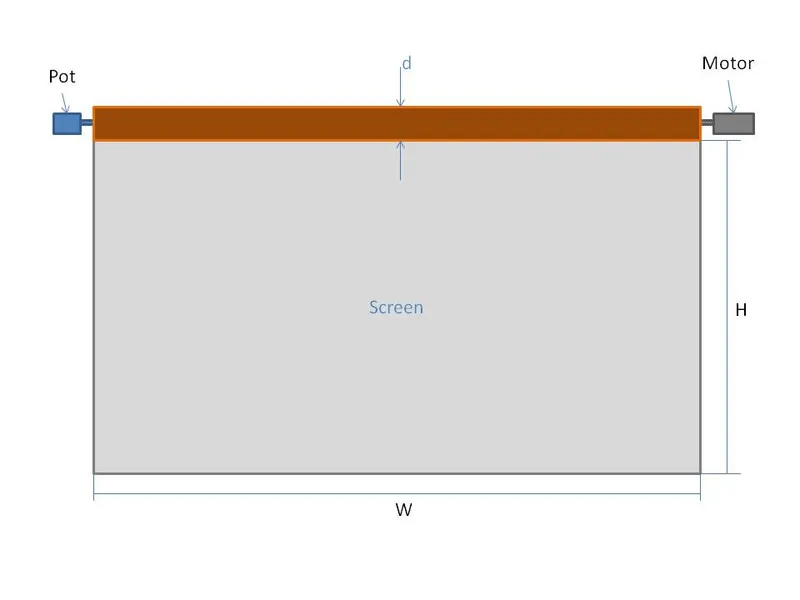
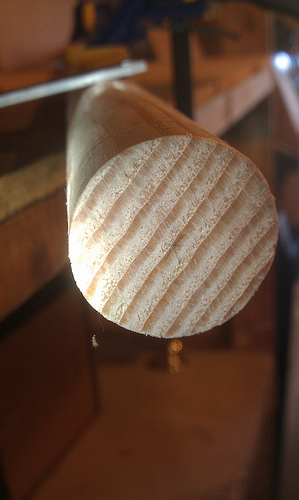
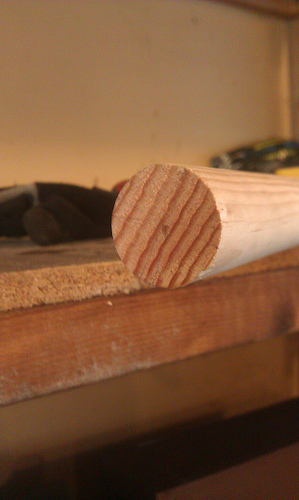
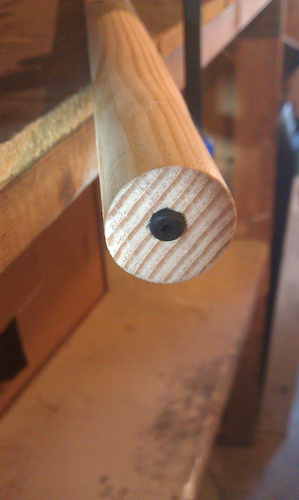
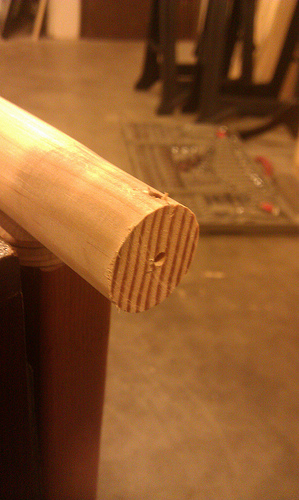
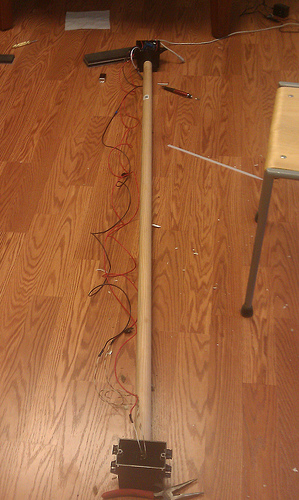
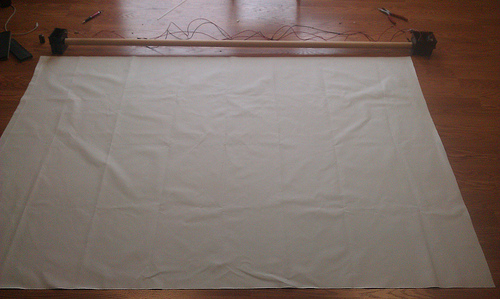
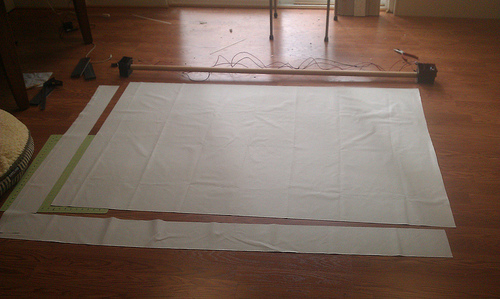
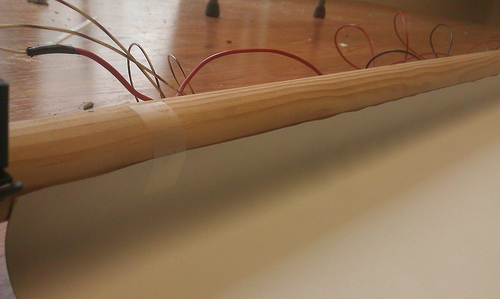
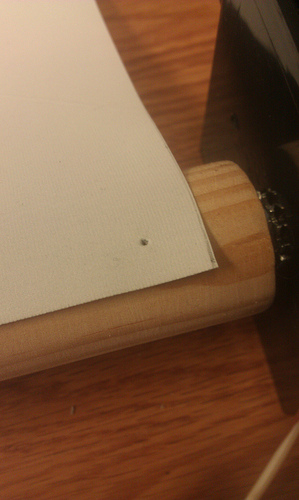
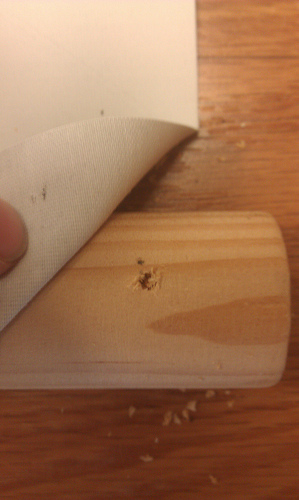
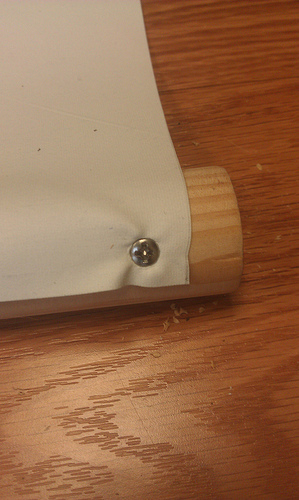
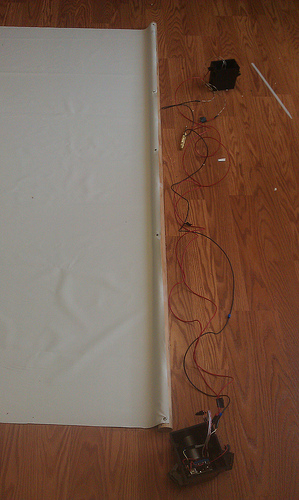
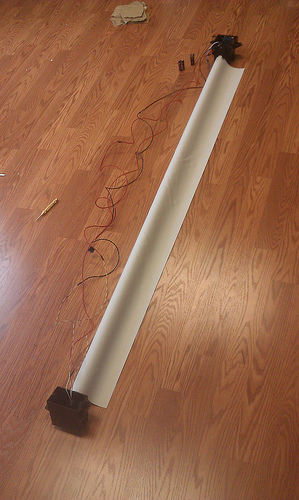
53" x 2 Yards White Blackout Material - $7/yrd, Jo-Ann Fabric - This is enough canvas to make an 80" screen (70" x 40", 16:9) with room for the drop down out of the ceiling. If you want a different size screen check out this site. 1-3/8" DIA x 6' Closet Rod - $10, Lowes - Adjust the length of this piece based on the screen size, width specifically, you select. If you have a different size screen, calculations for determining minimum diameter are on the next page.
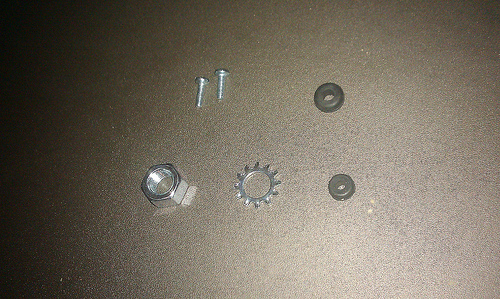
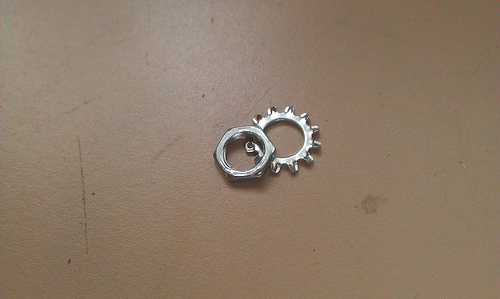
Flange Nut/Panel Nut - Match the the threads to those on your pot. This nut should have ridges in the face to keep it from backing off when tightened (Flange nut only, add a star washer with panel nut.)
Motor Mount Screws - My motor had two threaded holes in it's face for mounting. Yours may have more or less and are probably a different size.
Rubber Grommet - The inner diameter matches, or is slightly smaller than, the diameter of the potentiometer's shaft.
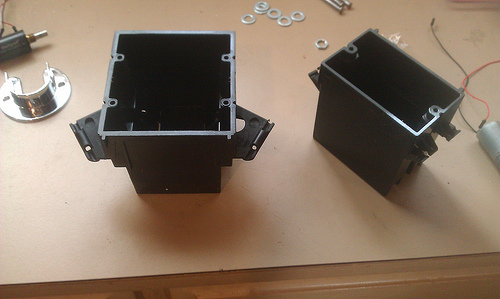
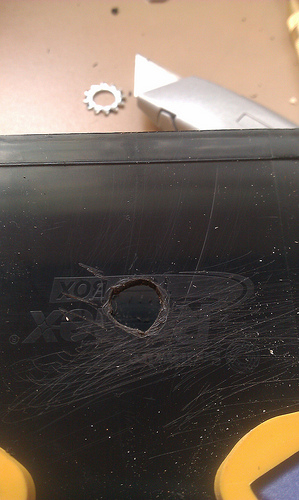
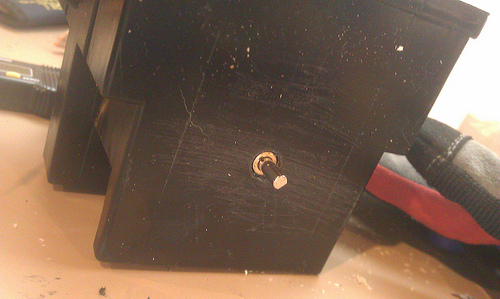
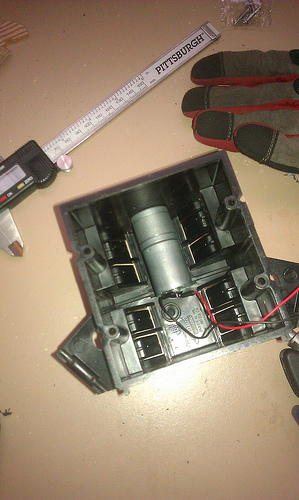
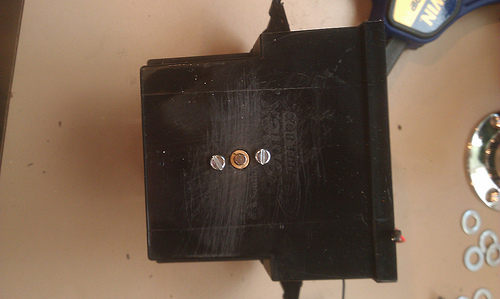
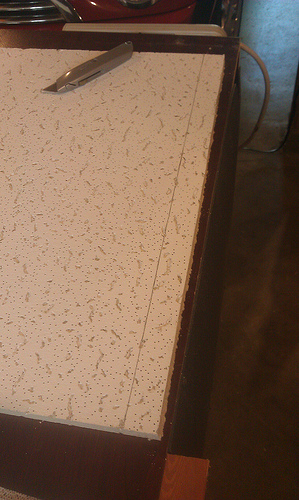
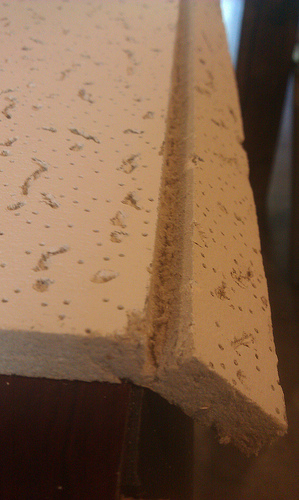
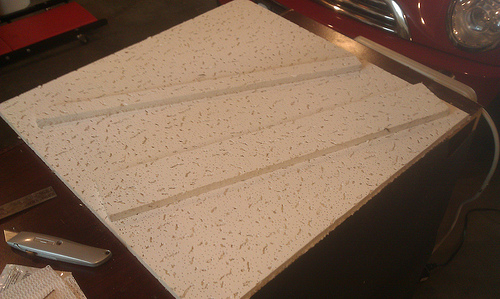
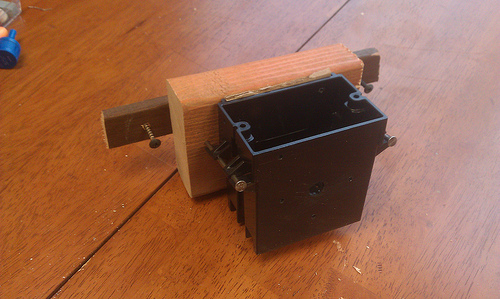
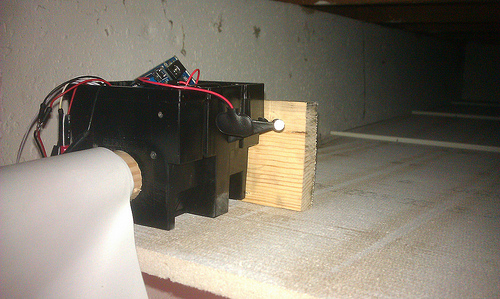
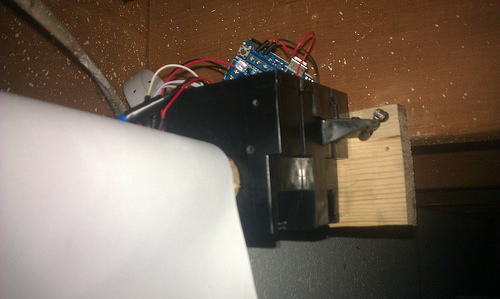
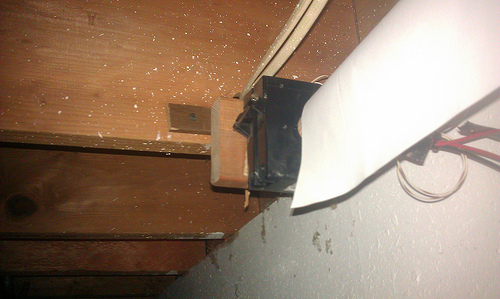
2x Wall Box - One houses the potentiometer, the other holds the motor and Arduino. You are looking for boxes with a flat surface big enough that the rod won't hit anything with enough space inside for the components.
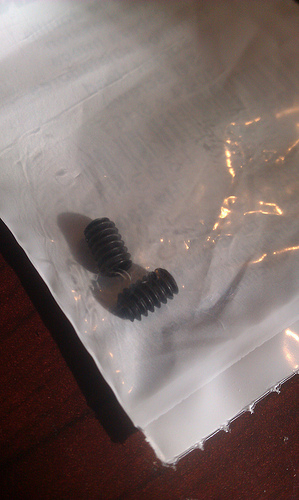
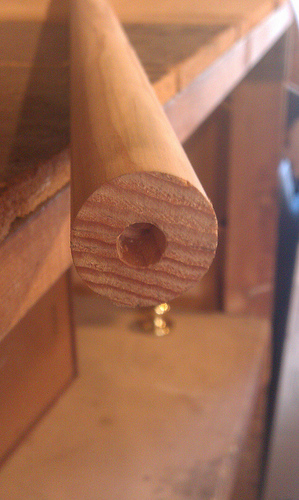
Set Screw - Diameter: Should be as large as possible while still fully engaging the motor's shaft, mine was #10. Length: Longer is better but it must be longer than half the difference between the O.D. of the motor grommet and the motor output shaft O.D.
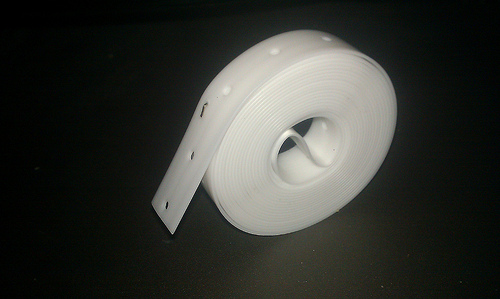
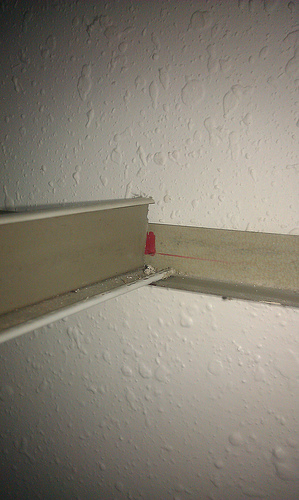
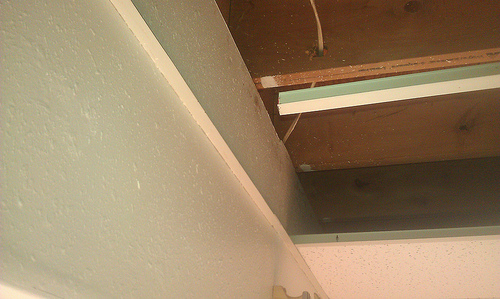
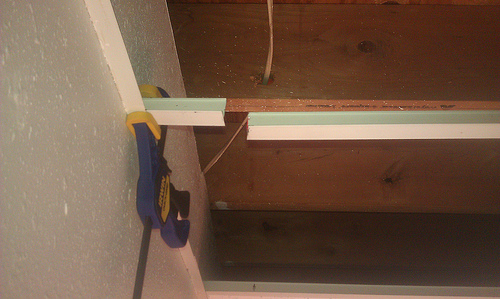
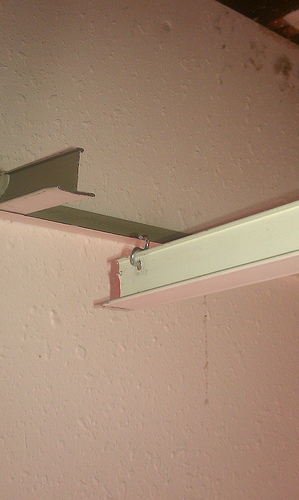
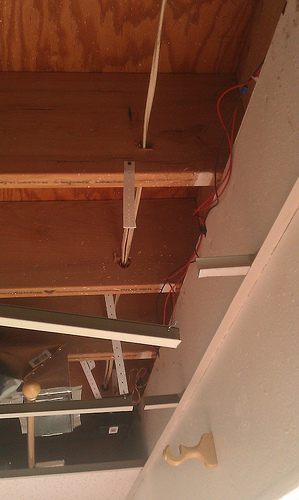
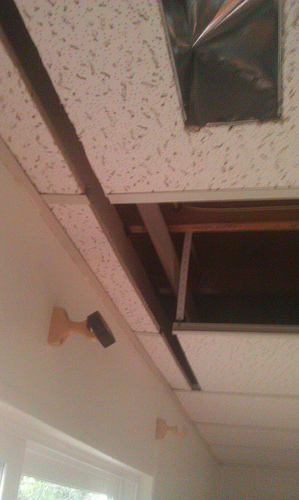
Hanger Tape - $2.50, Lowe's -Used to reinforce my drop ceiling since some of the structure had to be cut.
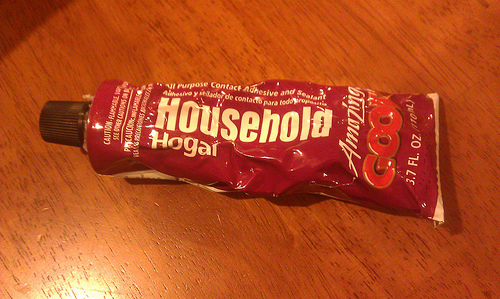
Glue/Epoxy/Bonding Agent - Must be able to work on multiple materials.
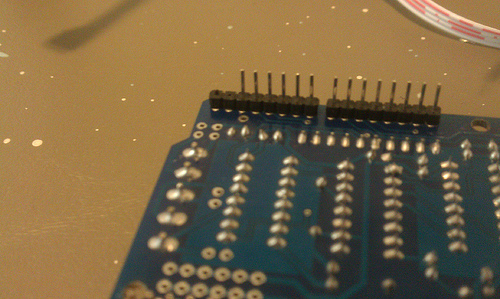
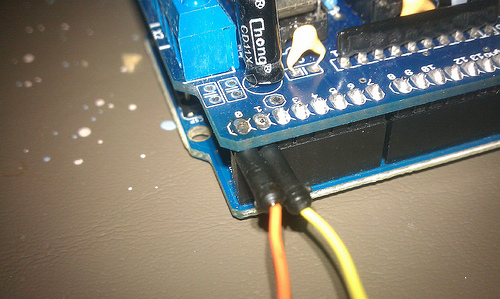
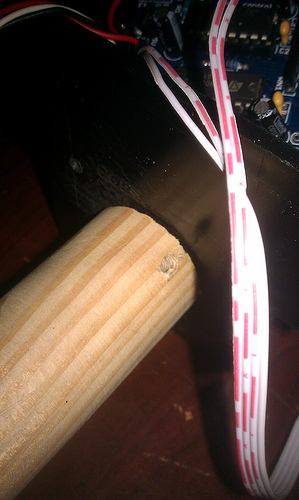
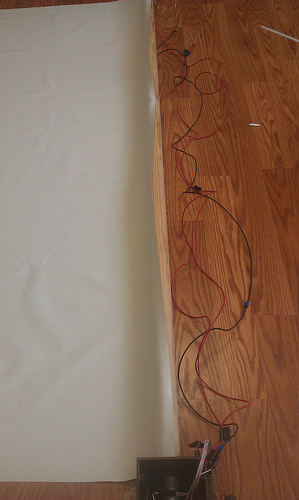
Jumper Wires - I got a bunch of Arduino specific jumper wires off of eBay. They are nice because you get the easy soldering and header compatibility of a solid core wire with the flexibility of a multi-strand.
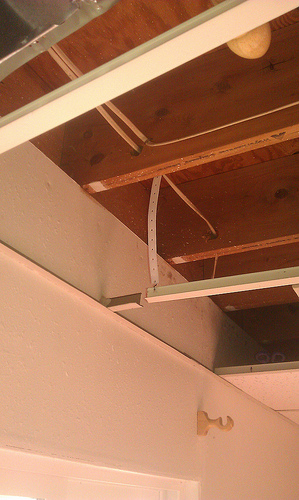
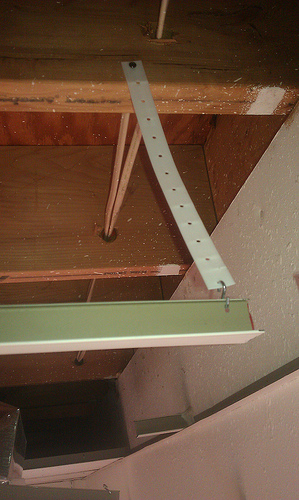
Scrap Wood - Used to build a structure for holding the whole unit above my drop ceiling.
Wood Screws, Washers, Misc Hardware
Tools
Arduino Paraphernalia - USB cord, Arduino software Android Development Paraphernalia - USB cord for your phone, Android Development Software (for if you know Java), or the MIT/Google App Inventor (What I used, is powerful enough for our use). Soldering Equipment - Iron, solder, de-soldering wick/bulb, helping hand.
Drill & Drill Bits
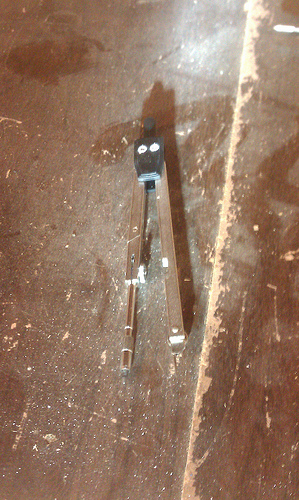
Compass
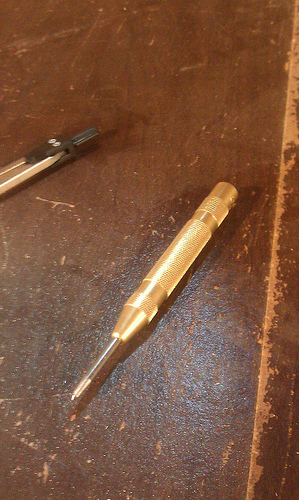
Center Punch
Level
Tape Measure
Hacksaw
Other Basic Tools