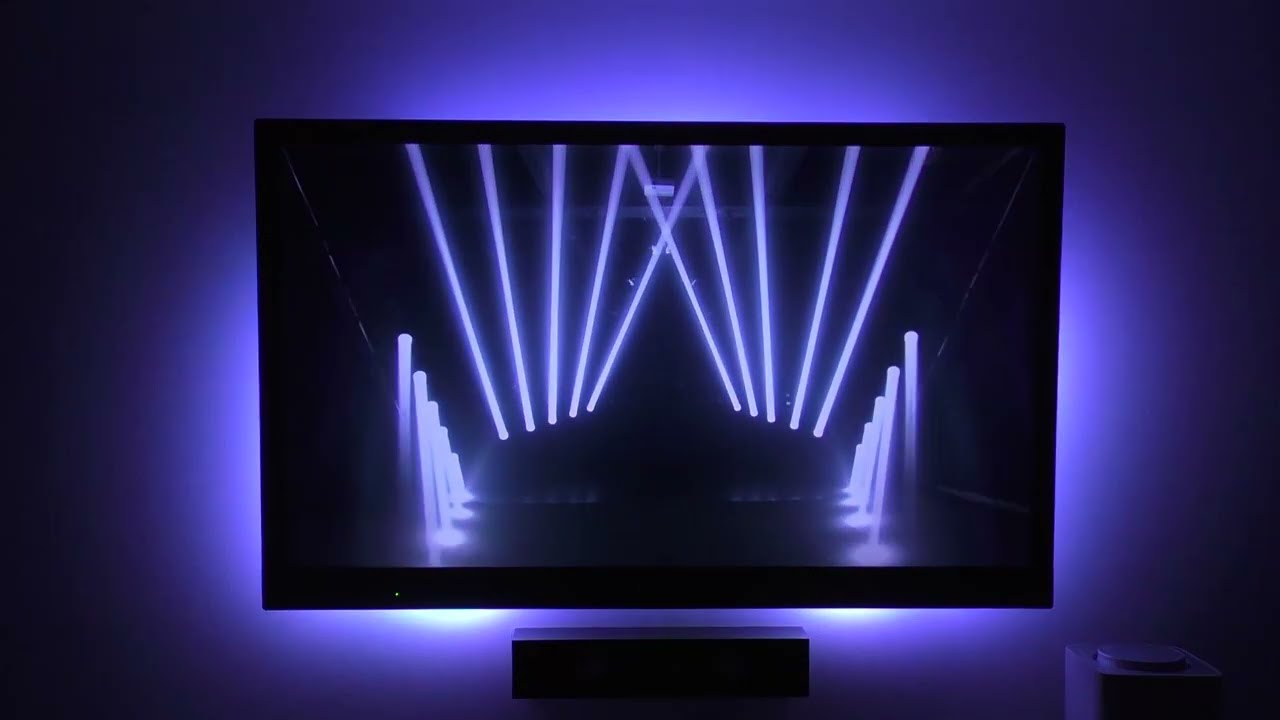
Adaptive TV backlighting in your home


What you'll need
Materials
- TV with HDMI input (in my case it's a Sony TV, 42 inches diagonal)1 pc
- 1 pc
- 1 pc
- 1 pc
- 1 pc
- 1 pc
- 1 set
- 1 pc
- 1 roll
- 1 pc
- 1 pc
- Two-core wire (for connecting to power supply and Arduino, cross-section diameter 0.8 mm)1 roll
- Three-core wire (for connecting the corners of the addressable LED strip, as well as connecting it to the terminal 3-pin connector on the back of the TV, cross-section diameter 0.8 mm)1 roll
- 1 pc
- 1 set
- 1 pc
- 1 set
- Thermal glue for fixing platforms to the TV case (original double-sided tape on platforms does not hold)1 tube
Steps
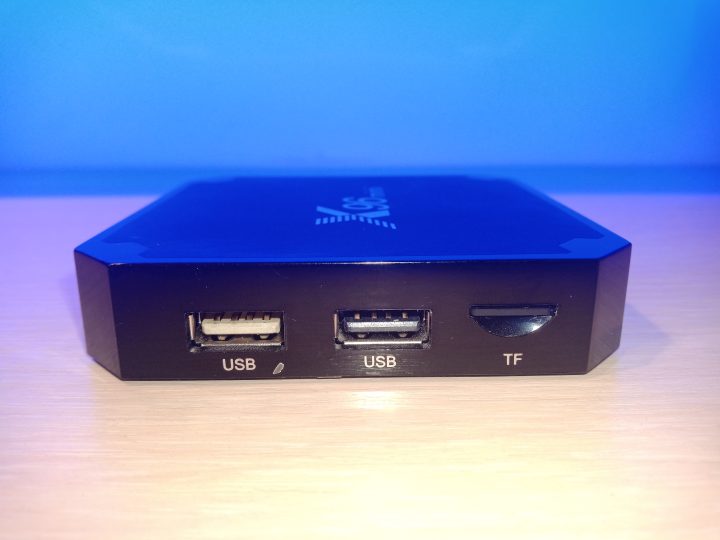
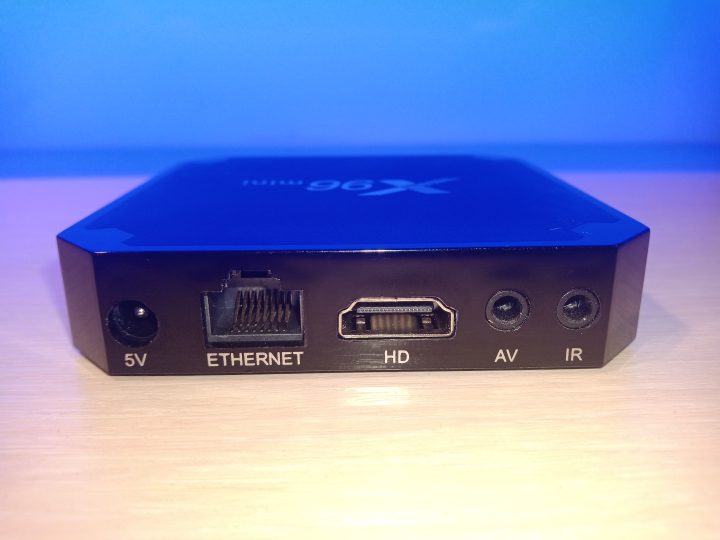
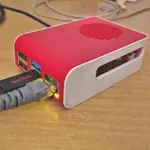
Installing Kodi media center on X96 Mini TV box
Installing Kodi media center on X96 Mini TV box
Installing Kodi media center on X96 Mini TV box
Installing Kodi media center on X96 Mini TV box
Connecting a remote control in Kodi on LibreELEC
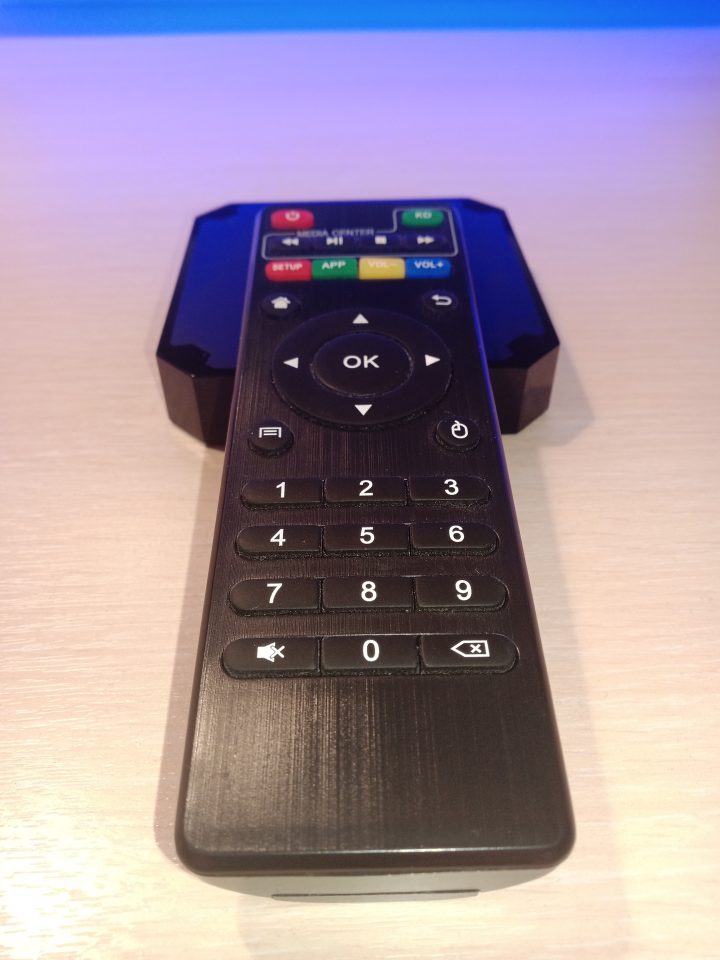
Connecting a remote control in Kodi on LibreELEC

Connecting a remote control in Kodi on LibreELEC
1scp ~/remote.conf root@192.168.0.XXX:/storage/.config
Installing Hyperion service on Kodi
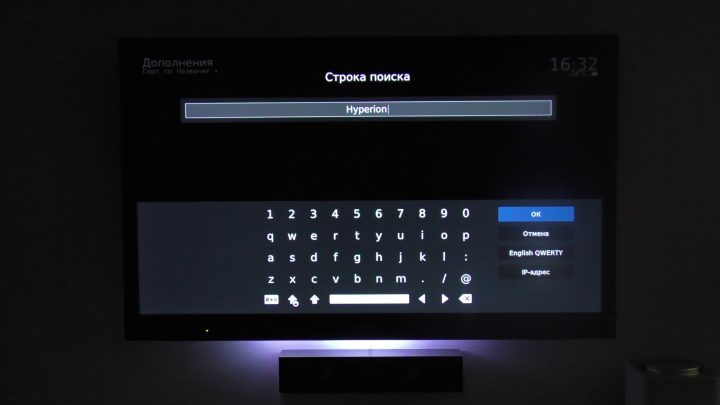
Installing Hyperion service on Kodi
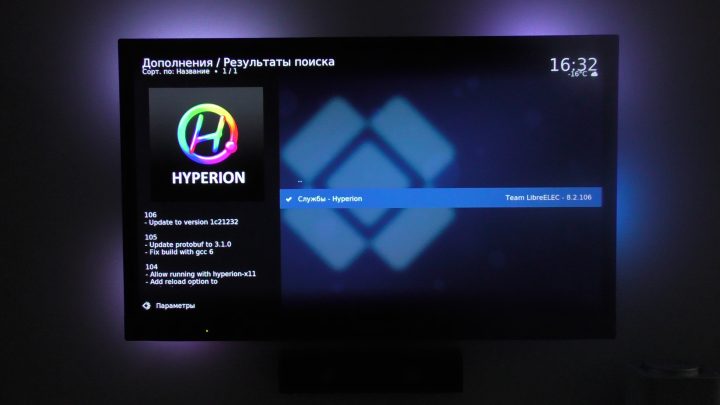
Installing Hyperion service on Kodi
1ssh root@ 192.168.0.XXX
1cd ~/.ssh2ssh-keygen -t rsa
1Generating public/private rsa key pair.2Enter file in which to save the key (/home/user/.ssh/id_rsa):
1ssh-copy-id -i LE_rsa.pub root@192.168.0.XX
1ssh-add LE_rsa
1nano ~/.ssh/config
1IdentityFile ~/.ssh/LE_rsa
Arduino Uno firmware

Arduino Uno firmware
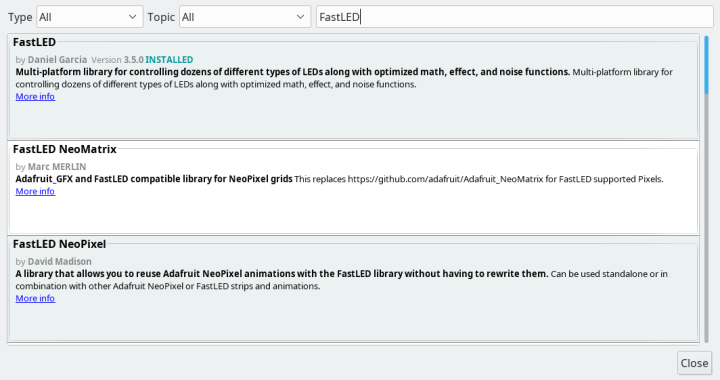
Arduino Uno firmware
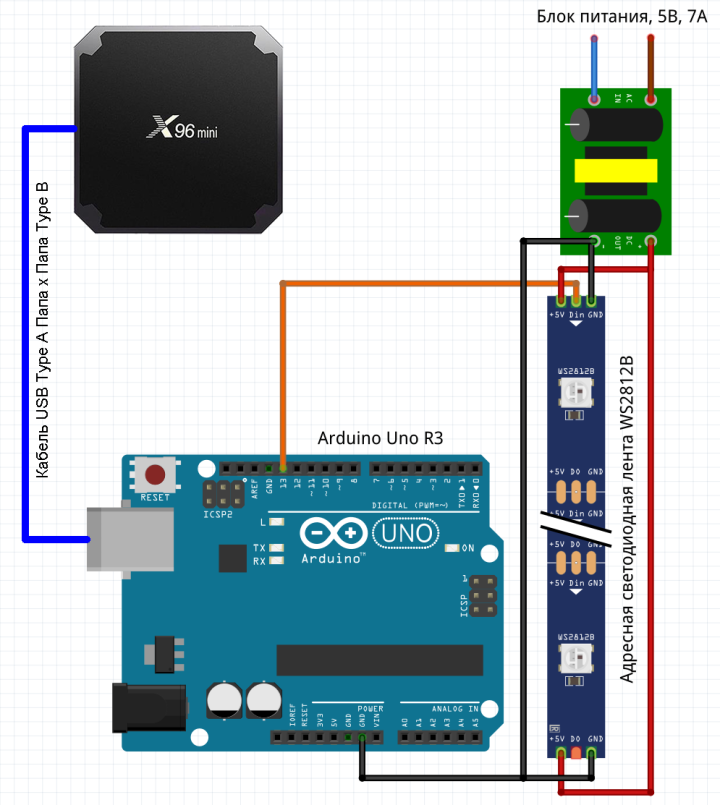
Addressable LED strip installation and connection diagram
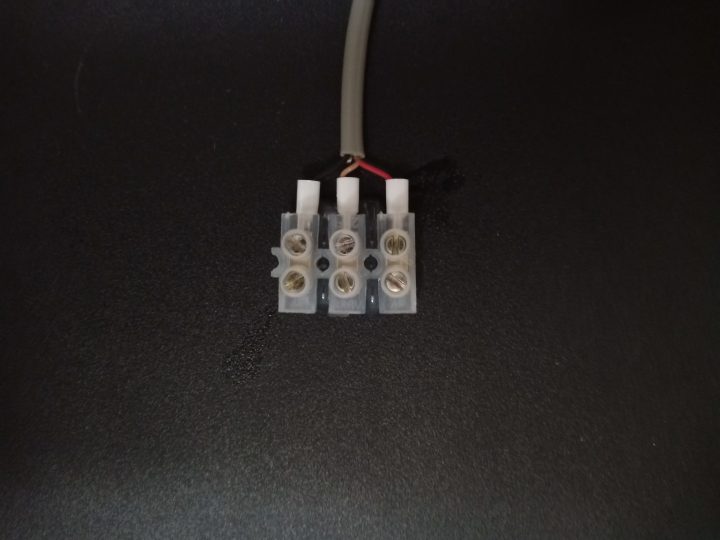
Addressable LED strip installation and connection diagram
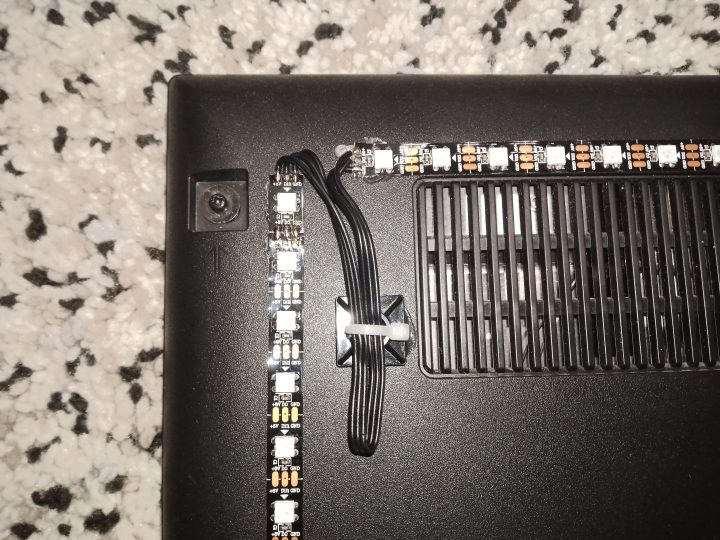
Addressable LED strip installation and connection diagram

Addressable LED strip installation and connection diagram
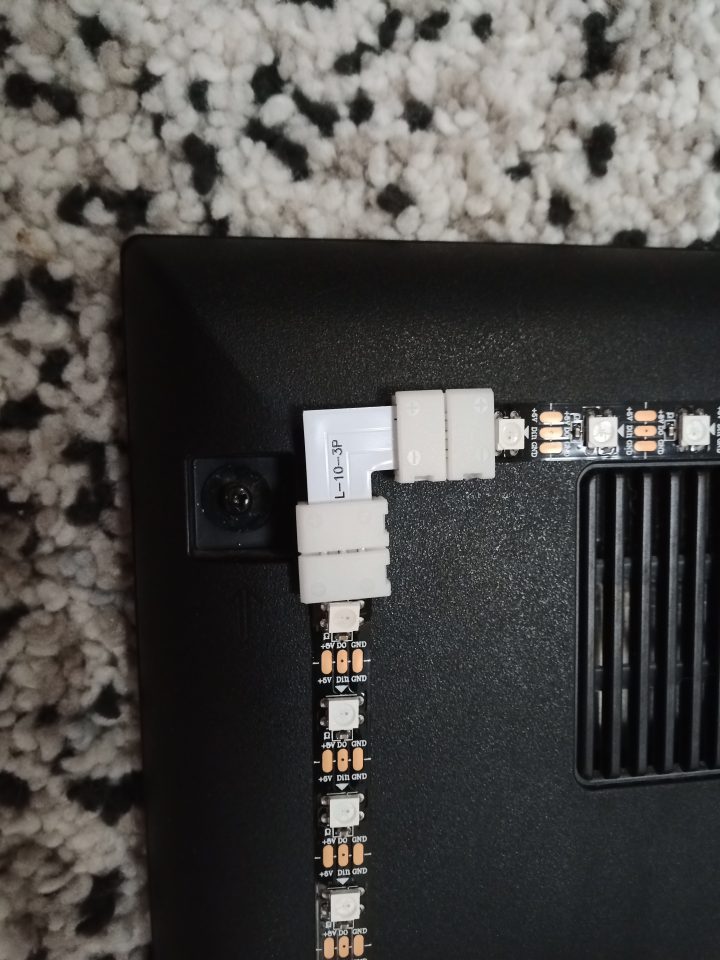
Addressable LED strip installation and connection diagram
Setting up the Hyperion service configuration file via Hypercon
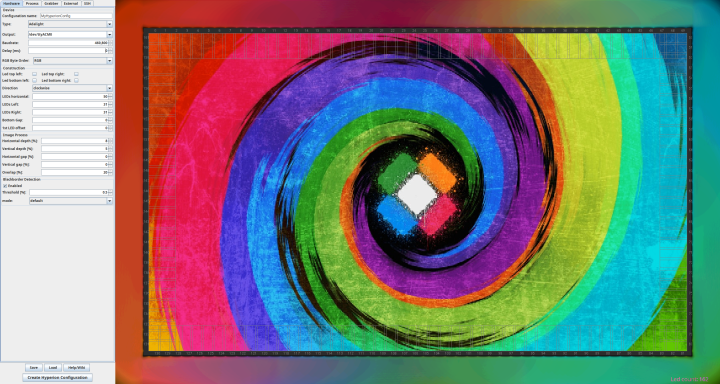
Setting up the Hyperion service configuration file via Hypercon

Setting up the Hyperion service configuration file via Hypercon

Setting up the Hyperion service configuration file via Hypercon

screenshot_20220123_001254
1sudo apt install openjdk-7-jre2cd ~3wget http://releases.libreelec.tv/hypercon-LE.jar
Discussion (0)
No comments yet. Be the first!
Maker
Anton is the Founding Engineer at Tinkster. He translates industrial reliability into software architecture, ensuring the platform's core is built to last. Anton studied oil and gas engineering in the United States and also holds two honors degrees from Tomsk Polytechnic University.
Related Projects

AI Project Assistant
Tinkster Neural Core